 Save
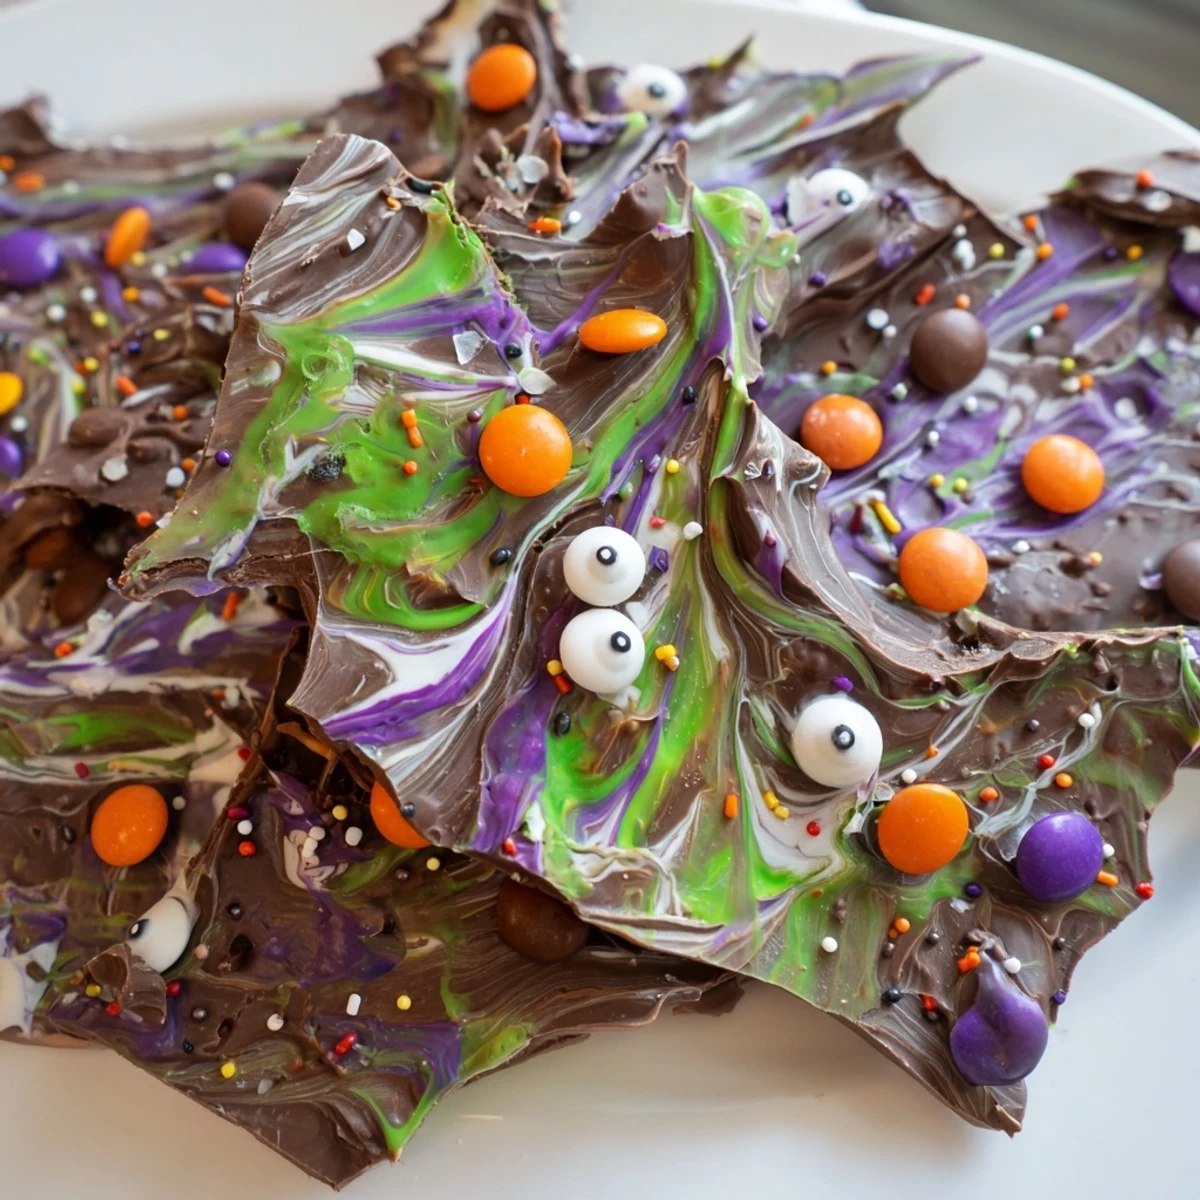
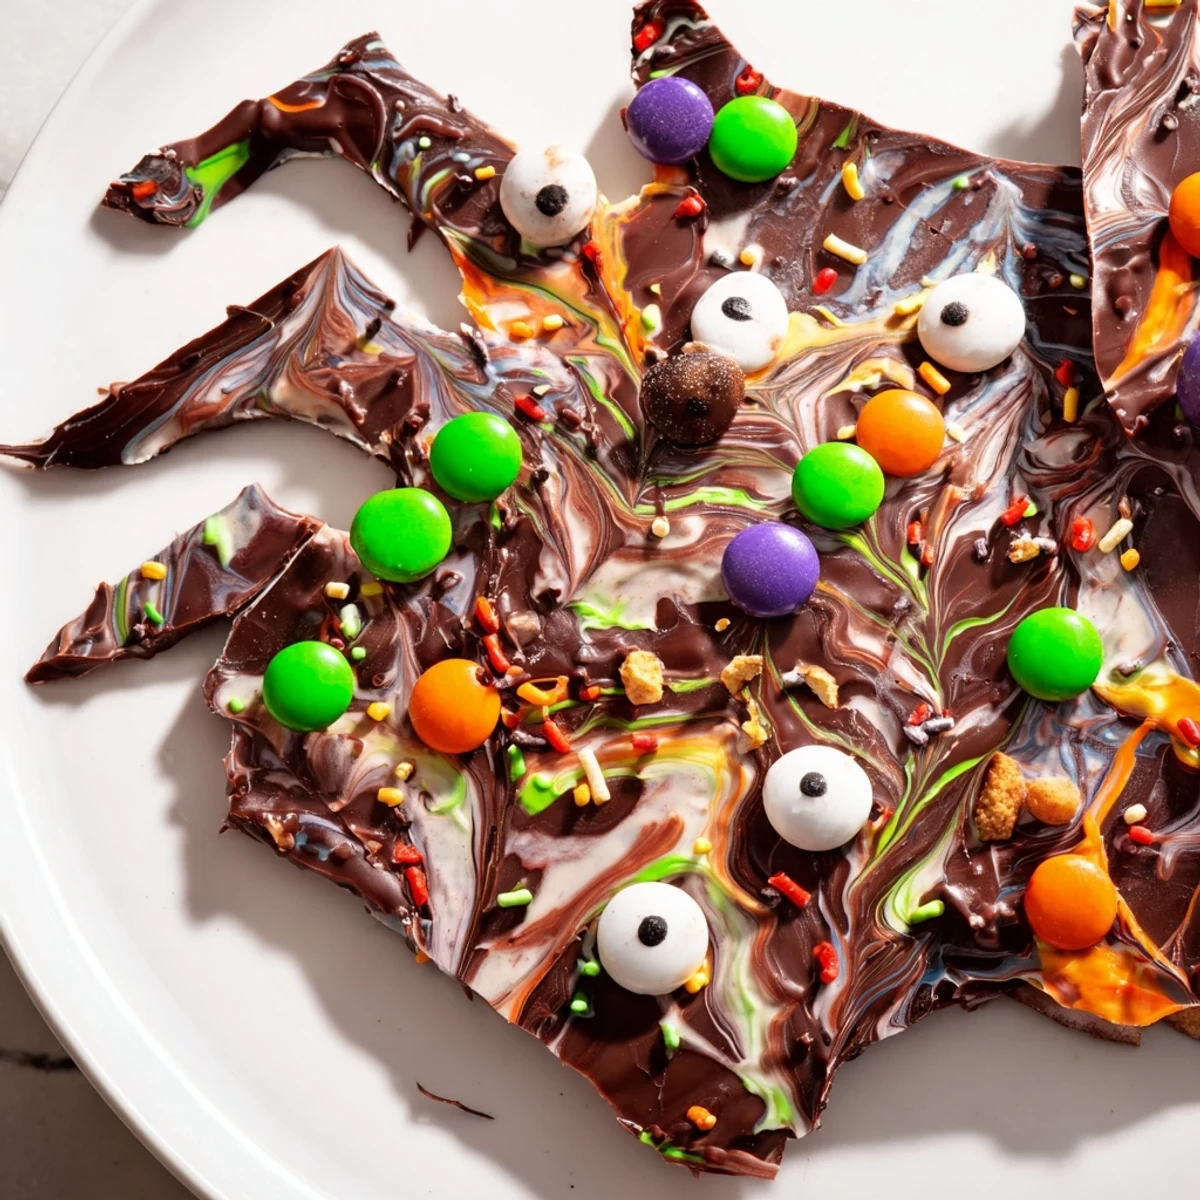
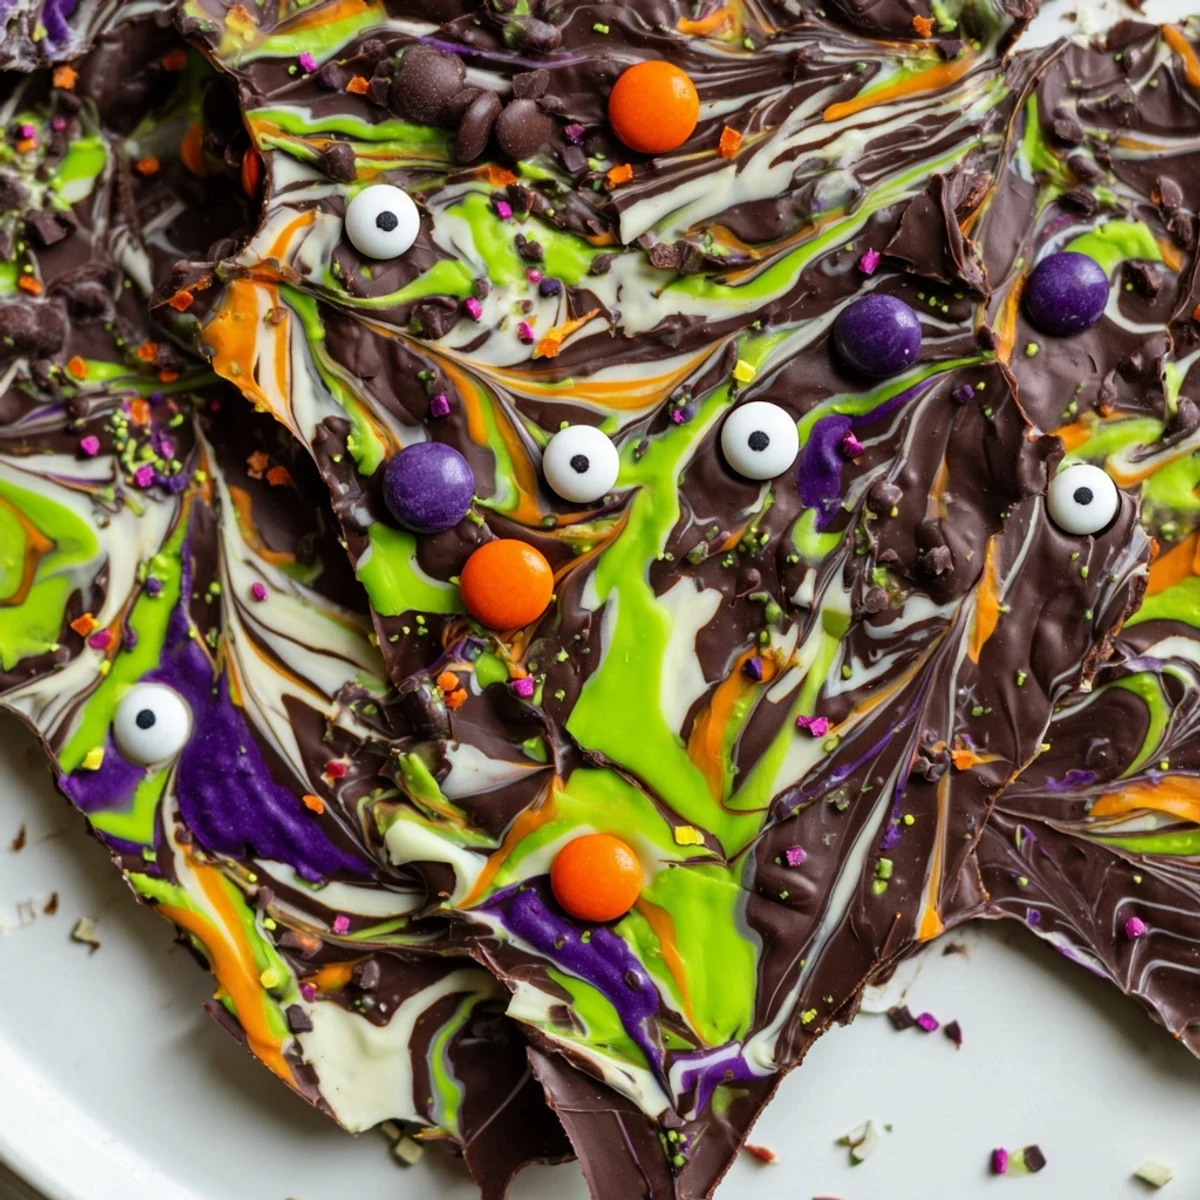
Save This spooky chocolate bark combines melted semisweet and white chocolate swirled together with vibrant colorful candy melts. The fun begins as you drop spoonfuls of melted chocolates over the dark base, creating a mesmerizing marbled effect with just a few swoops of a toothpick. While the chocolate remains warm, press candy-coated chocolates, googly candy eyes, and orange and purple Halloween sprinkles into the surface for that playful witchy appearance. Break into jagged pieces for serving.
Last October, my kitchen counter looked like a candy factory explosion, and I could not have been happier about it. My niece had begged me to make something witchy for her class party, and we decided chocolate bark would be magically simple. The moment those candy eyes stared back at us from the swirls of orange and purple chocolate, we knew we had created something deliciously mischievous. Now it is the one Halloween treat I actually look forward to making all year.
I remember bringing a platter of this to a friend's Halloween party and watching adults hover around it like excited children. Someone actually asked if I had hired a professional chocolatier because the marbled patterns looked so deliberate. The best part was telling them it took twenty minutes and some aggressive toothpick swirling to create the whole masterpiece.
Ingredients
- Semisweet chocolate chips: The rich base that balances the sweet toppings and provides that perfect snap when broken
- White chocolate chips: Creates the classic spiderweb contrast against the dark chocolate foundation
- Colorful candy melts: These add vibrant Halloween hues without affecting the chocolate's tempering
- Mini candy-coated chocolates: Extra bursts of color and crunch that make every bite excitingly different
- Candy eyes: The spooky detail that transforms ordinary bark into something delightfully creepy
- Halloween sprinkles: Final festive touches that catch the light and add extra sparkle
Instructions
- Prepare your canvas:
- Line a baking sheet with parchment paper, ensuring it covers the entire surface to prevent sticking.
- Melt the dark chocolate:
- Heat semisweet chocolate chips in a microwave-safe bowl at 30-second intervals, stirring thoroughly after each until completely smooth and glossy.
- Create the foundation:
- Pour the melted dark chocolate onto your prepared sheet and spread it evenly to about 1/4 inch thickness, working quickly before it starts to set.
- Prepare colorful melts:
- In separate bowls, melt white chocolate and colored candy melts in 20-second microwave intervals, stirring between each until smooth.
- Swirl the magic:
- Drop spoonfuls of white and colored chocolates over the dark base, then drag a toothpick through them in flowing patterns to create marble effects.
- Add the spooky details:
- Immediately scatter candy-coated chocolates, candy eyes, and sprinkles over the warm surface while everything is still tacky enough to hold them.
- Set and serve:
- Let the bark firm up at room temperature for about 30 minutes, or speed things up with 10-15 minutes in the refrigerator.
- Break into pieces:
- Use your hands to snap the bark into irregular, rustic shards that show off the beautiful patterns inside.
 Save
Save This recipe has become my go-to contribution to classroom parties and office gatherings because it looks so impressive yet comes together so quickly. I have watched the most skeptical people turn into eager bark-breaking participants once they see those googly eyes staring back at them.
Make It Your Own
The beauty of chocolate bark lies in its infinite customization possibilities. Try switching dark chocolate for milk chocolate when making this with younger children who might find the semisweet version too intense. I once used crushed Oreos instead of candies for a cookies and cream version that disappeared alarmingly fast.
Storage Secrets
Proper storage keeps your bark beautiful and snap-able for days. Layer the pieces between wax paper in an airtight container to prevent them from sticking together in a giant chocolate clump. Keep the container somewhere cool and dark, away from direct sunlight or warm appliances that could make the decorations weep or the chocolate lose its temper.
Serving Suggestions
This bark makes an incredibly thoughtful homemade gift during the Halloween season. Package pieces in clear cellophane bags tied with orange and black ribbon for classroom treats or neighbor gifts. Arrange shards on a rustic wooden board alongside other Halloween sweets for a stunning dessert display that encourages guests to break off whatever size piece they want.
- Pile pieces into miniature cauldrons for individual party favors
- Crush leftover bark over vanilla ice cream for a spooky sundae topping
- Tuck small shards into cupcake frosting for an extra chocolatey surprise
 Save
Save There is something wonderfully satisfying about breaking chocolate with your bare hands and watching each piece reveal its own unique pattern. May your kitchen be filled with sticky fingers, happy Halloween memories, and plenty of chocolate-stained smiles.
Recipe FAQs
- → How long does it take to make this bark?
-
The entire process takes about 20 minutes total—15 minutes for preparation and 5 minutes of actual melting and assembly time. The cooling time can vary from 15 minutes in the refrigerator to about an hour at room temperature.
- → Can I make this bark ahead of time?
-
Absolutely! This bark stores beautifully in an airtight container at cool room temperature for up to one week. You can make it several days before your Halloween celebration without losing any quality or texture.
- → What's the best way to melt the chocolate?
-
Melting in the microwave works perfectly—use 30-second intervals for the semisweet chocolate and 20-second intervals for the white chocolate and candy melts. Stir thoroughly after each interval to ensure smooth melting and prevent scorching.
- → Can I customize the decorations?
-
Definitely! Try swapping the semisweet chocolate for milk or dark chocolate, add pretzel pieces or chopped nuts for crunch, or use different colored candy melts to match your Halloween theme. Just ensure any added candies are nut-free if allergies are a concern.
- → How do I get the perfect marble swirl effect?
-
The key is working quickly while the chocolates are still melted. Drop spoonfuls of white chocolate and colored candy melts over the base, then immediately drag a toothpick through the puddles in curved or circular motions. Don't over-swirl or the colors will muddy together.