 Save
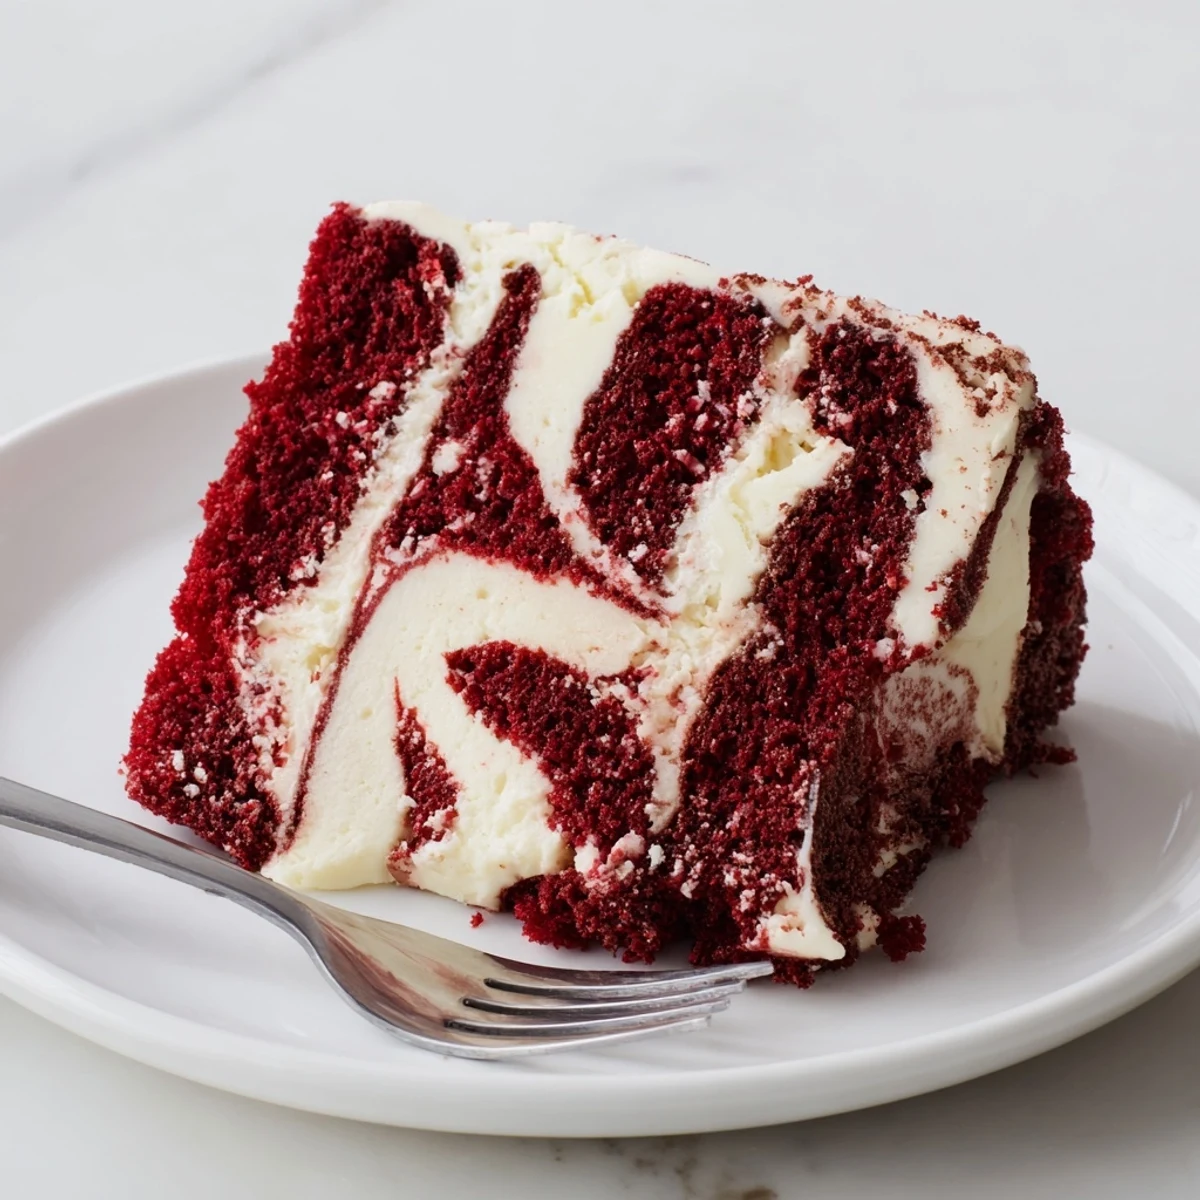
Save This stunning dessert combines the classic appeal of moist red velvet cake with the rich creaminess of cheesecake. The batter comes together quickly with pantry staples, while the cheesecake swirl adds an indulgent contrast in every bite. The marbling technique creates a beautiful presentation that looks impressive but is surprisingly simple to achieve. Perfect for birthdays, holidays, or whenever you want to treat yourself to something special.
My sister's wedding was in June, and she begged me to make the cake instead of buying one. I'd never attempted anything with a swirl before, but there's something magical about cutting into that first slice and seeing the marbled pattern—like a little surprise waiting inside. The moment I pulled it from the oven and saw those creamy ribbons running through the crimson crumb, I knew this wasn't just another dessert. Now it's the one request I get for every birthday and baby shower.
Last Thanksgiving, my aunt accidentally walked away with my entire pan while chatting, leaving me with nothing but a clean knife and a room full of disappointed relatives. We still laugh about it three years later, but honestly, I cant blame her. There's something about this cake that makes people uncharacteristically protective of their slice.
Ingredients
- All purpose flour: The foundation of our tender crumb, measuring precisely ensures the texture stays light rather than dense
- Granulated sugar: Sweetens both the cake and cheesecake layers while helping create that moist texture we love
- Baking powder and baking soda: These work together to give the red velvet its characteristic rise and fluffy structure
- Unsweetened cocoa powder: Just enough to add depth without overpowering that classic velvet flavor
- Salt: Enhances all the flavors and balances the sweetness
- Buttermilk: The secret to tender red velvet, its acidity activates the baking soda and creates incredible moisture
- Vegetable oil: Keeps the cake exceptionally moist compared to butter based recipes
- Eggs: Provide structure for both layers and help bind everything together
- Vanilla extract: Pure extract makes all the difference in both components
- White vinegar: Reacts with buttermilk to enhance red velvets traditional tang and texture
- Red food coloring: Gel coloring gives the most vibrant hue without adding excess liquid
- Cream cheese: Fully softened is non negotiable here for that silky smooth swirl layer
Instructions
- Get your oven ready:
- Preheat to 350°F and line your pan with parchment, leaving some overhang for easy removal later
- Mix the dry ingredients:
- Whisk together flour, sugar, baking powder, baking soda, cocoa, and salt in a large bowl until well combined
- Combine the wet mixture:
- Whisk buttermilk, oil, eggs, vanilla, vinegar, and red food coloring until fully incorporated
- Make the batter:
- Pour wet ingredients into dry and mix just until no flour streaks remain, being careful not to overwork the batter
- Prepare the base:
- Spread the red velvet batter evenly into your prepared pan
- Create the swirl:
- Beat softened cream cheese until completely smooth, then add sugar, egg, and vanilla until creamy
- Add the marbling:
- Drop spoonfuls of cheesecake filling over the batter and gently run a knife through to create swirls
- Bake to perfection:
- Bake 45 to 50 minutes until a toothpick in the center comes out mostly clean
- Cool completely:
- Let the cake cool entirely in the pan before slicing to maintain that beautiful swirl pattern
 Save
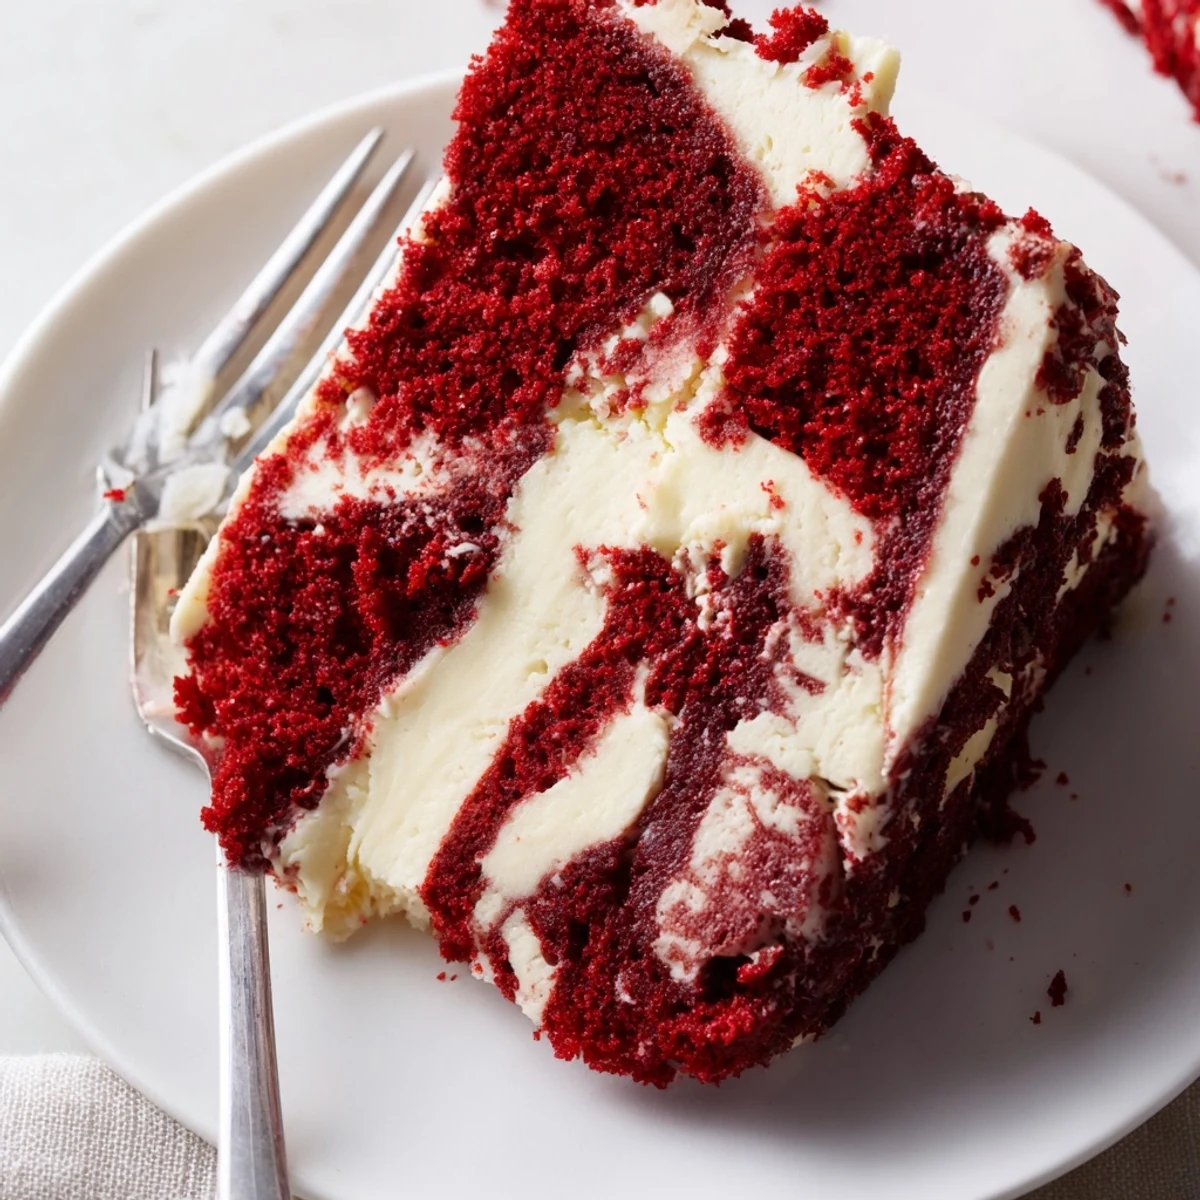
Save I made this for my daughters eighth birthday and she insisted on helping with the swirl part. Her face lit up when we cut that first slice and saw the pattern she'd created. Now it's our birthday tradition to make the swirl together.
Getting That Perfect Swirl
The trick is dropping the cheesecake mixture in small, evenly spaced spoonfuls rather than one large dollop. When you run your knife through, use a gentle figure eight motion and resist the urge to keep going back for more swirls. Less is more here.
Room Temperature Matters
Cold cream cheese creates lumps that ruin the silky texture of your swirl layer. I learned this the hard way when I tried to rush the process once. Set everything out about an hour before you start baking for the smoothest results.
Make It Ahead
This cake actually tastes better the next day when the flavors have had time to meld together. The red velvet becomes more moist and the cheesecake layer sets beautifully.
- Bake the cake up to two days before serving and store it tightly covered in the refrigerator
- Let chilled cake come to room temperature for about 30 minutes before slicing
- The swirl pattern is easiest to cut cleanly when the cake is slightly chilled rather than completely at room temperature
 Save
Save There's something deeply satisfying about serving a dessert that looks as impressive as it tastes. Every slice tells a story of patience and care.
Recipe FAQs
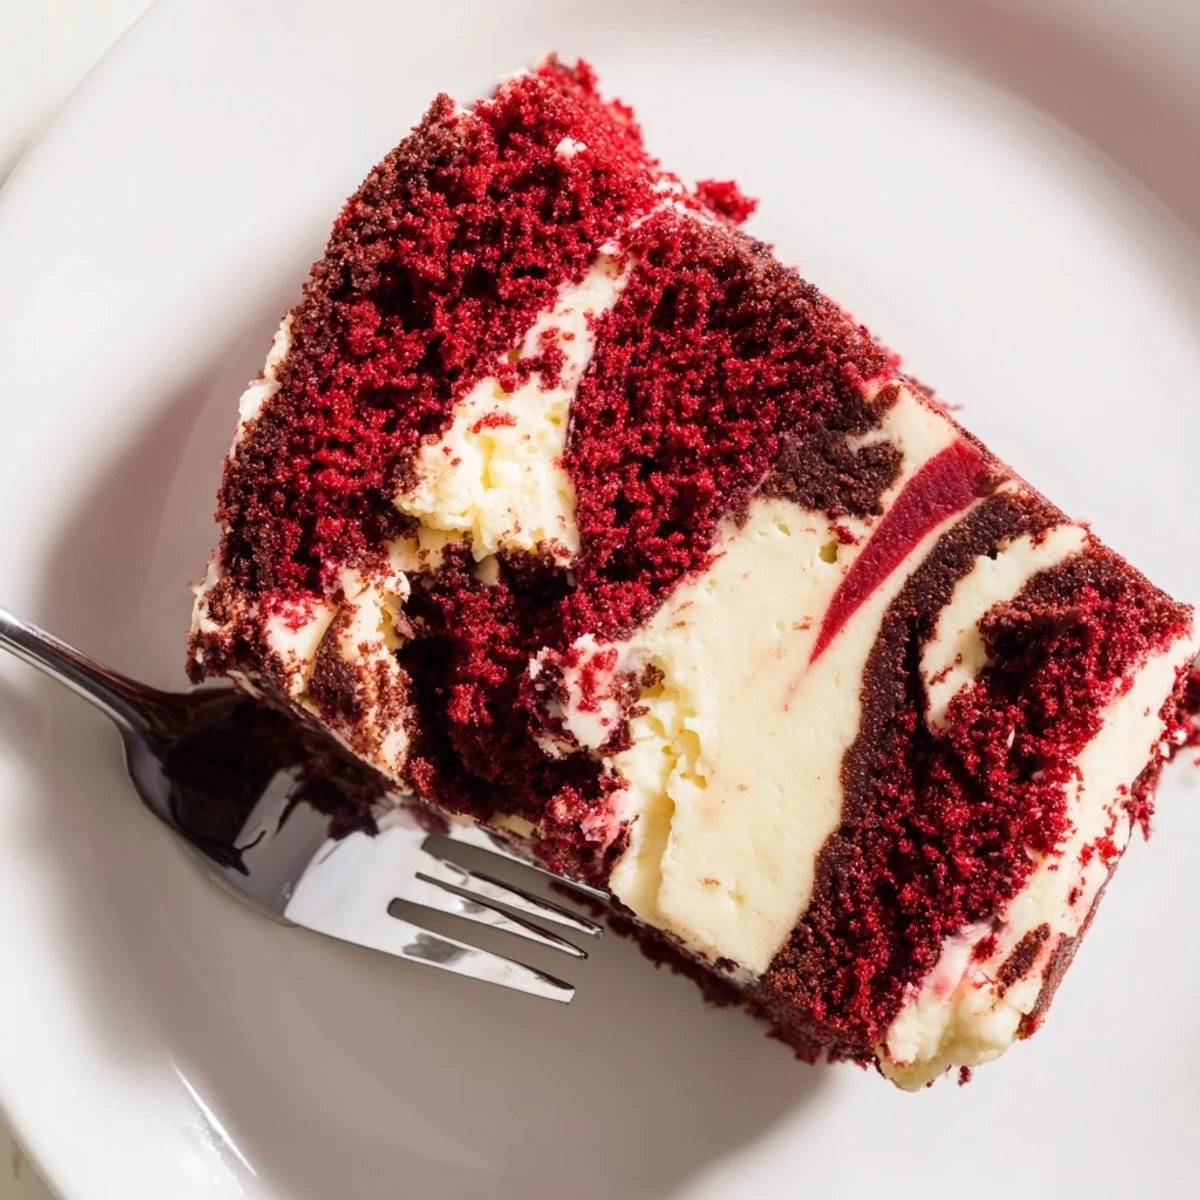
- → How do I achieve the perfect marble swirl?
-
Dollop spoonfuls of cheesecake mixture over the red velvet batter, then use a knife or skewer to gently swirl through both layers. Make just 3-4 passes—too much swirling will blend the flavors together instead of creating distinct marbling.
- → Can I make this ahead of time?
-
Yes, this cake actually tastes better after chilling. You can bake it up to 2 days ahead, wrap tightly, and refrigerate. The flavors meld and the texture becomes even more moist. Bring to room temperature before serving for the best experience.
- → Why is my red velvet cake brown instead of red?
-
The amount of red food coloring and the type you use affects the final color. Liquid food coloring may require more than the suggested amount. Gel food coloring provides a more vibrant hue with less product. Also, the cocoa powder naturally darkens the batter.
- → How do I know when the cake is done baking?
-
Insert a toothpick into the center—if it comes out with just a few moist crumbs or a little cheesecake residue, it's ready. A completely clean toothpick means it might be overbaked. The edges should pull away slightly from the pan.
- → Can I freeze this cake?
-
Absolutely! Wrap the completely cooled cake tightly in plastic wrap, then foil. Freeze for up to 3 months. Thaw overnight in the refrigerator before serving. The texture remains remarkably well after freezing.
- → What can I use instead of buttermilk?
-
Make a quick substitute by adding 1 tablespoon of white vinegar or lemon juice to 1 cup of regular milk. Let it sit for 5 minutes until it thickens slightly. This works perfectly in red velvet cake and provides the necessary acidity for the chemical reaction with baking soda.