 Save
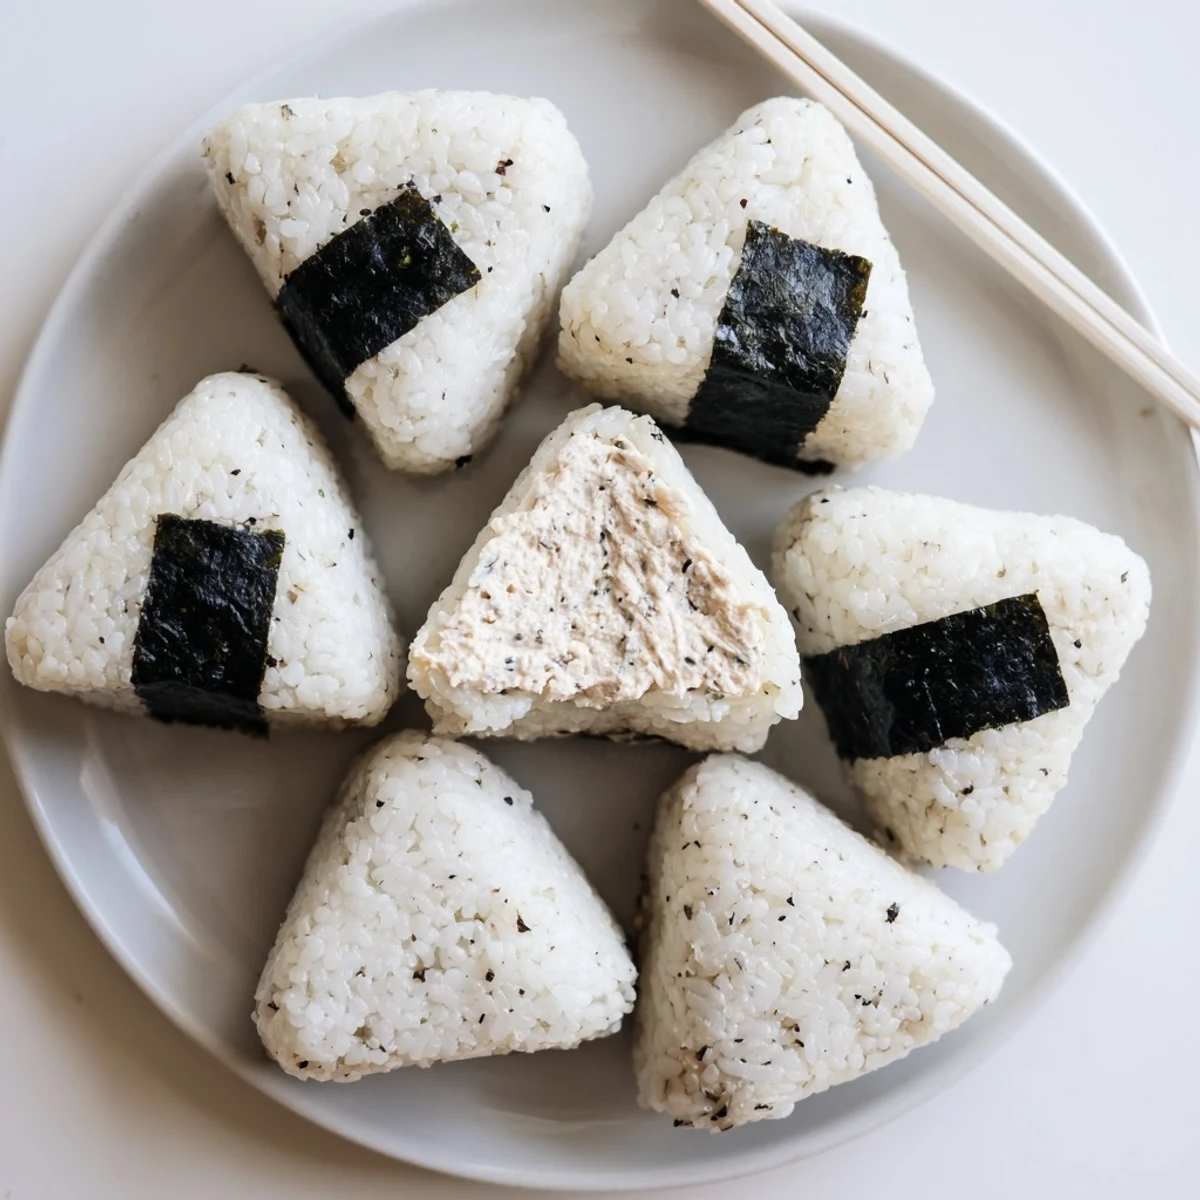
Save Create authentic Japanese rice balls stuffed with savory tuna mayonnaise filling. These handheld treats combine fluffy short-grain rice with a creamy, well-seasoned tuna mixture for a satisfying portable meal or snack.
The process starts with perfectly cooked Japanese rice seasoned with salt. While the rice cools slightly, prepare the filling by combining drained canned tuna with Japanese mayonnaise, soy sauce, and black pepper. The mixture becomes creamy and flavorful, ready to nestle inside each rice portion.
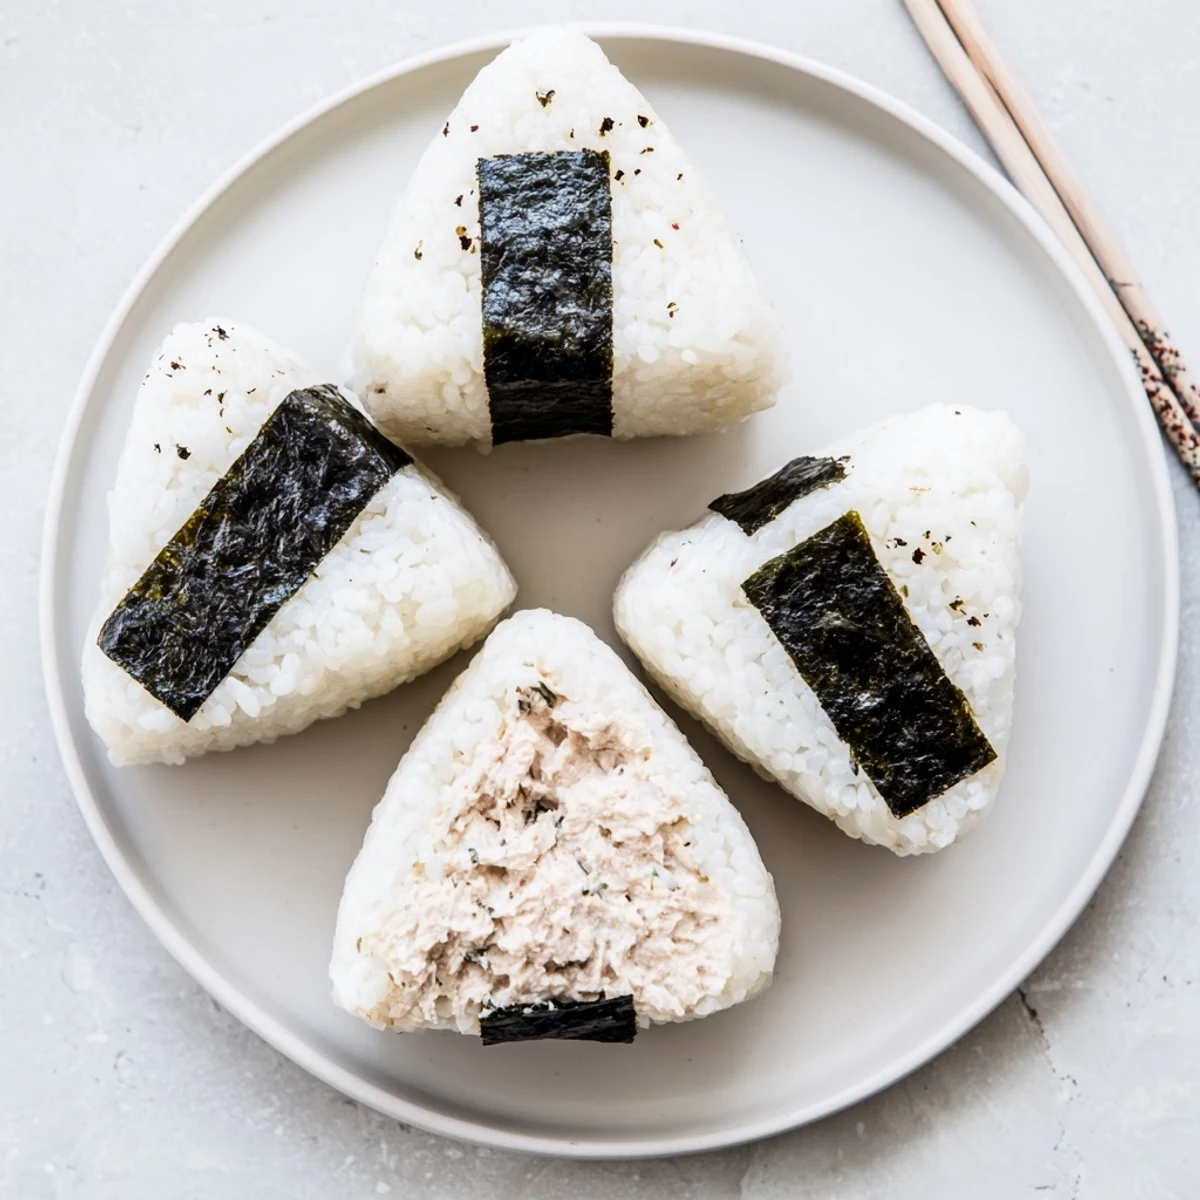
Shaping requires damp, salted hands to prevent sticking. Form each rice portion into a disc, add filling, then gently fold and mold into traditional triangles or ovals. Wrap with nori strips for easy handling and added umami flavor.
These versatile rice balls work wonderfully in bento boxes, as quick breakfasts, or satisfying afternoon snacks. Best enjoyed fresh but will keep for 24 hours when properly refrigerated.
The convenience store around the corner from my old apartment in Tokyo had a refrigerator case dedicated entirely to onigiri, and I passed it every single morning on my way to work. Most days I grabbed the tuna mayo version without hesitation, still half asleep, and ate it on the train before I even fully woke up. Something about that creamy, savory center tucked inside warm seasoned rice felt like a small gift I gave myself before the day could demand anything from me. Years later in my own kitchen, I finally tried shaping them myself and realized the magic is not just in the filling but in the feeling of your salted palms pressing rice into something perfect and portable.
I made a batch of these for a picnic last summer and my friend Elena ate three before we even spread the blanket out. She demanded the recipe on the spot, so I typed it into her phone with rice sticky fingers and she still texts me pictures of her own batches from time to time.
Ingredients
- Japanese short grain rice (2 cups): This is non negotiable because long grain rice will crumble and refuse to hold its shape no matter how hard you press.
- Water (2 1/2 cups): Measured precisely for the perfect tender chew.
- Tuna in water, one 5 oz can, drained well: Squeeze the can lid against the tuna to press out excess liquid because wet filling makes soggy rice.
- Japanese mayonnaise like Kewpie (3 tablespoons): The egg yolks and rice vinegar in Kewpie create a richer, tangier creaminess than standard mayo.
- Soy sauce (1 teaspoon): Just enough to deepen the savory flavor without overpowering the tuna.
- Ground black pepper (1/4 teaspoon, optional): A gentle warmth that rounds everything out nicely.
- Salt (1/2 teaspoon): For your palms during shaping, and it seasons the outside of each rice ball.
- Nori sheets, 6 small strips: They add a satisfying crunch and keep your fingers from getting sticky while eating.
Instructions
- Wash the rice clean:
- Rinse the rice under cold running water, swirling gently with your hand, and repeat until the water turns from cloudy to nearly clear, usually four or five rinses.
- Cook until perfectly tender:
- Combine the drained rice and water in a rice cooker or heavy bottomed pot and cook according to your device or package instructions, then let it steam undisturbed for ten minutes with the lid on.
- Mix the creamy filling:
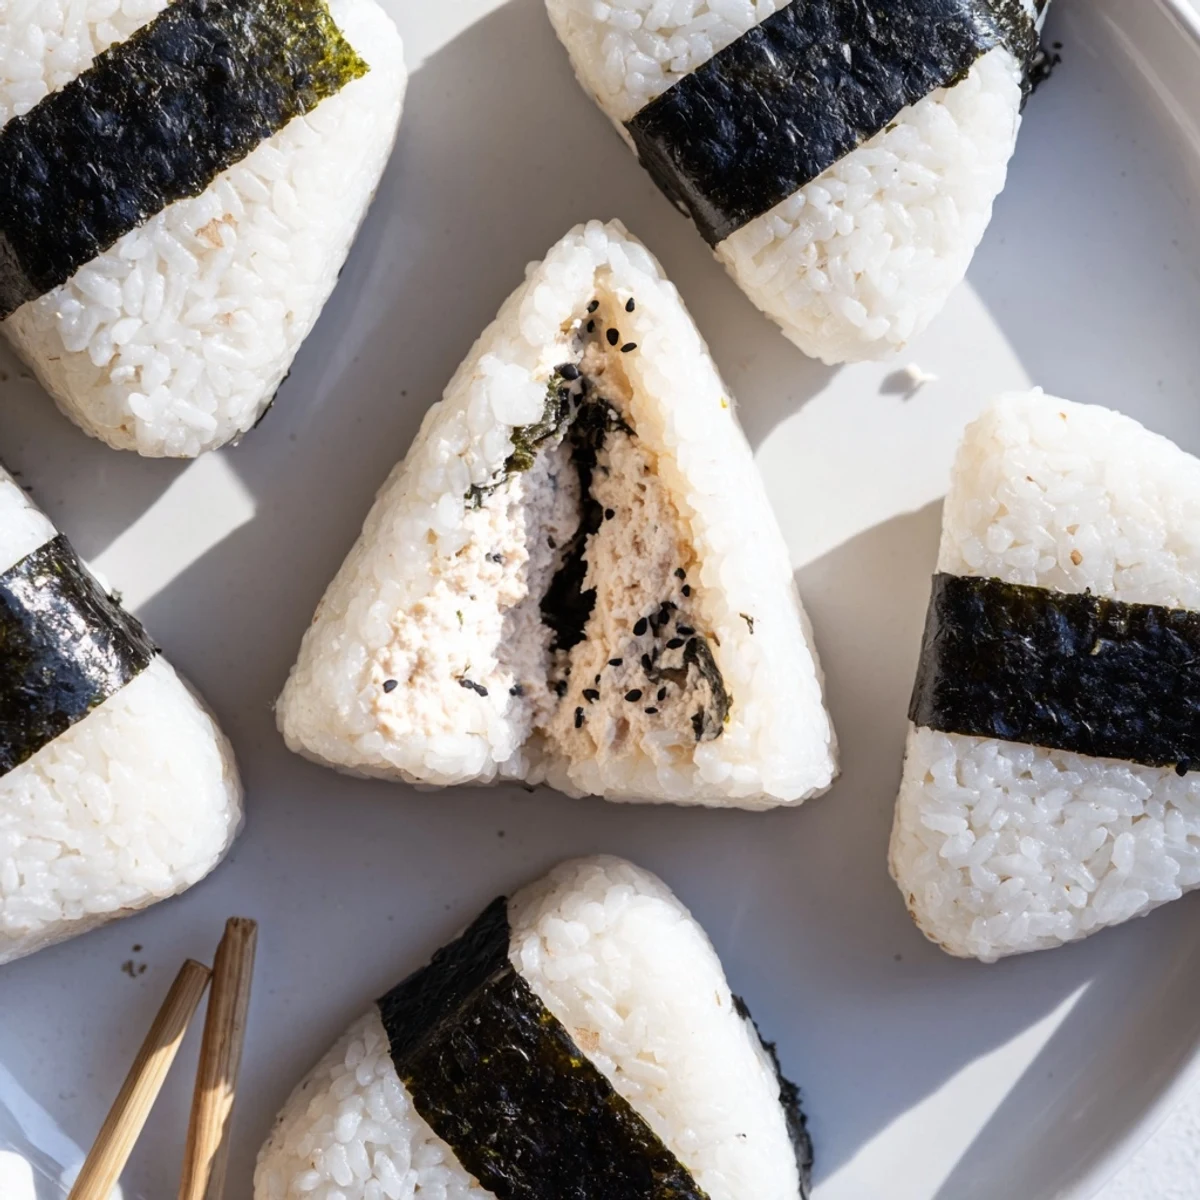
- While the rice rests, break up the drained tuna in a bowl and fold in the mayonnaise, soy sauce, and pepper until it becomes a cohesive, spoonable mixture that tastes too good to stop sampling.
- Prepare your hands for shaping:
- Wet both palms lightly with water and rub the salt evenly across them so the warm rice will not glue itself to your skin.
- Form each onigiri:
- Scoop about half a cup of warm rice, press a shallow well in the center with your thumb, spoon in a generous mound of filling, then gently fold the rice over it and cup your hands together to shape it into a triangle or oval.
- Wrap and finish:
- Press a strip of nori snugly around the base or side of each onigiri and set it seam side down so the seaweed stays put until you are ready to eat.
 Save
Save The first time I packed these for a road trip I forgot the nori strips and ended up eating them with sticky fingers on the highway, but even then they were worth every messy bite.
Variations Worth Trying
Stir chopped scallions or a few drops of toasted sesame oil into the filling if you want to push the flavor further. A pinch of shichimi togarashi adds a quiet heat that works beautifully against the creamy mayo.
Storing Leftovers
Onigiri are at their absolute best within a few hours of making them, but you can wrap each one tightly in plastic and refrigerate for up to a day. Let them come closer to room temperature before eating because cold rice loses that lovely chewy tenderness.
Tools That Help
A rice cooker takes all the guesswork out of the grain, but a sturdy pot with a tight fitting lid works just as well if you keep the heat low and resist peeking.
- Keep a bowl of water next to you while shaping so you can rewet your hands between each piece.
- A damp kitchen towel draped over the cooked rice prevents it from drying out while you work.
- If triangles frustrate you, ovals are just as authentic and far more forgiving.
 Save
Save Once you have shaped your first batch you will realize how simple and satisfying homemade onigiri really are, and the convenience store versions will never feel quite the same again.
Recipe FAQs
- → What type of rice works best for onigiri?
-
Japanese short-grain rice is essential because its sticky texture holds the shape together. Long-grain varieties like jasmine or basmati lack the proper starch content and will crumble when formed.
- → Can I make these ahead of time?
-
Yes, these are perfect for meal prep. Wrap each onigiri tightly in plastic wrap and refrigerate for up to 24 hours. Let them come to room temperature before eating for the best texture.
- → What's the difference between Japanese and regular mayonnaise?
-
Japanese mayonnaise uses rice vinegar and egg yolks for a richer, tangier flavor with creamier texture. Regular mayonnaise works as a substitute, though the taste will be slightly different.
- → How do I prevent rice from sticking to my hands?
-
Keep a bowl of water nearby and wet your hands before shaping each rice ball. Rubbing a small amount of salt onto damp palms creates a natural barrier and seasons the rice simultaneously.
- → Can I add other ingredients to the filling?
-
Absolutely. Chopped scallions, sesame oil, corn kernels, or shredded cheese make excellent additions. Just keep the total filling amount proportional to avoid overstuffing.
- → Why does the rice need to be warm but not hot?
-
Warm rice is pliable and easier to shape, but hot rice would be uncomfortable to handle and might cook the filling slightly. The residual heat also helps the flavors meld together.