 Save
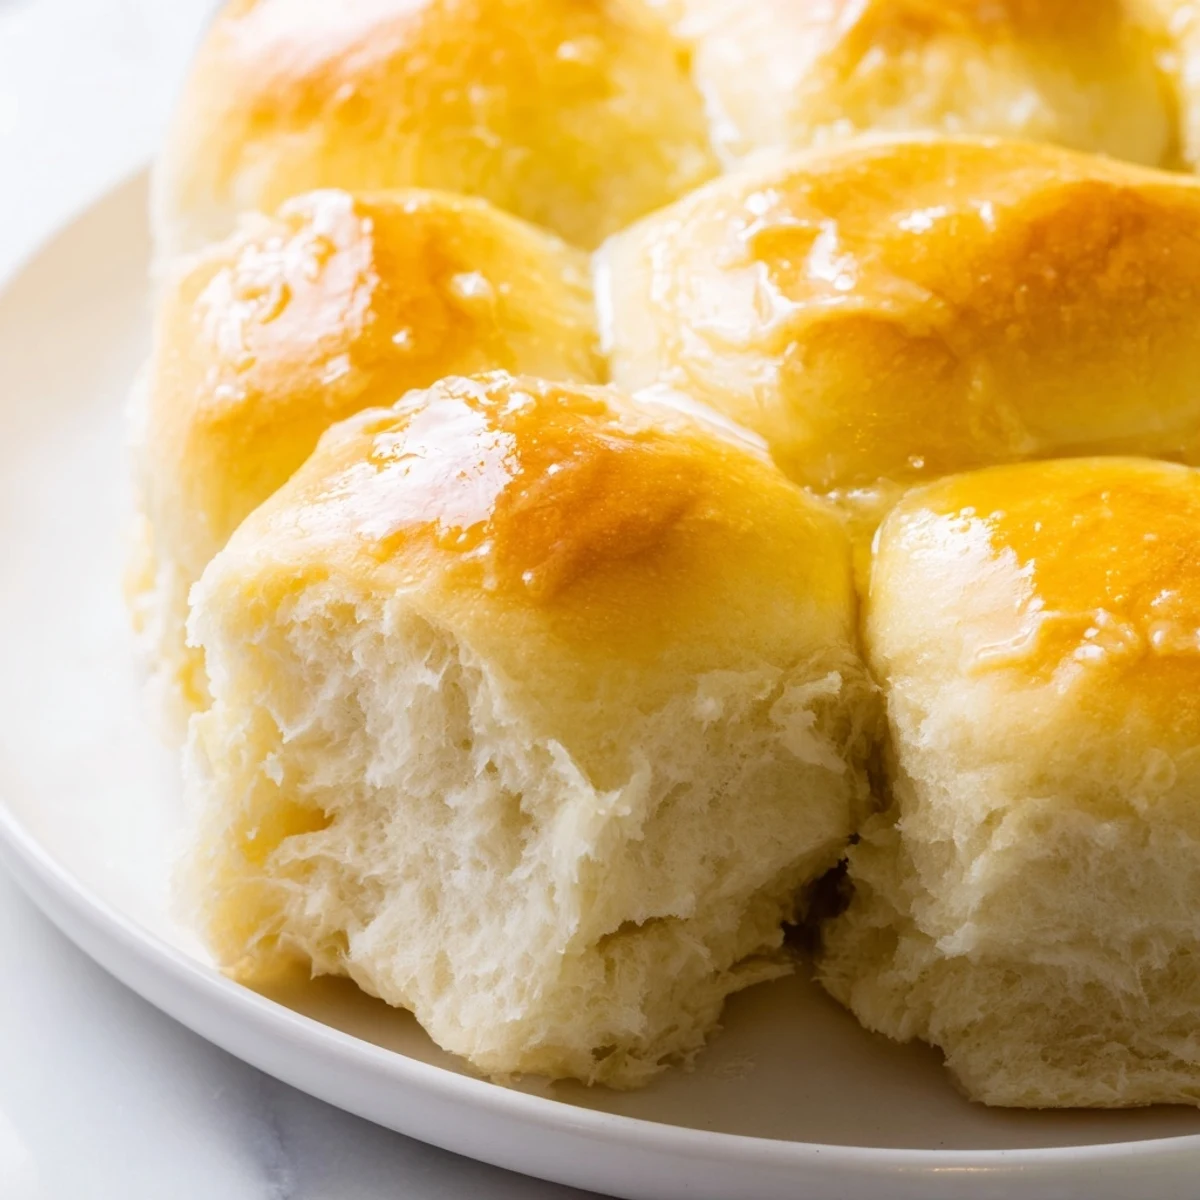
Save These vegan rolls offer a soft, fluffy texture with a rich buttery flavor without dairy. Made using plant-based milk, melted vegan butter, flour, sugar, and yeast, the dough is kneaded, lightly rested to rise twice, and baked to golden perfection. Brushed with melted vegan butter after baking, these rolls are perfect as a versatile accompaniment. Simple pantry staples make preparation easy, while optional ingredients like garlic powder or fresh herbs add layers of flavor. Great warm or reheated, they’re an ideal choice for any meal.
There's something magical about the smell of yeast bread filling the whole house. I started making these vegan rolls when my dairy-free niece visited for Thanksgiving, and honestly, they've become the most requested item at every family gathering since. The way they emerge from the oven golden and puffing steam is pure kitchen theater.
Last Christmas, my grandmother accidentally ate three of these warm rolls before realizing they were completely plant-based. She kept asking what secret ingredient made them so soft, genuinely shocked when I told her it was just almond milk and coconut oil-based butter. That moment of surprise made all the recipe testing worth it.
Ingredients
- 1 cup unsweetened almond milk: Warm this carefully, thinking baby bottle temperature, because hot milk kills yeast enthusiasm dead
- 1/4 cup vegan butter melted: The kind that melts smoothly matters, and I've learned some budget brands separate weirdly
- 1/4 cup organic cane sugar: Feeds the yeast and helps create that gorgeous golden crust we all want
- 1 packet active dry yeast: Check the expiration date because sad yeast makes sad bread
- 3 cups all-purpose flour: Bread flour gives slightly more chew, but regular flour creates that pillowy softness everyone craves
- 1 tsp fine sea salt: Enhances flavor without overpowering the delicate sweetness
- 2 tbsp vegan butter melted for brushing: This final touch creates that irresistible glistening top that makes people reach immediately
Instructions
- Wake up the yeast:
- Warm your almond milk until it feels pleasantly warm on your wrist, then whisk in melted butter and sugar until dissolved. Sprinkle yeast across the surface like you're feeding tiny fish and walk away for 10 minutes. The foam should look like a thin layer of bubbles across the top.
- Form the dough:
- Pour in your flour and salt, mixing with a wooden spoon until it becomes too shaggy to stir. Turn onto a floured surface and knead gently for 8 to 10 minutes, feeling the texture transform from sticky chaos to smooth, elastic dough that bounces back when you poke it.
- First rise:
- Place your dough ball in an oiled bowl, turning once to coat all sides. Cover with a damp towel and find the warmest corner of your kitchen, ideally near a preheating oven or sunny window. Let it double in size, about an hour, until pressing two fingers in leaves an impression that slowly fills back in.
- Shape the rolls:
- Punch down the dough gently to release excess air, then divide into 12 equal pieces. Roll each portion between your palms using circular motions, tucking the edges underneath to create smooth tops. Place them touching in your baking dish so they'll rise upward instead of outward.
- Second rise and bake:
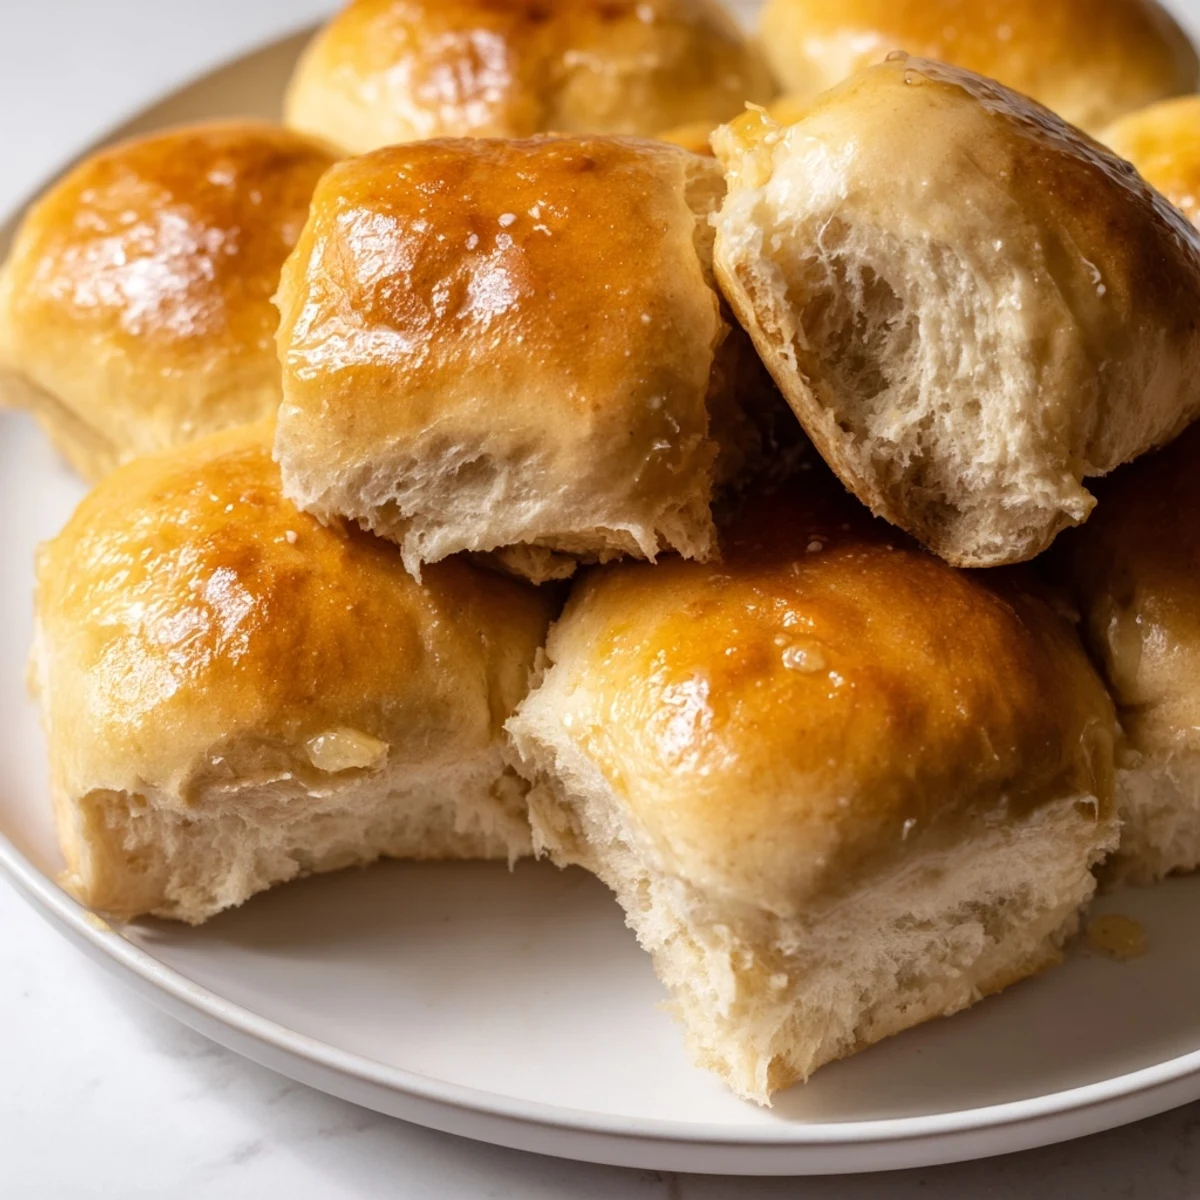
- Cover again and let puff for 30 minutes until the rolls look like they've had a really good nap. Bake at 375°F for 18 to 20 minutes, rotating halfway through, until they're deeply golden and sound hollow when tapped. Brush immediately with melted butter while they're still hot.
 Save
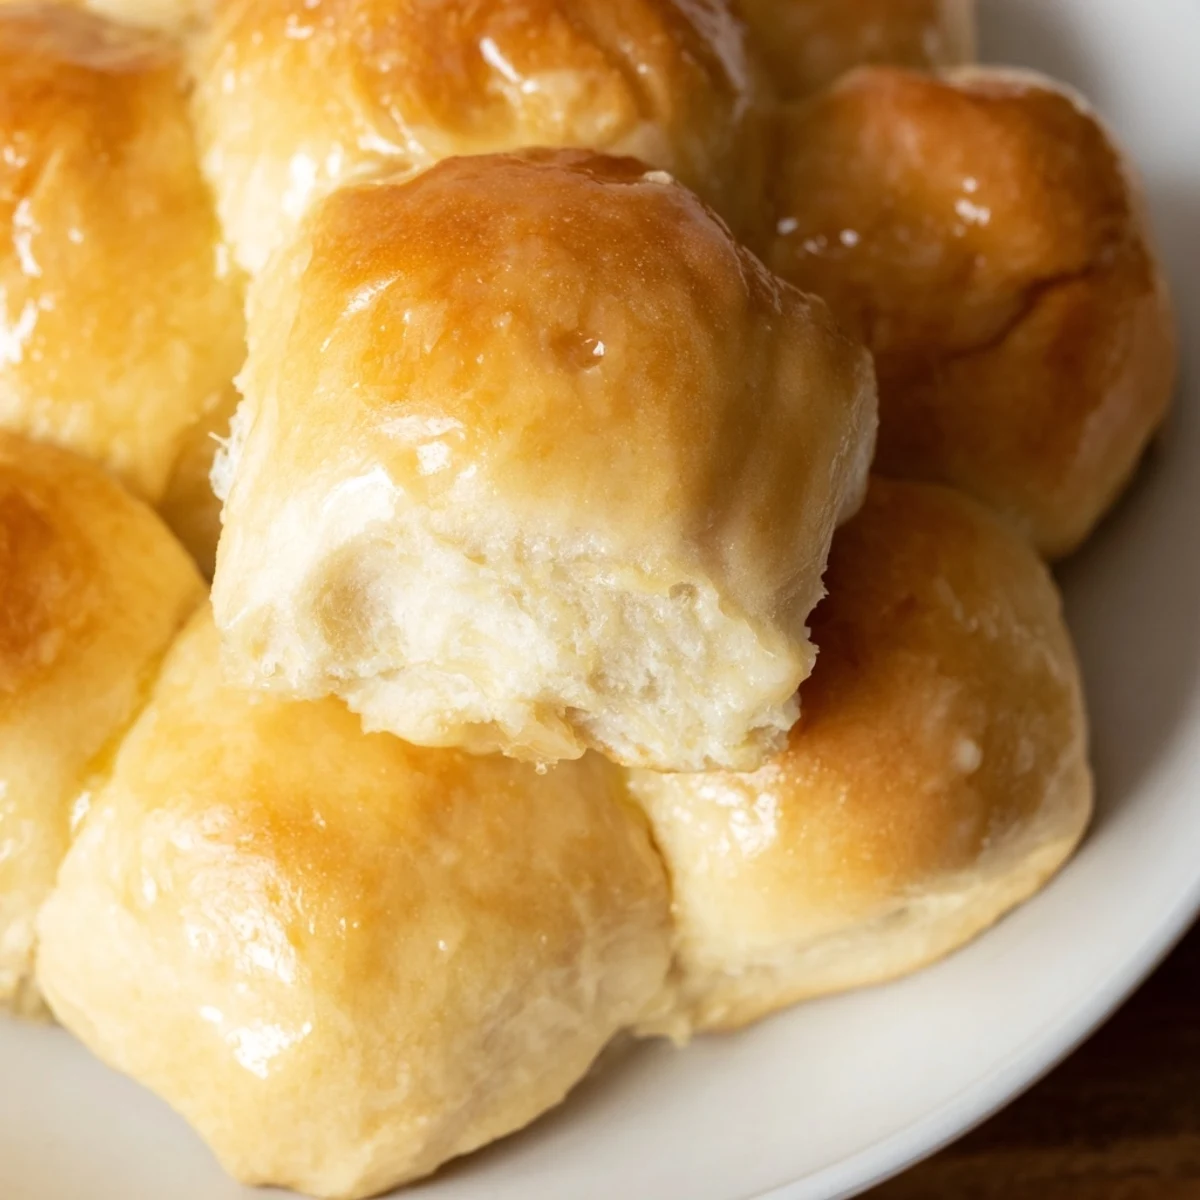
Save My roommate now requests these specifically on rainy Sundays, claiming they make the whole apartment feel cozier. There's something about pulling apart a warm, buttery roll with your hands that feels like a hug in food form.
Making Them Ahead
I've discovered these rolls actually develop better flavor if you let the first rise happen slowly in the refrigerator overnight. The dough becomes easier to handle too, which is helpful if you're new to bread shaping. Just bring them to room temperature before shaping and baking as directed.
Freezing Instructions
Fully baked rolls freeze beautifully for up to three months. Wrap them individually in plastic wrap, then place in a freezer bag. Thaw on the counter for an hour, then pop in a 350°F oven for 5 minutes to restore that fresh baked warmth.
Serving Suggestions
These rolls shine alongside vegan roasts, hearty soups, or as sandwich bases for the next day's leftovers. The texture holds up remarkably well. I love serving them with flavored vegan butters like garlic herb or maple cinnamon for brunch.
- Add roasted garlic cloves to the dough for an savory twist
- Brush with olive oil and coarse salt instead of vegan butter variation
- Shape into knots for a more casual dinner party presentation
 Save
Save Nothing compares to breaking warm bread with people you love, especially when nobody believes these rolls are entirely plant-based. Happy baking, friend.
Recipe FAQs
- → What type of milk works best for these rolls?
-
Unsweetened plant-based milks like almond, soy, oat, or cashew milk provide the ideal liquid base, contributing moisture and tenderness.
- → Can I add herbs or spices to the dough?
-
Yes, adding fresh herbs or garlic powder to the dough enhances flavor and complements the soft texture.
- → How long should the dough rise?
-
The dough requires about 1 hour for the first rise until doubled, then 30 minutes after shaping for a puffy texture.
- → What is the best way to ensure soft rolls?
-
Kneading the dough until smooth and elastic and brushing melted vegan butter immediately after baking helps keep the rolls tender.
- → Can these rolls be frozen for later use?
-
Yes, once cooled, the rolls freeze well and can be gently reheated before serving to restore freshness.