 Save
Save Create authentic flaky croissants without gluten using our carefully tested laminated dough method. The secret lies in the butter block technique and proper folding—three complete turns create those signature airy layers. While the process spans several hours due to essential chilling periods, most of that time is hands-off. The result yields eight golden, crescent-shaped pastries with a shatteringly crisp exterior and tender, buttery interior that rivals traditional versions.
The gluten-free flour blend with xanthan gum provides the necessary elasticity for rolling and folding, while the cold butter creates steam during baking for perfect rise. Expect rich flavor from butter and subtle sweetness, plus that satisfying flaky texture that makes fresh croissants irresistible. These freeze beautifully after baking for quick weekday breakfasts.
The first time I attempted gluten-free croissants, my kitchen looked like a flour bomb had gone off and I was convinced Id created the worlds most expensive paperweights. Three failed attempts later, my sister took one bite of this batch and actually asked if I was joking about them being gluten-free. Now theyre the only thing my celiac aunt requests for every family gathering.
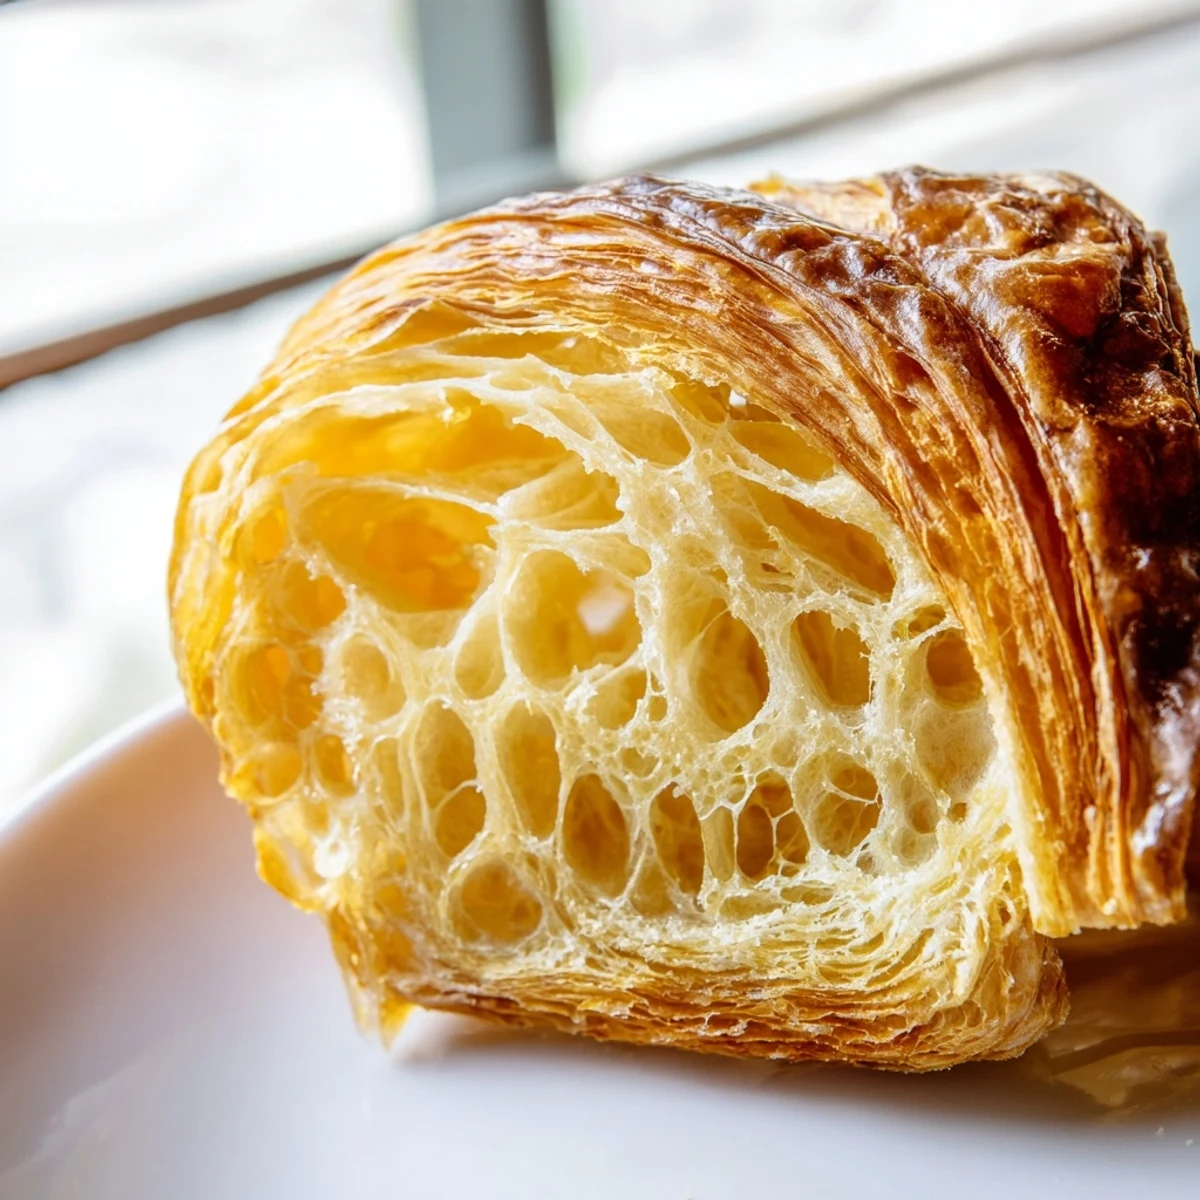
Last Christmas morning, I made these while my visiting in-laws watched from the kitchen table, genuinely skeptical. Watching their faces when they pulled apart the first warm, honeycombed croissant was the best gift I could have asked for. My father-in-law, a former Paris resident, grudgingly admitted they were actually the real deal.
Ingredients
- Gluten-free all-purpose flour: The xanthan gum in the blend is non-negotiable here for structure and elasticity
- Instant dry yeast: No proofing needed, which means one less bowl to wash later
- Warm milk: Think bathwater temperature, any hotter and you will kill your yeast before it even starts working
- Room temperature egg: Planning ahead matters here because cold egg will seize your softened butter into weird little lumps
- Cold butter block: The colder your butter, the better your lamination will turn out, so do not skip the chilling
Instructions
- Make the dough base:
- Whisk your dry ingredients together first so everything distributes evenly, then mix in the milk and egg until you have a soft, sticky dough that holds together when pressed
- Work in the butter:
- Beat the softened butter into the dough until it disappears completely, then wrap and chill for an hour so the flour can hydrate fully
- Prepare butter layer:
- Smash your cold butter between parchment until you have an even rectangle, then keep it chilled until you need it or it will melt into your dough instead of creating separate layers
- First lamination fold:
- Roll your dough into a rectangle, place the butter in the center, fold the dough over it like you are wrapping a present, then roll out and fold into thirds before chilling
- Second and third folds:
- Repeat the roll and fold process two more times with 30-minute chilling between each fold, keeping everything as cold as possible to maintain distinct layers
- Shape into triangles:
- Cut your dough into eight triangles, then roll from the wide end to the point, tucking the tip underneath so they hold their shape while baking
- Proof until puffy:
- Let them rise in a warm spot until they jiggle like a water balloon when you gently poke them, about two hours
- Egg wash and bake:
- Brush the entire surface with egg wash, then bake at 400 degrees until they are deeply golden all over
 Save
Save These have become my go-to whenever I need to prove that gluten-free baking is not about making do with less. Last month, my friend who is normally suspicious of anything labeled GF took one to work and ended up giving the recipe to three different colleagues.
Working with Gluten-Free Dough
GF dough behaves differently than wheat dough and will feel more fragile and slightly stickier. Use plenty of gluten-free flour on your work surface and handle it gently to avoid tearing the layers you have worked so hard to create.
Mastering the Lamination Process
Temperature control is everything in laminated dough. Work quickly and keep returning your dough to the fridge if the butter starts feeling soft, because once those butter layers melt, your flaky layers are gone forever.
Storage and Reheating
Fresh croissants are undeniably best, but leftovers can be frozen and reheated in a 350 degree oven for about 5 minutes.
- Wrap cooled croissants individually before freezing for maximum freshness
- A quick 10-second zap in the microwave can refresh day-old croissants before a final oven crisping
- Never store croissants in the refrigerator or they will go stale overnight
 Save
Save There is something deeply satisfying about pulling a tray of these out of the oven, golden and impossibly flaky. I hope they become a staple in your kitchen too.
Recipe FAQs
- → What makes these croissants gluten-free?
-
These use a certified gluten-free all-purpose flour blend containing xanthan gum, which replaces the elasticity normally provided by gluten. The xanthan gum helps the dough stretch during lamination while maintaining structure for proper layering.
- → Why is the dough chilled multiple times?
-
Chilling keeps the butter firm, which is crucial for creating distinct layers. If the butter softens, it blends into the dough instead of staying separate, resulting in dense pastries rather than flaky ones. Each fold requires a 30-minute chill.
- → Can I make these dairy-free?
-
Absolutely. Substitute cold plant-based butter sticks for the butter layer and softened vegan butter in the dough. Use your preferred non-dairy milk. The texture remains excellent, though flavor may vary slightly based on your butter choice.
- → How do I know when croissants are fully proofed?
-
Properly proofed croissants look noticeably puffy and jiggle slightly when gently shaken. They should increase in size by about half and feel like marshmallows when lightly touched. Under-proofed ones won't achieve maximum rise in the oven.
- → Why are my croissants not flaky?
-
This usually happens if the butter melted into the dough during lamination—often from working in a warm kitchen or insufficient chilling between folds. Ensure your kitchen stays cool and never skip the chilling steps. Rolling too vigorously can also merge layers.
- → Can I freeze croissants?
-
Bake completely, cool thoroughly, then freeze in an airtight container for up to 3 months. Reheat in a 350°F oven for 8-10 minutes to restore crispness. You can also freeze shaped unbaked croissants—let thaw overnight in the refrigerator, proof, then bake fresh.