 Save
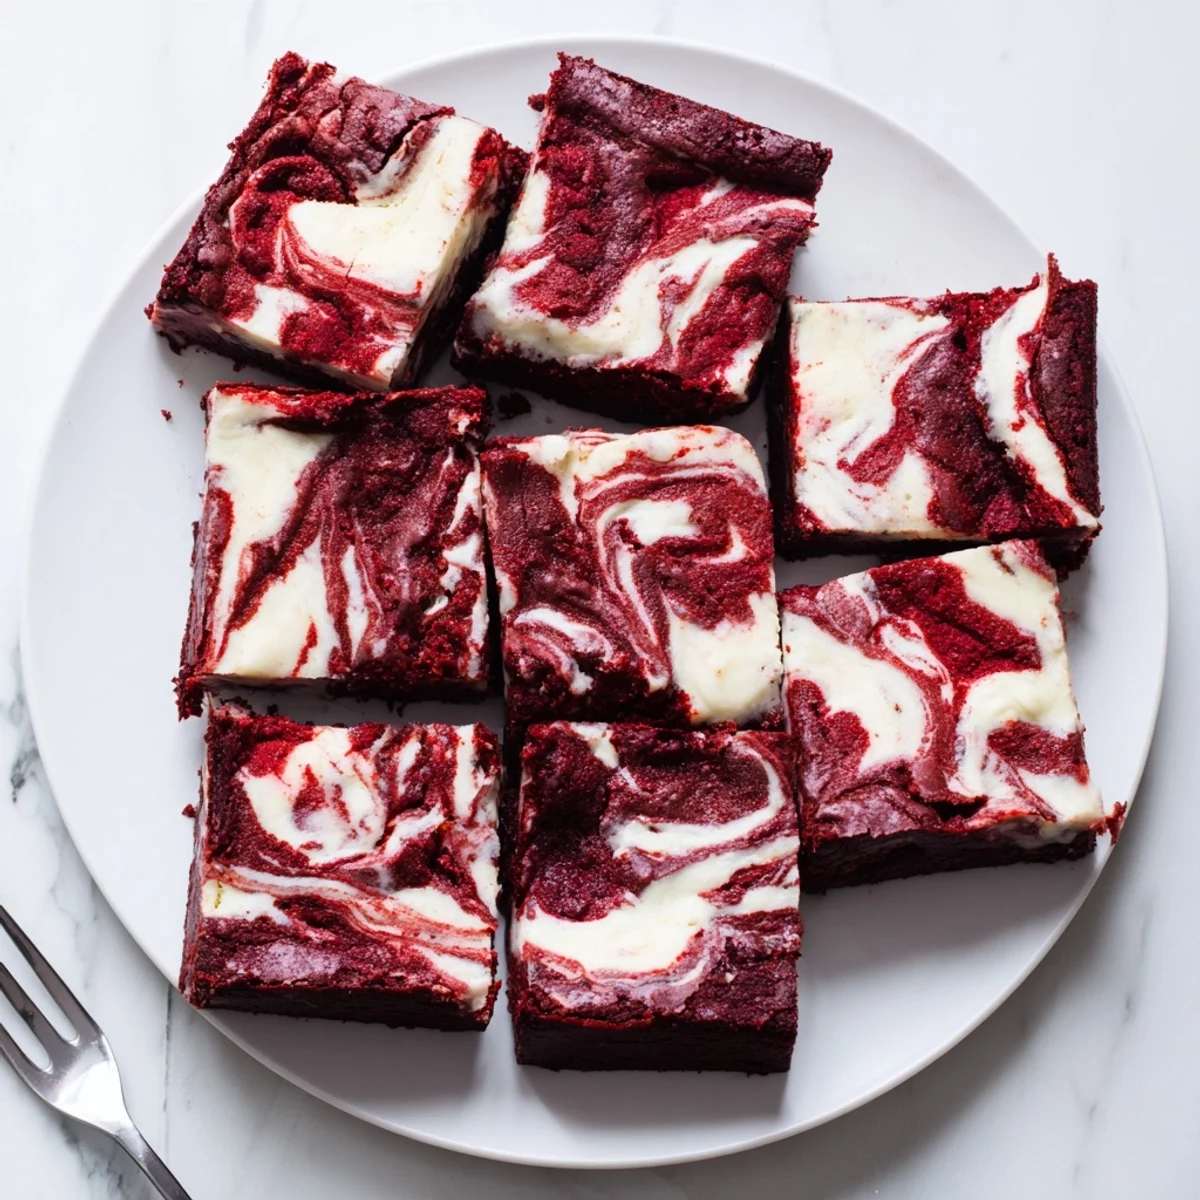
Save These stunning red velvet brownies combine the best of both worlds with a fudgy chocolate base and creamy cheesecake swirls. The vibrant red color contrasts beautifully with the white cheesecake layer, creating a marbled masterpiece that tastes as good as it looks. Perfect for holidays, Valentine's Day, or anytime you want to impress with something special.
The first time I made these, my kitchen looked like a crime scene. Red food coloring everywhere, but when I pulled that pan from the oven and saw those dramatic swirls, I knew every splatter was worth it.
I brought these to a friends birthday dinner last winter, and honestly, people were more excited about the marbled pattern than the actual birthday cake. The contrast of tangy cream cheese against deep chocolate velvet is something special.
Ingredients
- Unsalted butter: Melt it completely but let it cool slightly so it doesnt cook your eggs when you mix them in
- Red food coloring: Gel coloring gives you that vibrant crimson without adding extra liquid, but traditional drops work perfectly fine too
- Cream cheese: Set it out on the counter at least an hour before baking, because cold cream cheese creates lumpy swirls
- Cocoa powder: Dutch processed cocoa gives you that deep, dark chocolate flavor that balances the sweet cream cheese layer
- Large eggs: Room temperature eggs incorporate more evenly into both the brownie and cheesecake layers
Instructions
- Prepare your oven and pan:
- Heat your oven to 350°F and line an 8x8 inch pan with parchment paper, letting the paper hang over the edges like little handles for easy removal later.
- Make the red velvet batter:
- Whisk the melted butter and sugar until they turn glossy and smooth, then add both eggs, vanilla, and that stunning red food coloring until everything blends into a uniform scarlet.
- Add the dry ingredients:
- Sift in your flour, cocoa powder, and salt, then gently fold everything together until the flour streaks just disappear.
- Reserve some batter:
- Scoop out about 1/4 cup of that red velvet mixture and set it aside, then spread the remaining batter into your prepared pan.
- Whip up the cheesecake layer:
- Beat the softened cream cheese with sugar until completely smooth, then add the egg and vanilla and mix until the mixture turns silky and pourable.
- Layer and swirl:
- Pour the cheesecake mixture over the brownie base, then drop small spoonfuls of the reserved red velvet batter on top and run a knife through both layers to create those dramatic marbled patterns.
- Bake to perfection:
- Slide the pan into the oven for 33 to 36 minutes, checking that the center barely jiggles when you gently shake the pan.
 Save
Save My sister claimed she could taste the difference between room temperature and chilled brownies, honestly she might be right about the texture change.
The Swirl Technique
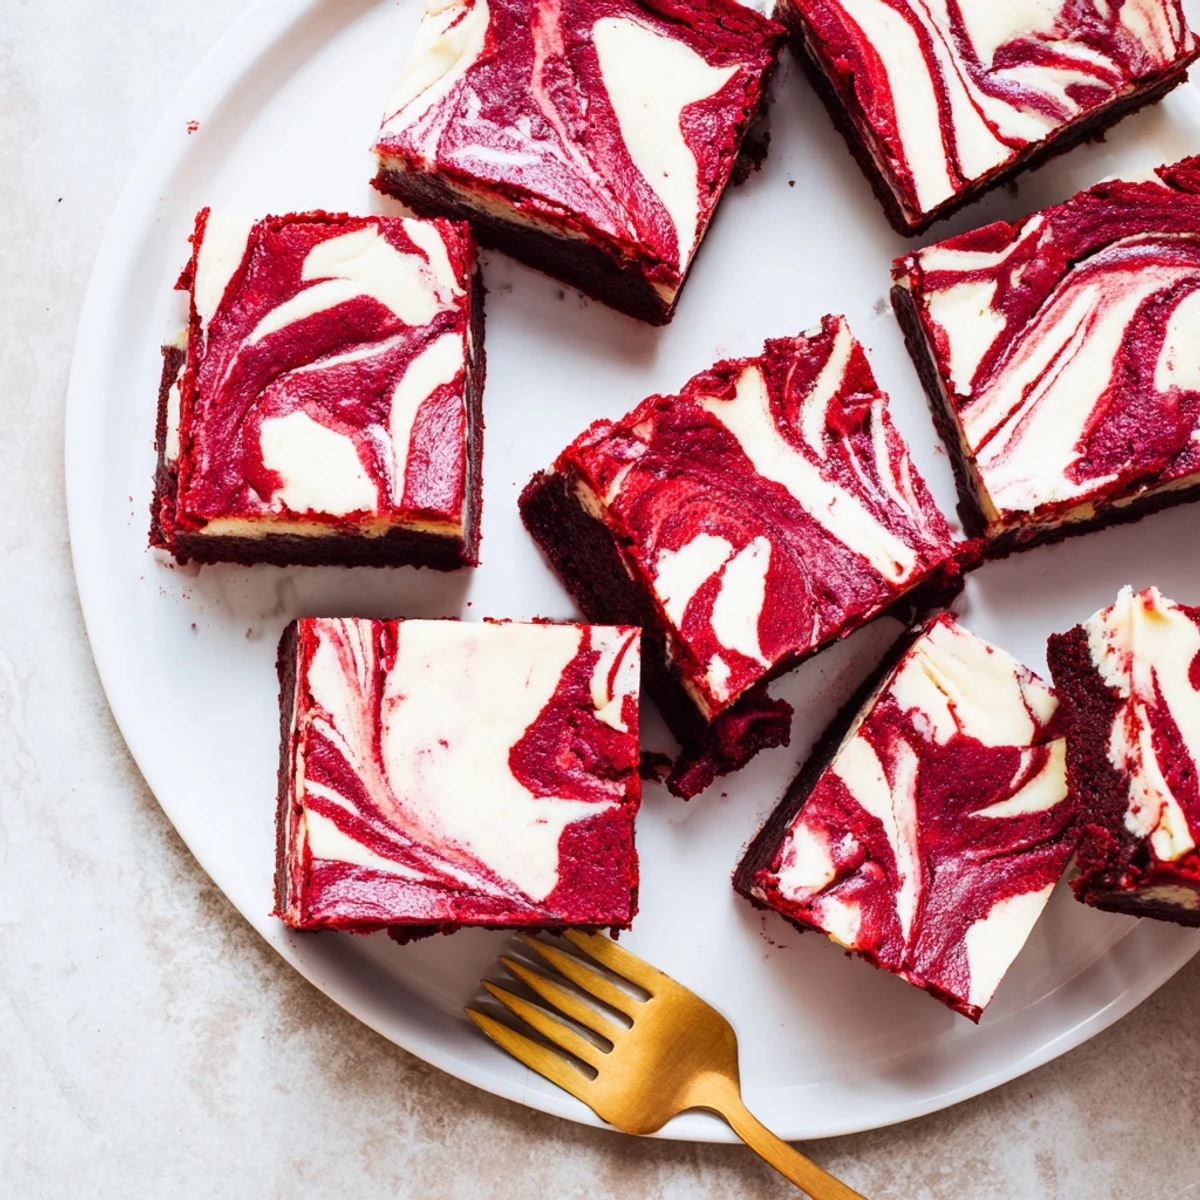
After years of making marbled desserts, I have learned that running your knife through the batter in a figure eight pattern creates more dramatic swirls than simple circles.
Pan Size Matters
An 8x8 inch pan gives you the ideal thickness, but if you only have a 9x9, reduce the baking time by about 4 minutes to prevent drying out.
Make Ahead Storage
These actually taste better on day two, when the flavors have had time to mingle and the textures have fully set.
- Wrap the entire uncut pan tightly and store in the refrigerator overnight
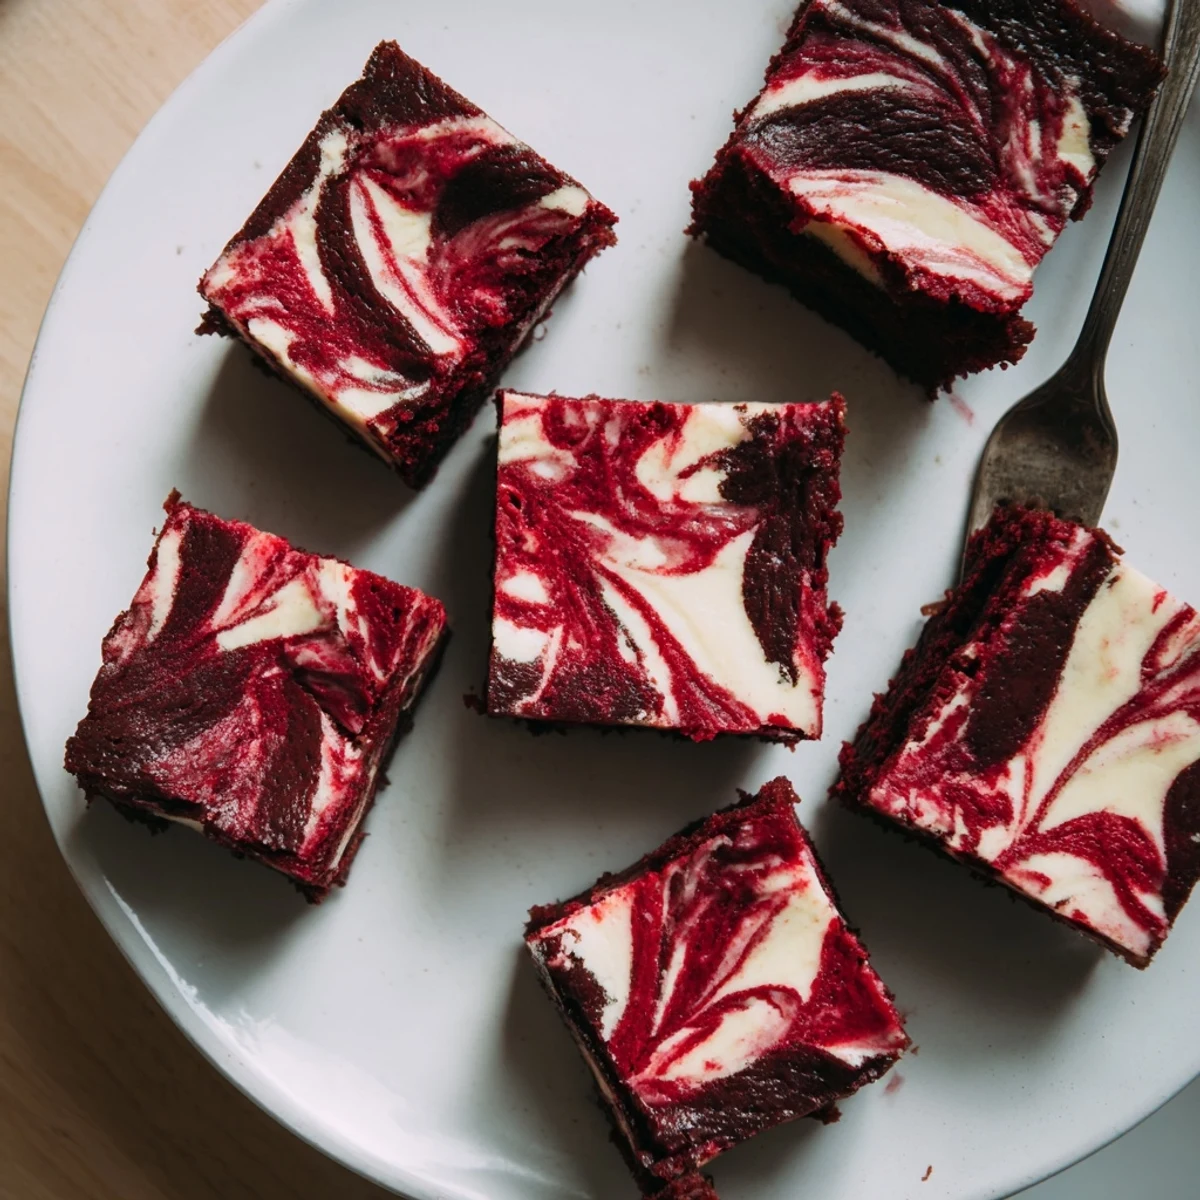
- Let them sit at room temperature for 20 minutes before slicing for cleaner edges
- Place a paper towel between layers when stacking in containers
 Save
Save There is something genuinely satisfying about cutting into that first square and seeing the pattern you created, then watching someone is face light up when they take that first bite.
Recipe FAQs
- → How do I know when the brownies are done baking?
-
Insert a toothpick into the center—it should come out with a few moist crumbs but not wet batter. The edges should be slightly set while the center still has a slight jiggle.
- → Can I make these ahead of time?
-
Absolutely! These actually taste better after chilling overnight. Store in the refrigerator for up to 5 days, or freeze individually wrapped portions for up to 3 months.
- → Why did my cheesecake layer sink into the brownie batter?
-
This usually happens if the brownie batter is too thin. Make sure to fold the flour mixture just until combined—overmixing can thin the batter. Chilling the cheesecake mixture for 10 minutes before pouring also helps.
- → Can I use natural food coloring instead of red dye?
-
Beet juice or pomegranate juice can work, but the color will be more muted. For the vibrant red classic look, gel food coloring gives the best results with less liquid.
- → Should I serve these chilled or at room temperature?
-
Both ways are delicious! Chilled gives a firmer, fudgier texture while room temperature makes them softer and more tender. Let chilled brownies sit for 15 minutes before serving for the best experience.