 Save
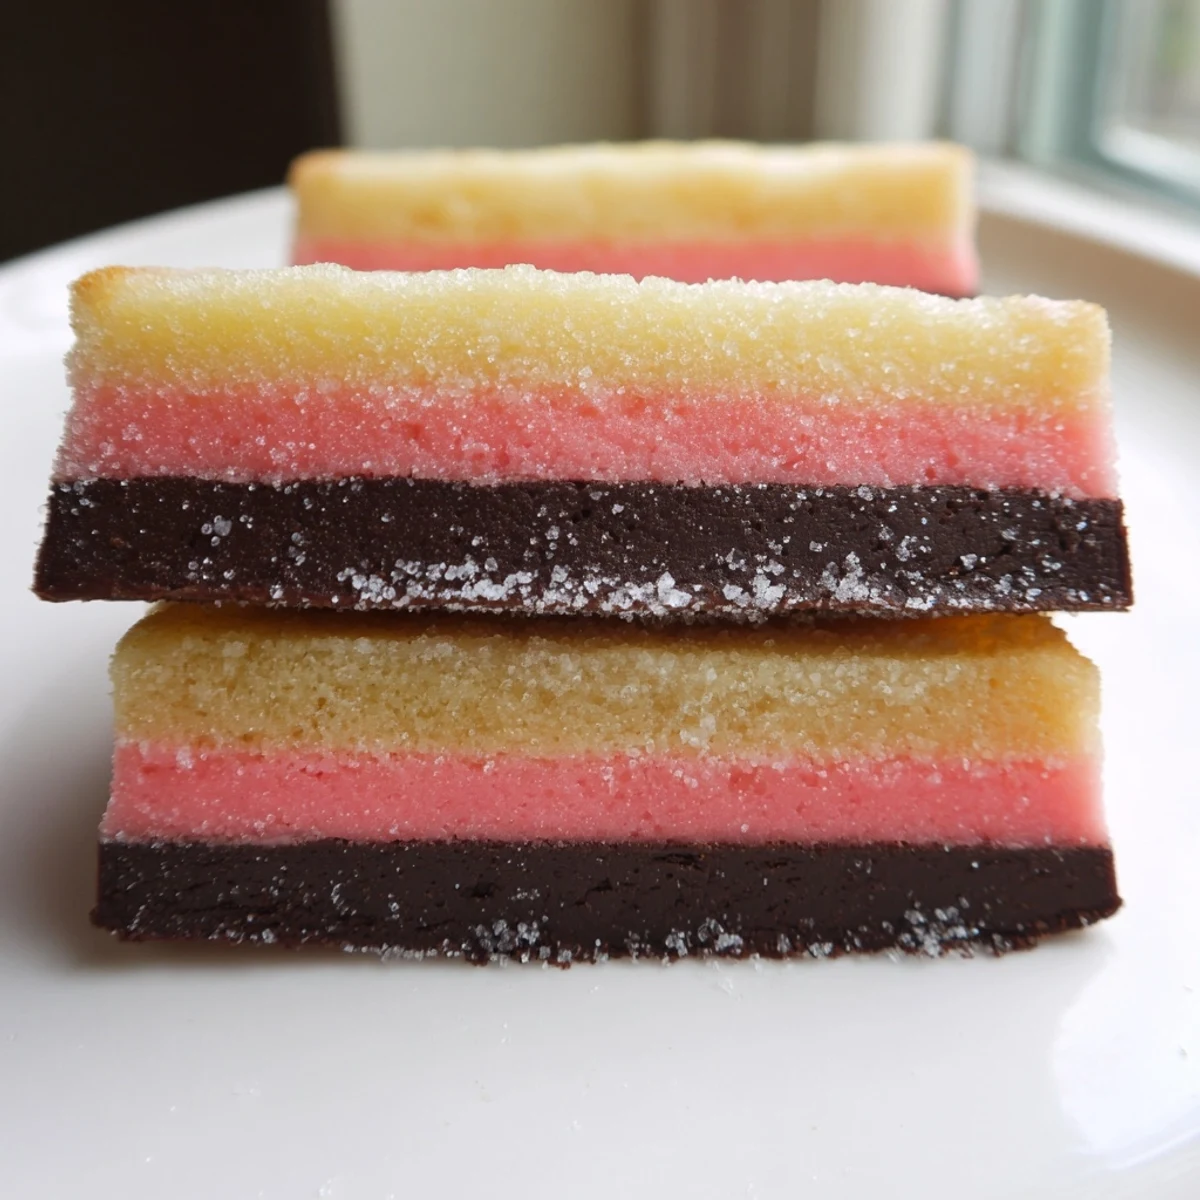
Save These Neapolitan cookies bring together three classic flavors in one beautiful, layered treat. Inspired by the iconic ice cream, each cookie features a chocolate layer, a vanilla layer, and a strawberry layer stacked together and sliced to reveal a stunning tri-color pattern.
The base dough is simple to prepare, then divided and flavored with cocoa powder and freeze-dried strawberry powder. After a brief chill to firm up, the dough slices cleanly into perfect rounds that bake up soft and buttery.
They're ideal for holidays, bake sales, or anytime you want a playful, eye-catching cookie that tastes as good as it looks.
The ice cream truck jingle still plays in my head every time I pull a tray of these tri colored beauties from the oven. Neapolitan cookies capture that childhood excitement of not having to choose just one flavor, stacking chocolate, vanilla, and strawberry into a single buttery bite. My niece declared them "the cookies that can not make up their mind," which is honestly the best description I have ever heard.
I brought a tin of these to a neighborhood potluck last summer and watched a quiet afternoon turn into a full on debate about which layer tastes best. The chocolate crowd was vocal, but the strawberry fans were fiercely loyal, and somehow the vanilla purists won by refusing to argue and just eating calmly.
Ingredients
- All-purpose flour (2 and a half cups): The structural backbone of the cookie, giving each layer enough body to hold its shape during slicing and baking.
- Baking powder (1 tsp): Just enough lift to keep these tender without turning cakey.
- Salt (half tsp): Balances the sweetness and wakes up the butter flavor in a way you will miss if you skip it.
- Unsalted butter, softened (1 cup): Use good butter here because it carries the flavor, and make sure it is truly soft but not melted for the best texture.
- Granulated sugar (1 and a quarter cups): Sweetens the base dough evenly so no single layer overpowers the others.
- Large eggs (2): Binds everything together and adds richness to the crumb.
- Pure vanilla extract (2 tsp): The soul of the vanilla layer and a quiet booster for all three sections.
- Freeze-dried strawberry powder (1 tbsp): This is the magic ingredient that gives the strawberry layer real fruit flavor and a dusty pink hue without adding moisture.
- Unsweetened cocoa powder (2 tbsp): Delivers deep chocolate flavor to that layer while keeping the dough consistency consistent across all three.
- Milk (1 tsp): Just a splash to help the cocoa powder blend smoothly into the dough without drying it out.
Instructions
- Whisk the dry foundation:
- In a medium bowl, whisk together the flour, baking powder, and salt until evenly distributed. Set this aside while you work on the butter mixture so the leavening does not settle.
- Cream butter and sugar:
- In a large bowl, beat the softened butter and sugar with an electric mixer until the mixture turns pale, light, and fluffy, which usually takes about two minutes of patient mixing.
- Add eggs and vanilla:
- Beat in the eggs one at a time, letting each fully incorporate before adding the next, then pour in the vanilla extract and mix until fragrant.
- Combine wet and dry:
- Gradually add the flour mixture to the butter mixture on low speed, mixing only until the last streak of white disappears to keep the cookies tender.
- Divide into three:
- Split the dough into three roughly equal portions, using a kitchen scale if you want precision, or just eyeball it like I do and adjust by pinching from one to another.
- Create the strawberry layer:
- Add the freeze-dried strawberry powder to one portion and knead it in with your hands or a spatula until the color is uniform and no pale streaks remain.
- Build the chocolate layer:
- Add the cocoa powder and milk to the second portion, mixing until the dough turns a rich brown and smells like a bakery at midnight.
- Keep the vanilla layer pure:
- Leave the final portion exactly as it is, which is its own quiet kind of perfection.
- Shape into rectangles:
- On sheets of parchment paper or plastic wrap, press each dough portion into a flat rectangle about eight by four inches, keeping the thickness as even as you can manage.
- Stack and press:
- Layer the rectangles directly on top of each other, pressing gently so they adhere without squishing the layers together too aggressively.
- Chill until firm:
- Wrap the stacked dough tightly and refrigerate for at least forty five minutes until it is firm enough to slice cleanly without warping.
- Preheat and prepare:
- Heat your oven to 350 degrees Fahrenheit and line baking sheets with parchment paper while the dough finishes firmming up.
- Slice with care:
- Use a sharp knife to cut the dough crosswise into quarter inch thick slices, arranging them one inch apart on the prepared sheets so they have room to spread slightly.
- Bake until just set:
- Bake for ten to twelve minutes, watching for edges that are just beginning to turn golden while the centers still look soft and pale.
- Cool properly:
- Let the cookies rest on the baking sheet for five minutes before moving them to a wire rack, where they will finish cooling and firming up beautifully.
 Save
Save There is something deeply satisfying about cutting into that chilled log and seeing three perfect stripes appear on the knife. It feels less like baking and more like revealing a small edible painting you assembled with your own hands.
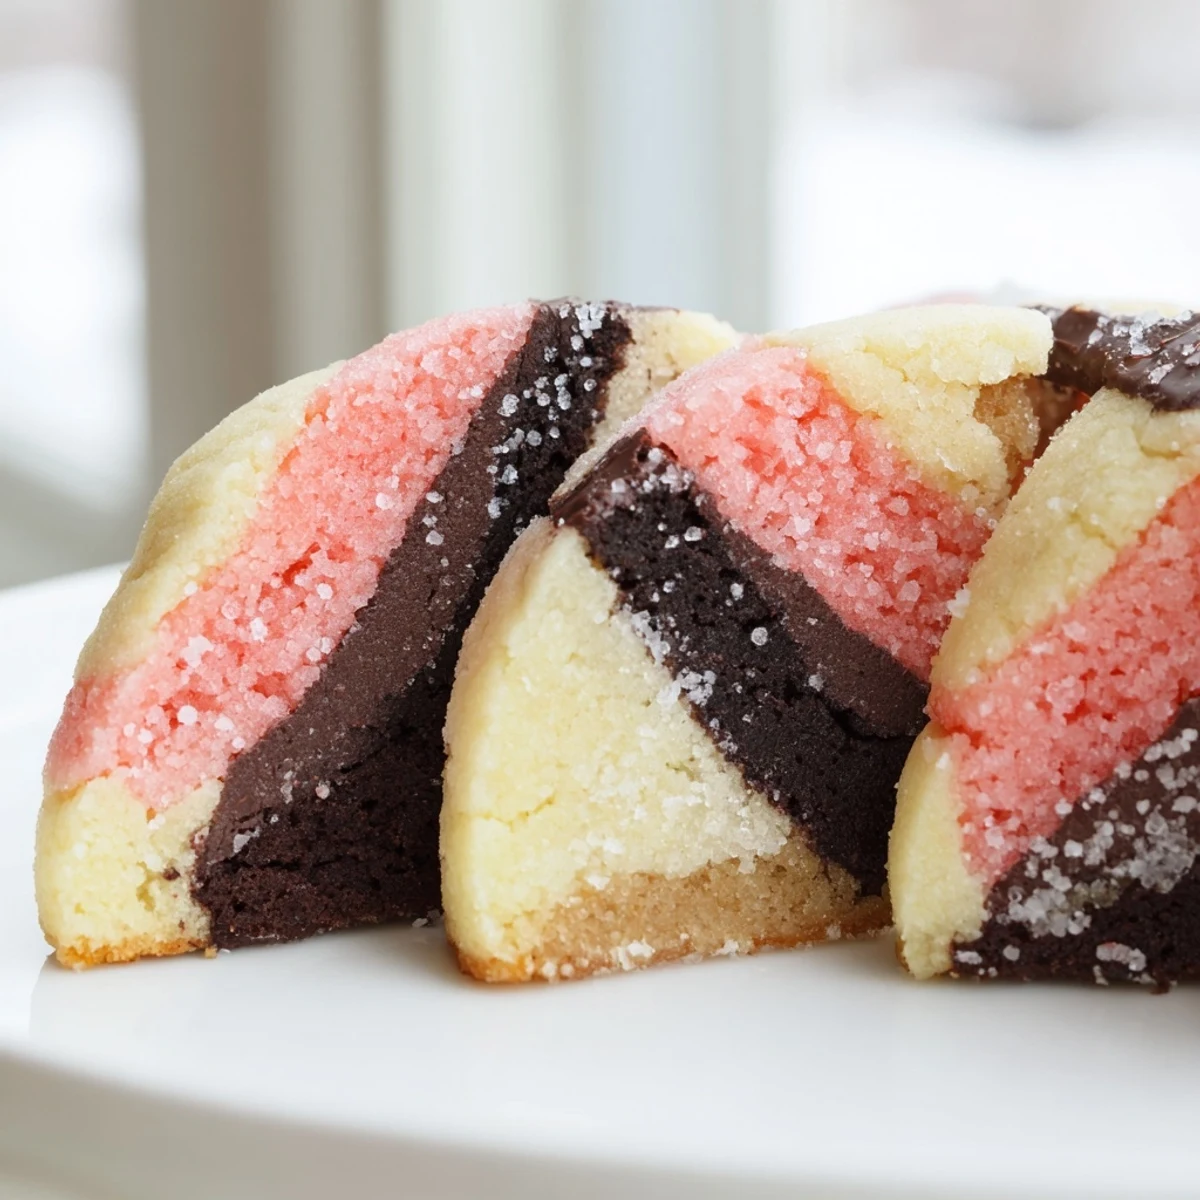
Getting Those Clean, Pretty Layers
The secret to bakery worthy Neapolitan cookies is patience during the chilling step and a very sharp knife. I learned the hard way that a dull blade drags through the dough, smudging the boundary between chocolate and vanilla until everything looks muddy rather than distinct.
Flavor Twists Worth Trying
Raspberry powder makes a lovely substitute for strawberry, adding a tangier, more adult flavor to the pink layer. A friend of mine swaps the cocoa for espresso powder and calls them breakfast cookies, which I respect but do not fully endorse with my morning coffee.
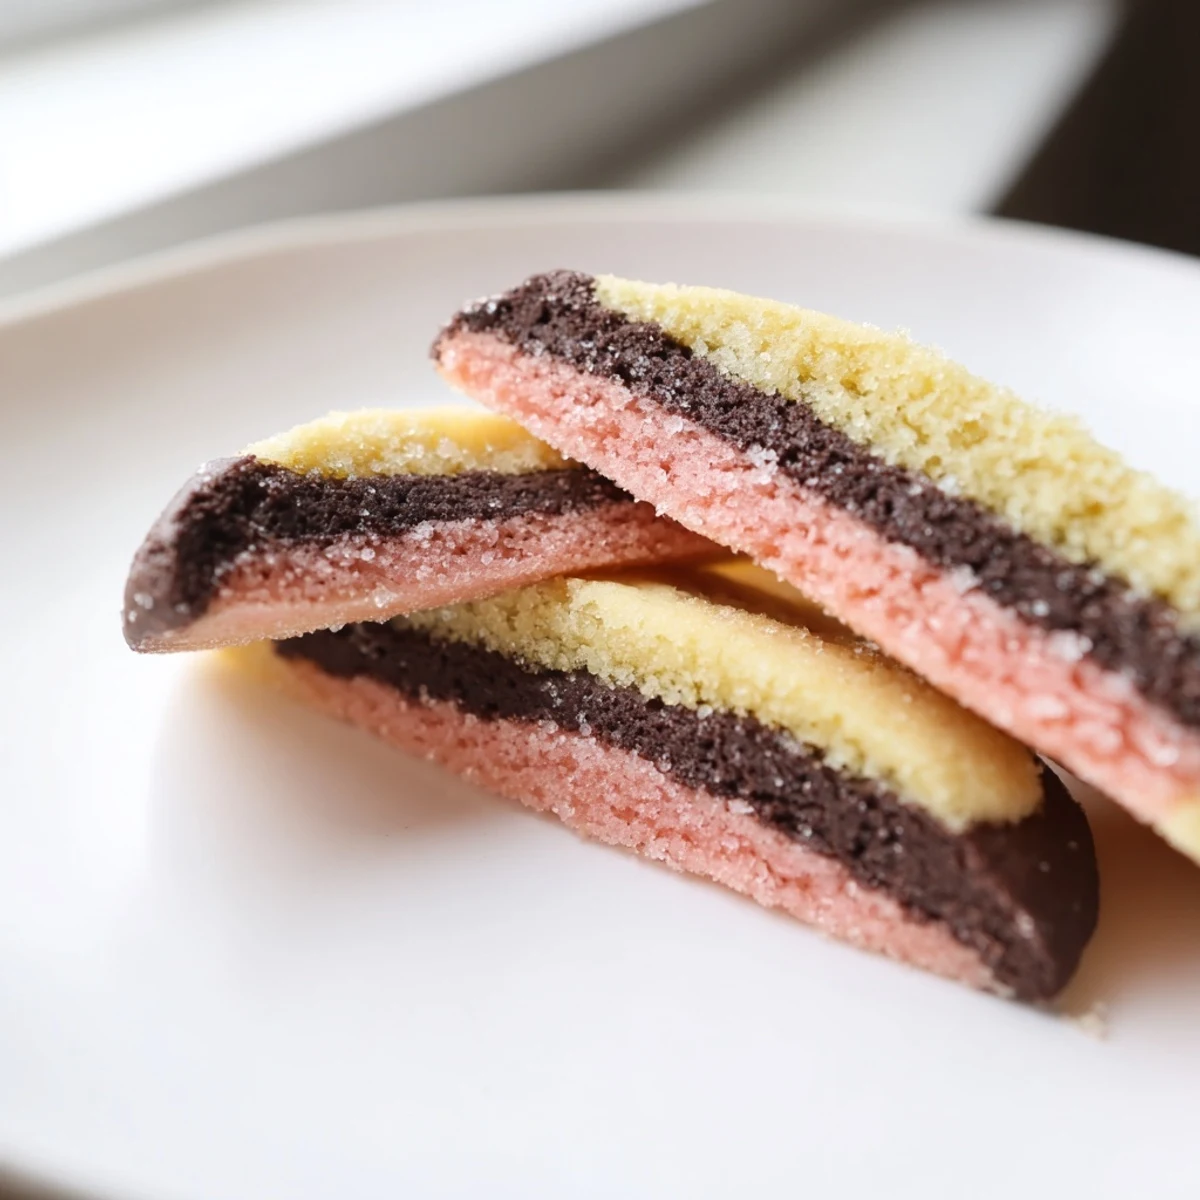
Storing and Sharing
These cookies store beautifully in an airtight container for up to a week, and the flavors actually deepen a little after the first day. They also freeze well for up to three months, which means you can stash a batch for unexpected guests or late night cravings.
- Separate layers with parchment paper if stacking to prevent sticking.
- Dip cooled cookies in melted chocolate for an extra indulgent finish that makes them gift worthy.
- Always label the container with the date so you remember when you made them.
 Save
Save Every batch reminds me that the best things in the kitchen, and maybe in life, come from refusing to pick just one. These cookies are proof that chocolate, vanilla, and strawberry were always meant to share the same plate.
Recipe FAQs
- → Can I make the dough ahead of time?
-
Yes, the assembled dough log can be wrapped tightly and refrigerated for up to 3 days before slicing and baking. You can also freeze it for up to 2 months—just thaw in the fridge overnight before using.
- → What can I use instead of freeze-dried strawberry powder?
-
If you can't find freeze-dried strawberry powder, you can use 2 drops of pink or red food coloring along with ½ teaspoon of strawberry extract. This will give you both the color and flavor needed for the strawberry layer.
- → Why did my cookies spread too much during baking?
-
Spreading usually means the dough wasn't chilled long enough. Make sure to refrigerate the assembled log for at least 45 minutes until it's very firm. You can also pop the sliced cookies in the fridge for 10 minutes before baking if your kitchen is warm.
- → How should I store baked Neapolitan cookies?
-
Store cooled cookies in an airtight container at room temperature for up to one week. You can layer them between sheets of parchment paper to prevent sticking and keep the colors vibrant.
- → Can I use different flavors for the three layers?
-
Absolutely. You can swap the strawberry layer for raspberry powder, add lemon zest and yellow coloring for a citrus version, or use matcha powder for a green tea layer. The key is keeping the added flavorings dry enough to maintain the same dough consistency across all three portions.
- → How thick should I slice the dough?
-
Aim for ¼-inch thick slices using a sharp knife. Cut in a smooth, single downward motion to keep the layers clean and distinct. If the dough sticks to the knife, wipe the blade between cuts with a damp cloth.