 Save
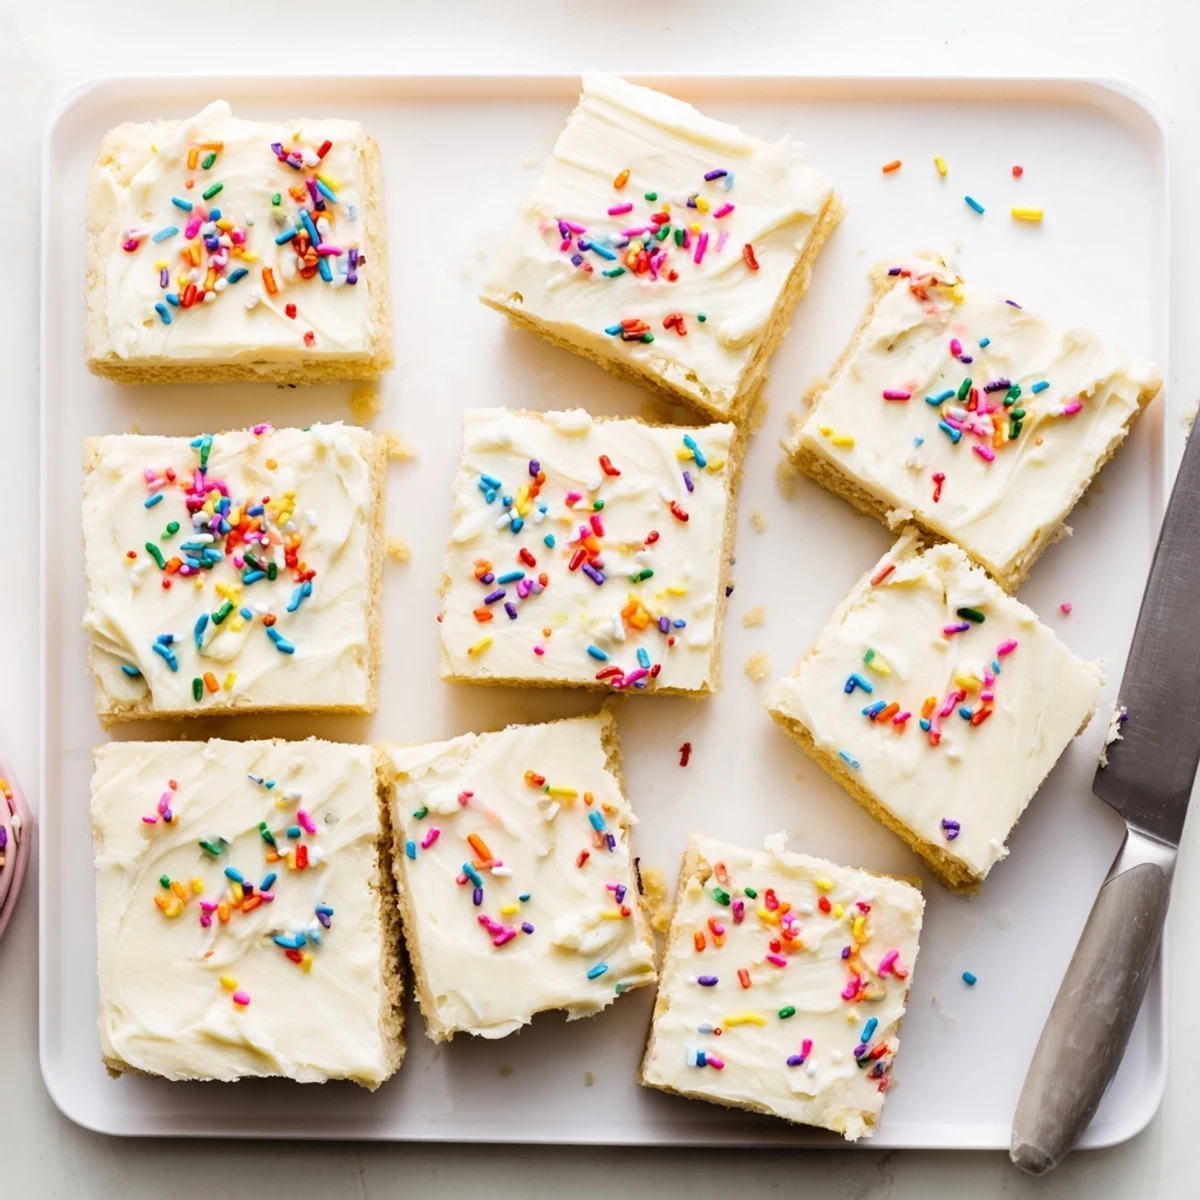
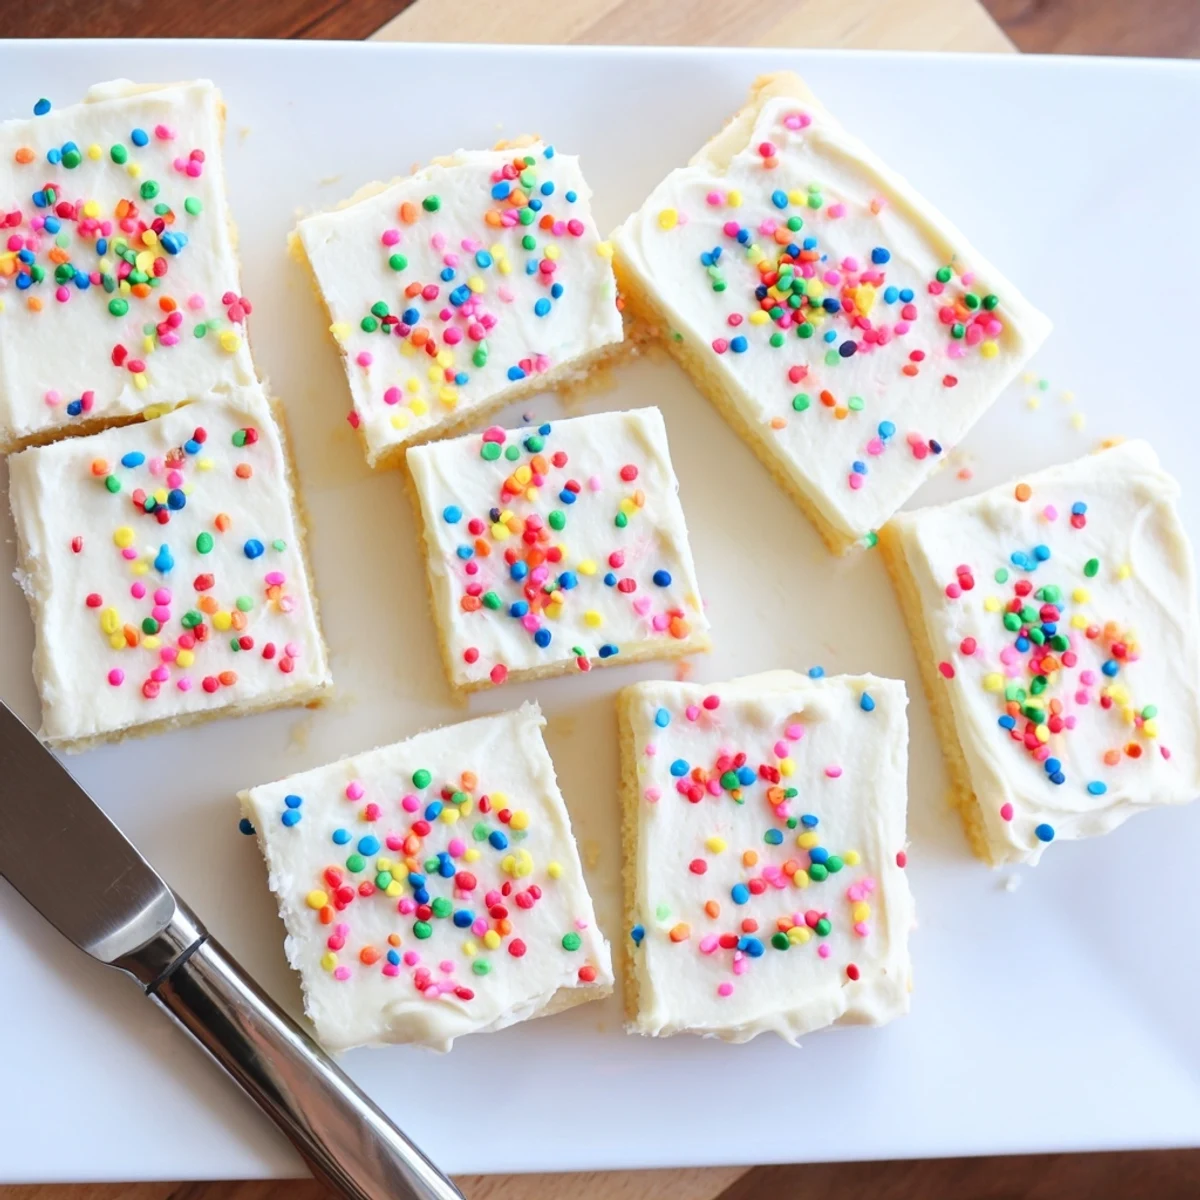
Save These soft, buttery sugar cookie bars feature a tender crumb and are topped with smooth, creamy frosting that can be customized with any colors you like. The base dough comes together quickly with pantry staples, bakes in under 25 minutes, and stays perfectly moist thanks to the combination of whole milk and egg yolk. The frosting whips up light and fluffy, spreading easily over the completely cooled base. The 9x13 pan yields 16 generously sized bars, making this ideal for feeding a crowd at birthdays, holidays, or casual gatherings. You can easily adapt the flavors with different extracts in the frosting or swap in plant-based ingredients for dietary needs.
The oven timer went off during my niece's birthday party, and those frosted sugar cookie bars vanished faster than I could cut them. Kids were grabbing squares with frosting covered fingers before I even set the plate down. That chaos told me everything I needed to know about this recipe.
I brought a tray of these to a potluck last December and three people asked for the recipe before dessert was even served. One friend stood near the pan eating corners while pretending to help me clean up.
Ingredients
Cookie Bars
- 2 1/4 cups (280 g) all-purpose flour: Provides the sturdy but tender structure, so measure with the spoon and level method to avoid dense bars.
- 1/2 teaspoon baking powder: Gives just enough lift to keep the bars soft without turning cakey.
- 1/2 teaspoon salt: Balances the sweetness and enhances the butter flavor throughout.
- 3/4 cup (170 g) unsalted butter, softened: The rich base of the entire cookie, so let it come to room temperature naturally for the best texture.
- 1 cup (200 g) granulated sugar: Sweetens evenly and helps cream into the butter for a light crumb.
- 1 large egg: Binds the dough together and adds moisture.
- 1 large egg yolk: The extra yolk is my secret for a chewier, more tender bar.
- 2 teaspoons pure vanilla extract: Use real extract here because the flavor really comes through in a simple dough.
- 1/4 cup (60 ml) whole milk: Loosens the dough just enough to spread smoothly into the pan.
Frosting
- 1/2 cup (115 g) unsalted butter, softened: Creates the silky base that makes this frosting spread like a dream.
- 2 cups (240 g) powdered sugar, sifted: Sifting is nonnegotiable unless you want lumpy frosting.
- 2 tablespoons whole milk: Adjust by tiny splashes until you reach the perfect spreading consistency.
- 1 teaspoon pure vanilla extract: Rounds out the sweetness with warm, fragrant depth.
- Food coloring (optional): A few drops go a long way, so add slowly and stir between additions.
- Sprinkles (optional): Press them gently into the frosting before it sets so they stick properly.
Instructions
- Get Your Pan Ready:
- Preheat the oven to 350 degrees Fahrenheit and line a 9 by 13 inch baking pan with parchment, leaving overhang on the sides like handles. This little trick saves you from ever fighting stuck bars again.
- Whisk the Dry Ingredients:
- In a medium bowl, whisk the flour, baking powder, and salt together until evenly blended. Set it aside so it is ready when you need it.
- Cream Butter and Sugar:
- Beat the softened butter and granulated sugar in a large bowl for about two to three minutes until the mixture looks pale and fluffy. You want it light because that aeration is what keeps the bars tender.
- Add Eggs and Vanilla:
- Drop in the whole egg, the extra yolk, and vanilla extract, then beat until everything is fully combined and smooth. The dough should look glossy and cohesive at this point.
- Combine Wet and Dry:
- On low speed, alternate adding the flour mixture and the milk to the butter mixture, starting and ending with the flour. Stop mixing as soon as the last streak of flour disappears.
- Spread the Dough:
- Transfer the thick dough into your prepared pan and use an offset spatula to spread it into an even layer. Take your time here because uneven bars bake inconsistently.
- Bake Until Just Set:
- Bake for 18 to 22 minutes until the edges are lightly golden and a toothpick from the center comes out with moist crumbs attached. The bars will continue setting as they cool, so pull them out before they look fully done.
- Cool Completely:
- Leave the bars right in the pan on a wire rack until they are completely cool to the touch. Frosting warm bars is a fast track to a melted mess.
- Make the Frosting:
- Beat the softened butter until creamy, then gradually add powdered sugar, milk, and vanilla, whipping until the frosting is light and fluffy. Add food coloring now if you are using it, stirring until uniform.
- Frost and Serve:
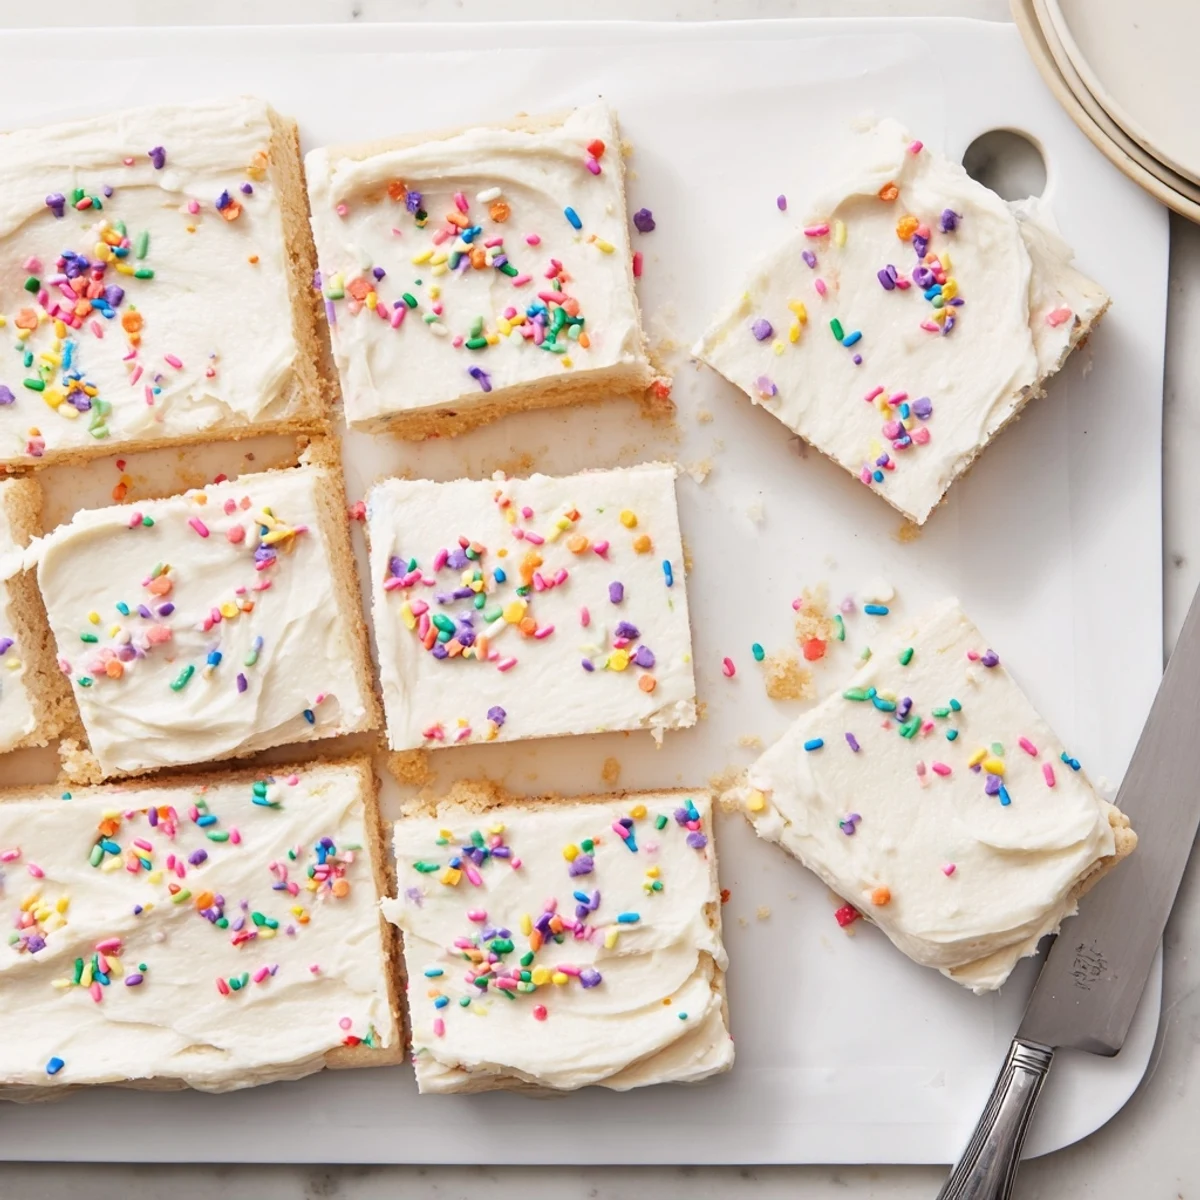
- Spread the frosting evenly over the cooled bars, top with sprinkles if desired, and use the parchment overhang to lift the whole slab out. Cut into squares and watch them disappear.
 Save
Save There is something deeply satisfying about lifting that entire slab of frosted cookie out of the pan in one piece, slicing it into neat squares while the frosting is still slightly soft.
Storing Your Cookie Bars
Keep leftovers in an airtight container at room temperature for up to three days, though in my house they rarely last past day two. If you stack them, place a sheet of parchment between layers so the frosting does not smear.
Making Them Your Own
Swap the vanilla extract in the frosting for almond or lemon extract and suddenly these bars feel like an entirely different dessert. During holidays I match the food coloring to the occasion and pile on seasonal sprinkles for zero extra effort.
Simple Swaps and Substitutions
Plant based butter and milk work well here if you need a dairy free version, though the flavor shifts slightly richer. Gluten free flour blends designed for baking can replace all purpose flour cup for cup with decent results.
- Let refrigerated butter sit out for at least an hour because cold butter leaves lumps in both the dough and frosting.
- Start with less milk in the frosting and add more drop by drop until you hit the right consistency.
- Always taste the frosting before spreading because this is your chance to adjust sweetness or add more vanilla.
 Save
Save Every time I make these bars, I remember that the best recipes are not the complicated ones but the ones people reach for again and again. Keep this one close because someone will always ask for it.
Recipe FAQs
- → Can I make these bars ahead of time?
-
Yes, you can bake the bars up to 2 days in advance. Wait to frost them until the day you plan to serve, then store in an airtight container at room temperature for up to 3 days.
- → Why did my bars turn out dry?
-
Overbaking is the most common cause. Remove from the oven when edges are lightly golden and a toothpick shows moist crumbs. The bars continue cooking slightly as they cool in the pan.
- → Can I freeze these frosted bars?
-
It's best to freeze the unfrosted bars. Wrap tightly in plastic and foil for up to 3 months. Thaw overnight at room temperature, then frost before serving.
- → How do I get perfectly smooth frosting?
-
Make sure the bars are completely cool before frosting. Use an offset spatula dipped in warm water and wipe it clean frequently for the smoothest finish.
- → Can I use different pan sizes?
-
A 9x13-inch pan is ideal for the proper thickness. Using a larger pan will make thinner bars that may bake faster, while a smaller pan will require longer baking time.
- → What's the best way to cut clean squares?
-
Chill the frosted bars for 30 minutes before cutting. Use a sharp knife wiped clean between cuts, and the parchment overhang helps lift the whole batch out easily.