 Save
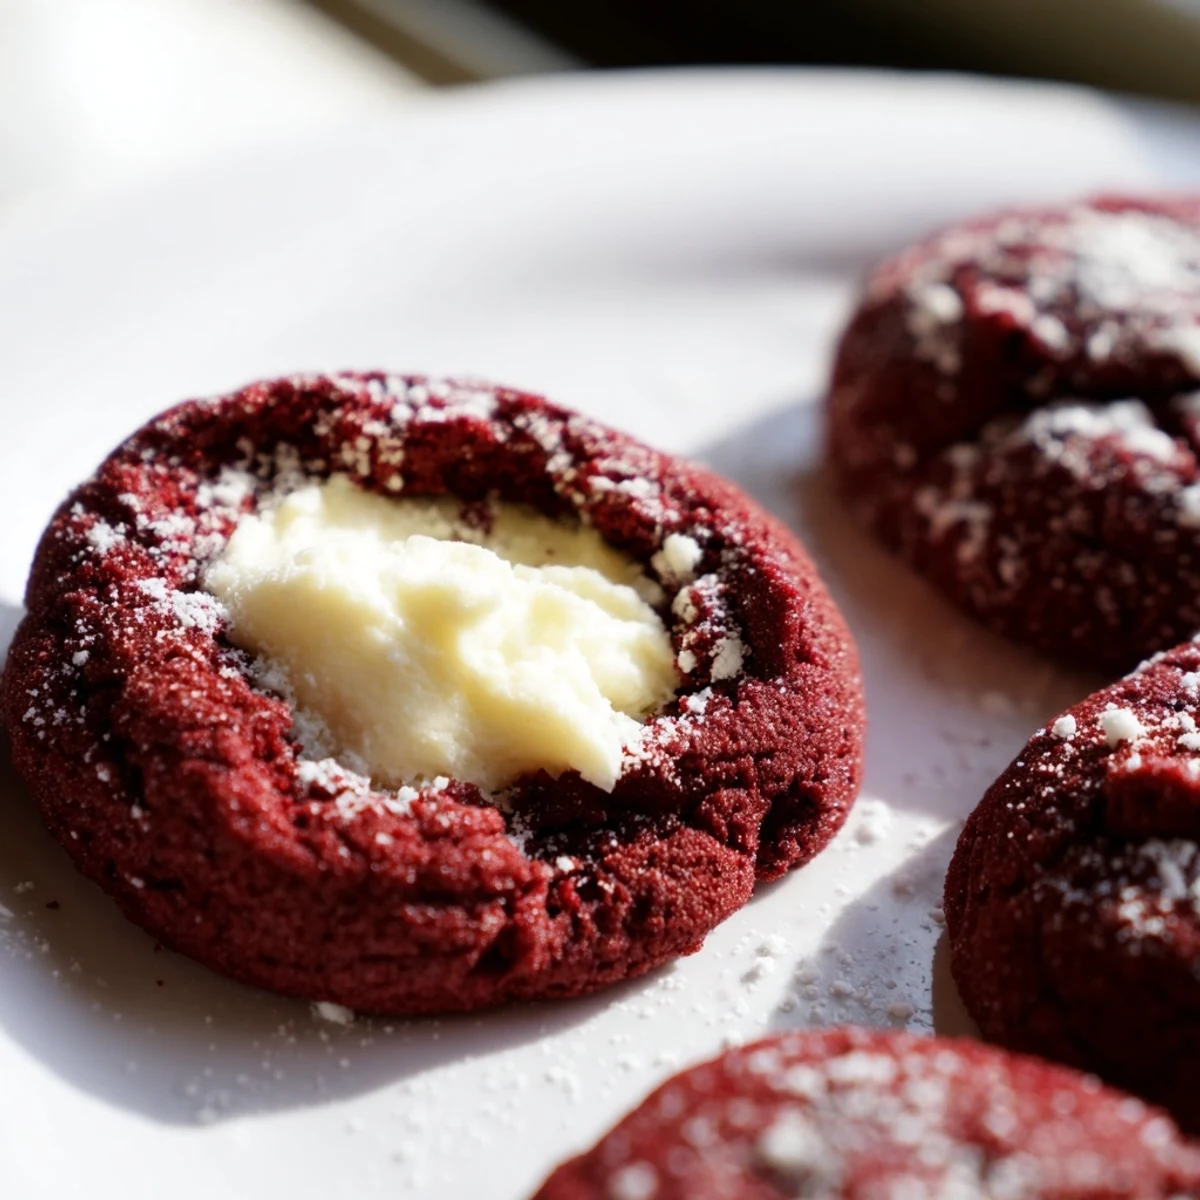
Save These rich red velvet thumbprint cookies combine cocoa-flavored dough with a tender crumb, filled with smooth cream cheese centers. The vibrant red exterior creates a striking presentation, while the velvety texture melts in your mouth. Perfect for holidays, parties, or whenever you crave something indulgent yet elegant.
The preparation comes together quickly—just 20 minutes of active work before baking. The thumbprint indentation creates the perfect vessel for the sweet, tangy cream cheese filling that balances the chocolate notes beautifully.
The first time I made red velvet thumbprint cookies, my kitchen looked like a crime scene. Red food coloring was everywhere and I may have accidentally dyed my cat's whiskers pink. But that first bite of chocolate tang meets creamy filling made every colorful mistake worth it.
My sister took one bite during our Christmas cookie exchange last year and actually gasped. She demanded the recipe immediately and has made them for every birthday and holiday since. Theres something about that red crumb against the white filling that makes people feel special.
Ingredients
- 1 1/4 cups (160 g) all-purpose flour: The foundation that gives these cookies their tender structure
- 2 tbsp (15 g) unsweetened cocoa powder: This small amount creates that signature red velvet depth without overpowering the delicate flavor
- 1/4 tsp baking soda: Just enough lift to give the cookies a light crumb without spreading too thin
- 1/4 tsp salt: Essential to balance the sweetness and amplify the chocolate notes
- 1/2 cup (115 g) unsalted butter, softened: Room temperature butter creates the perfect tender texture and rich flavor
- 3/4 cup (150 g) granulated sugar: Sweetens the dough while creating that crisp edge and soft center
- 1 large egg yolk: Adds richness and helps bind the dough without making it tough
- 1 tbsp whole milk: Just enough moisture to bring the dough together beautifully
- 1 tsp vanilla extract: Pure vanilla extract enhances both the chocolate and cream cheese flavors
- 1 tsp red food coloring: Gel coloring works best but liquid will do the job for that signature red velvet hue
- 115 g (4 oz) cream cheese, softened: The star of the filling creating that classic tangy sweetness
- 1/4 cup (30 g) powdered sugar: Sweetens the filling perfectly while keeping it smooth and pipeable
- 1/2 tsp vanilla extract: A second dose of vanilla in the filling makes it sing
Instructions
- Get your oven ready:
- Preheat to 350°F (175°C) and line two baking sheets with parchment paper for easy cleanup
- Whisk the dry team:
- In a medium bowl, combine flour, cocoa powder, baking soda, and salt until well blended
- Cream butter and sugar:
- Beat softened butter and sugar in a large bowl for about 2 minutes until light and fluffy
- Add the wet ingredients:
- Mix in egg yolk, milk, vanilla, and red food coloring until everything is combined
- Combine everything:
- Gradually fold in the dry ingredients mixing just until the dough comes together
- Make the filling:
- In a small bowl, whisk cream cheese, powdered sugar, and vanilla until completely smooth
- Shape the cookies:
- Roll dough into 1 inch balls and place on prepared baking sheets 2 inches apart
- Create the wells:
- Gently press your thumb or the back of a teaspoon into the center of each ball
- Fill them up:
- Spoon about 1/2 teaspoon of cream cheese filling into each indentation
- Bake to perfection:
- Bake for 11 to 13 minutes until the edges are set but centers still look slightly soft
- Cool completely:
- Let them rest on the baking sheet for 5 minutes before moving to a wire rack
 Save
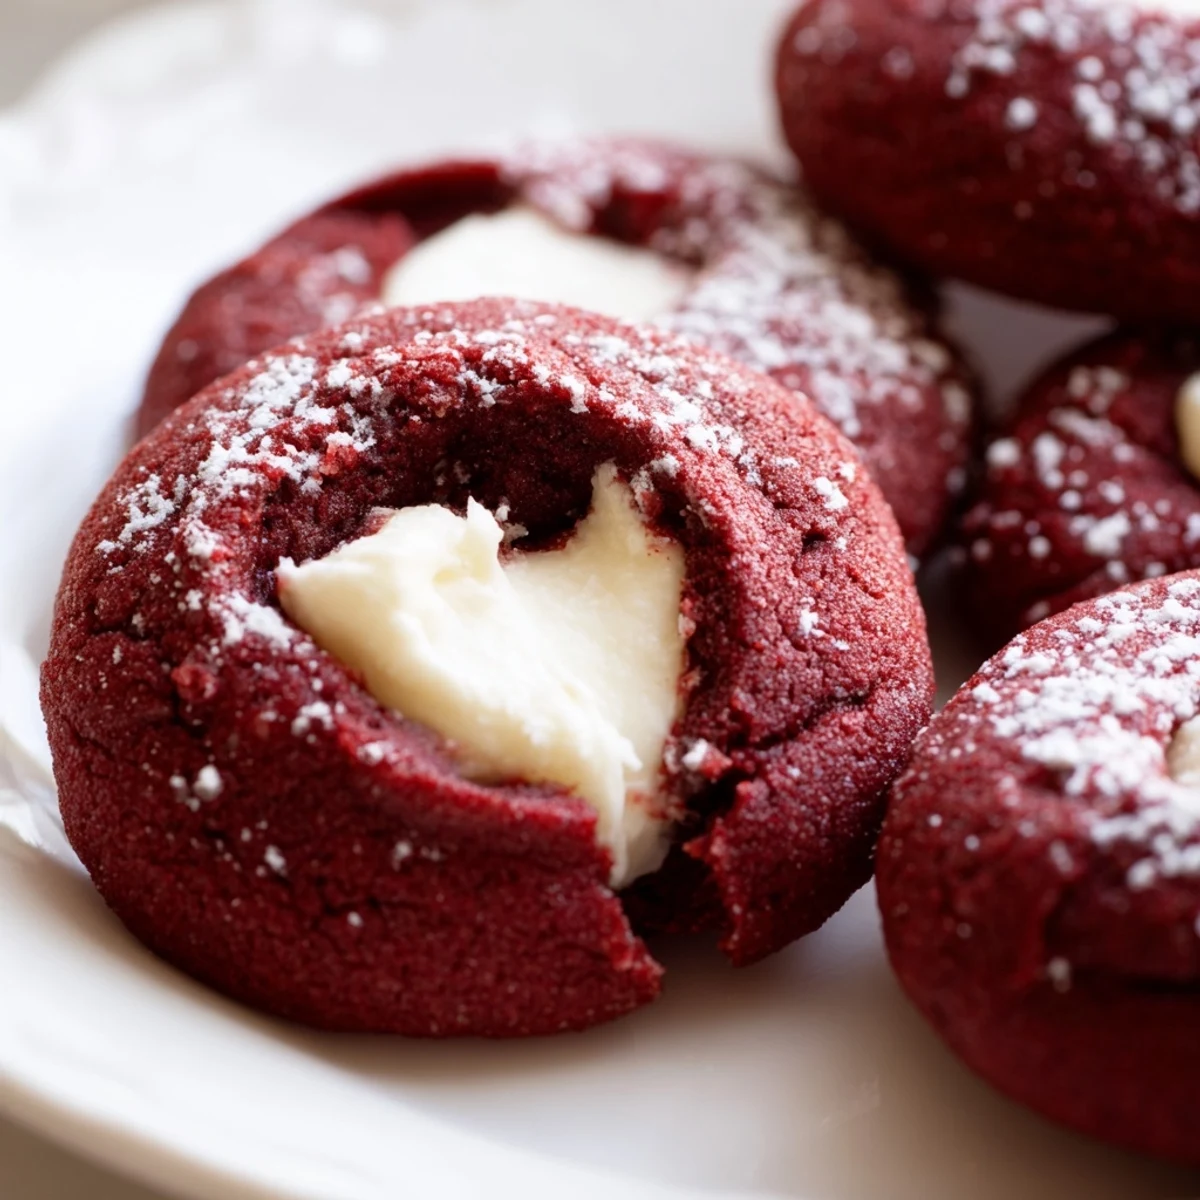
Save My daughter now asks to help press the thumbprints every time we make these. She takes her job very seriously and has perfected the exact depth needed for maximum filling capacity. These cookies have become our snow day tradition.
Getting The Perfect Red Color
I learned the hard way that liquid food coloring can thin out your dough. Gel coloring gives you that vibrant red without affecting the texture. Start with a little and add more until you reach your desired shade.
Making Ahead And Storing
The dough actually freezes beautifully for up to three months. I often double the batch and keep portioned balls in the freezer. Just thaw slightly before baking and you have fresh cookies in minutes.
Filling Variations To Try
While the cream cheese filling is classic, I have discovered some amazing alternatives that might become your new favorite. The white chocolate ganache version is particularly dangerous because I cannot stop eating them.
- Try white chocolate chips melted with heavy cream for a sweeter filling
- Add a drop of peppermint extract to the cream cheese filling for holidays
- Sprinkle crushed candy canes on top immediately after baking for festive crunch
 Save
Save There is something magical about breaking through that red velvet crumb to reach the creamy center. These cookies have a way of disappearing faster than any other treat I bake.
Recipe FAQs
- → Can I make red velvet thumbprint cookies ahead of time?
-
Yes, prepare the dough up to 2 days in advance and refrigerate. Shape, fill, and bake when ready. The finished cookies also store well in the refrigerator for up to 4 days in an airtight container.
- → What can I use instead of cream cheese filling?
-
White chocolate ganache makes an excellent alternative—melt white chocolate with a touch of heavy cream. You could also use raspberry jam, lemon curd, or even a dark chocolate ganache for contrast.
- → Why did my red velvet cookies lose their vibrant color?
-
Red color can fade during baking. Use gel food coloring instead of liquid for more intensity. You can also add 1-2 teaspoons of additional coloring to achieve that deep red hue.
- → How do I know when thumbprint cookies are done baking?
-
The edges should appear set and slightly firm, while the centers may still look soft. The filling should hold its shape without spreading. They'll continue to firm as they cool on the baking sheet.
- → Can I freeze these red velvet cookies?
-
Freeze unfilled baked cookies for up to 3 months. Thaw and fill with fresh cream cheese mixture before serving. For best texture, avoid freezing filled cookies as the filling can become grainy.
- → What's the secret to a tender crumb in red velvet cookies?
-
Don't overmix the dough once flour is added—this prevents gluten development. The combination of butter, egg yolk, and just enough milk creates that signature velvety texture red velvet is known for.