 Save
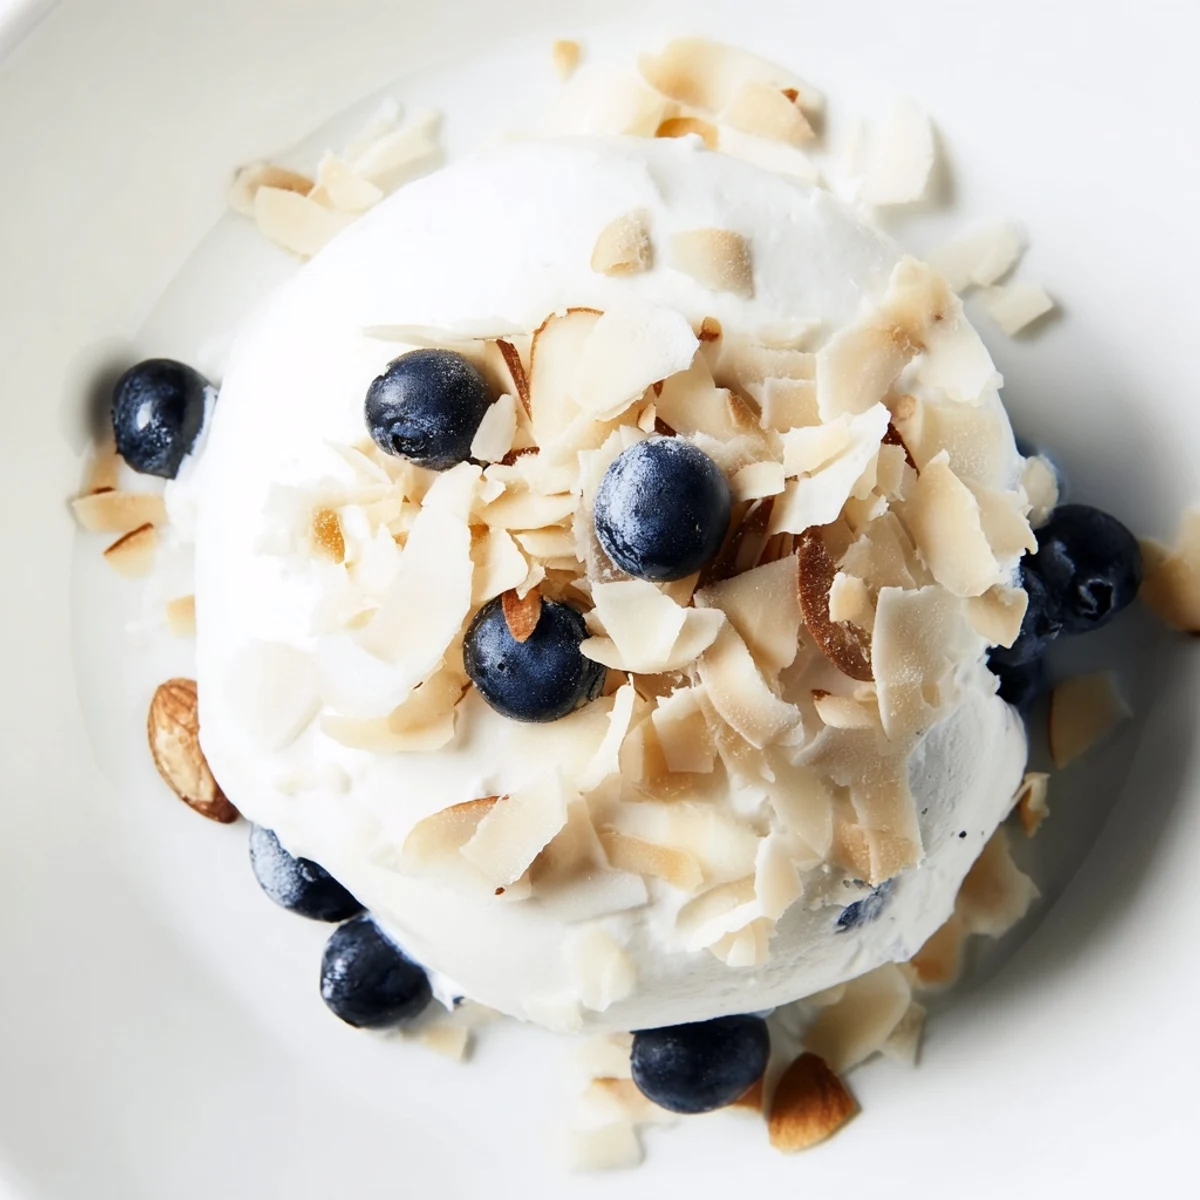
Save These creamy frozen bites combine protein-rich Greek yogurt with sweet blueberries and a touch of honey. They come together in just 10 minutes of active prep time—simply mix, dollop, and freeze. Each bite delivers a perfect balance of creamy texture and burst-in-your-mouth fruit flavor. Customizable with your favorite nuts or coconut, they keep well in the freezer for grab-and-go snacking. Let them soften briefly before eating for the ideal texture.
Summer afternoons in my tiny apartment meant the air conditioner was always struggling, and I discovered something magical by accident. I had leftover Greek yogurt from a breakfast experiment and a container of blueberries that were threatening to go soft. Instead of letting them fade, I started dropping spoonfuls onto a baking sheet, and those little frozen mounds became my afternoon savior. Now they're the first thing I make when I need something that feels like dessert but actually loves me back.
My sister came over last month looking exhausted after a brutal work week, and I handed her one of these frozen bites straight from the container. She looked skeptical at first, but after that first moment of creamy cold hitting her tongue, she asked if I'd been holding out on her all these years. We sat on the couch eating them while catching up, and she kept sneaking extras into her purse 'for the road.'
Ingredients
- 1 cup plain Greek yogurt: Whole milk version transforms this into something that actually feels indulgent, and I've learned the hard way that low-fat just doesn't freeze as luxuriously
- 2 tablespoons honey or pure maple syrup: Start here, but taste your yogurt first—some brands are naturally tangier than others and might beg for an extra drizzle
- 1/2 teaspoon pure vanilla extract: Don't skip this even if it seems unnecessary—vanilla is what bridges the gap between 'frozen yogurt' and 'actual treat'
- 1 cup fresh blueberries: Pat them completely dry with paper towels before you start, otherwise you'll end up with icy spots that ruin the creamy texture
- 1 tablespoon chopped nuts: Totally optional, but that tiny crunch against the cold creaminess is what makes these feel special
- 1 tablespoon unsweetened shredded coconut: Another optional garnish that adds this tropical sweetness people can never quite identify
Instructions
- Prep your freezing station:
- Line a baking sheet with parchment paper or grab a silicone mat—don't skip this step or you'll be chipping frozen yogurt off metal for twenty minutes like I did that one time
- Whisk the creamy base:
- Combine the Greek yogurt with your honey and vanilla in a medium bowl, mixing until it's completely smooth and you can't see any streaks of honey anymore
- Spoon into little clouds:
- Drop about tablespoon-sized mounds onto your prepared sheet, leaving just a little breathing room between them since they won't spread much in the cold
- Nestle in the berries:
- Gently press two or three blueberries into each yogurt mound, letting them sink in just enough to stay put but not disappear completely
- Add the extras if you're feeling fancy:
- Sprinkle your chopped nuts or coconut over the tops now, before everything freezes solid and nothing wants to stick anymore
- Freeze until firm:
- Slide the whole tray into the freezer for at least two hours—overnight is even better if you can plan that far ahead
- Store for snack attacks:
- Once they're rock hard, transfer them to an airtight container where they'll live happily in your freezer for weeks
 Save
Save These little bites have saved me during more 3 PM energy crashes than I can count. There's something about pulling out a container from the freezer, knowing you made them yourself, that feels like a tiny act of self-care. They've become my go-to when friends drop by unexpectedly—fancy enough to serve, simple enough to always have ready.
Make Them Your Way
I've tried swapping in flavored yogurt, and while it works, it almost always ends up too sweet once frozen. Plain yogurt with your own sweetener gives you way more control over the final flavor profile, and the texture stays creamier without all those added stabilizers.
Freezer Management
The key here is getting them into an airtight container quickly after they freeze solid. Left too long on the baking sheet, they'll start absorbing freezer flavors and develop that weird icy skin I've learned to avoid. I layer them between parchment paper in the container so they don't fuse into one giant block.
Flavor Adventures
Raspberries work beautifully here and create this stunning swirled pink effect. Sliced strawberries add a more pronounced tartness that cuts through the rich yogurt, and diced mango turns these into something that tastes suspiciously like dessert.
- Lemon zest folded into the yogurt mixture adds this bright, fresh note people can never quite identify
- A tiny pinch of sea salt on top creates this salted-caramel situation that's unexpected but brilliant
- Swirling in a bit of almond butter before freezing makes them feel substantially more indulgent
 Save
Save Hope these become your little frozen treasure too. There's something special about having a treat waiting in the freezer that actually makes you feel good.
Recipe FAQs
- → How long do these yogurt bites last in the freezer?
-
Store in an airtight container for up to 2 months. Layer parchment paper between stacked pieces to prevent sticking.
- → Can I use frozen blueberries instead of fresh?
-
Fresh blueberries work best as frozen ones release excess water when thawing, affecting the texture. If using frozen, pat them very dry before adding.
- → What's the best way to eat these frozen treats?
-
Let them sit at room temperature for 2-3 minutes before eating. This softens the exterior while keeping the center refreshing and cool.
- → Can I make these dairy-free?
-
Use coconut yogurt or almond-based yogurt alternatives. Keep in mind that freezing may affect texture differently than dairy yogurt.
- → What other fruits work well in these bites?
-
Raspberries, diced strawberries, mango chunks, or blackberries all work beautifully. Adjust sweetness based on fruit tartness.
- → Do I need special equipment to make these?
-
No special tools required. A baking sheet, parchment paper, mixing bowl, and spoon are all you need. Silicone molds can create uniform shapes but aren't necessary.