 Save
Save Makes 18 dark chocolate sandwich cookies with a creamy vanilla center. Prep in 30 minutes, bake 10–12 minutes, total about 1 hour. Sift flour and cocoa, cream butter and sugar, mix to a stiff dough, shape into 1-inch balls and flatten before baking. Fill with about 1 tablespoon of smooth vanilla filling and press to seal. Use 1 tsp espresso for more depth or swap shortening for extra butter. Store airtight up to 5 days.
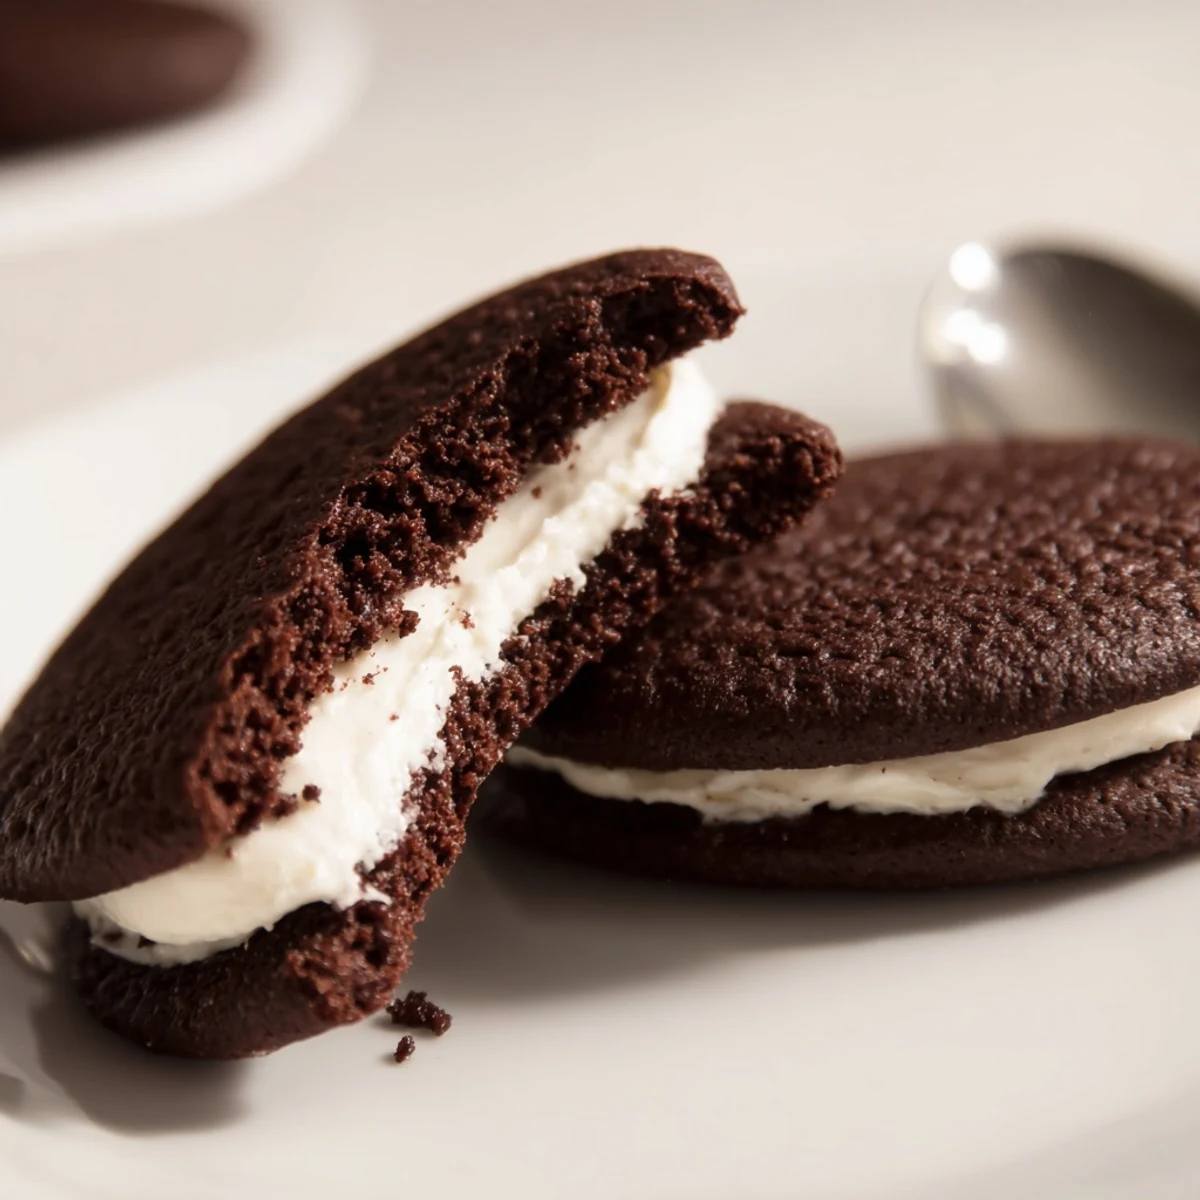
The smell of dark cocoa hitting a hot oven is something you never forget, and these homemade Oreo style cookies fill the kitchen with that deep, almost brownie like aroma that makes everyone wander in asking what is baking. I started making them one rainy Saturday when the store bought version just was not going to cut it for a movie night craving. What came out of the oven was darker, richer, and honestly way more satisfying than anything from a package. Now they show up at every gathering I host, and people always ask if I made extra.
One Christmas, my niece walked into the kitchen, spotted a tray of these cooling on the rack, and gasped like she had found treasure. She ate three before dinner and nobody had the heart to stop her because we were all doing the same thing.
Ingredients
- All purpose flour (1 cup, 125 g): This gives the cookie structure without making it cakey. Spoon it into the measuring cup and level it off for accuracy.
- Unsweetened Dutch process cocoa powder (3/4 cup, 70 g): This is what gives the cookies that signature dark, almost black color and smooth chocolate flavor. Natural cocoa works in a pinch but the color and taste will not be the same.
- Granulated sugar (1 cup, 200 g): Essential for sweetness and for helping the edges crisp up slightly during baking.
- Baking soda (1/2 tsp): A small amount helps the cookies spread just enough without puffing up too much.
- Salt (1/4 tsp): Balances the sweetness and deepens the chocolate flavor more than you might expect.
- Unsalted butter, softened (1/2 cup, 115 g): Make sure it is truly at room temperature so it creams smoothly with the sugar. Cold butter leaves lumps.
- Large egg (1): Binds the dough together and adds richness.
- Vanilla extract (1 tsp): Rounds out the chocolate flavor in the cookie itself.
- Unsalted butter for filling (1/4 cup, 60 g): Softened butter in the filling gives it a smooth, melt in your mouth quality.
- Vegetable shortening (1/4 cup, 55 g): This keeps the filling stable at room temperature and gives it that classic texture. You can swap it for more butter if you prefer a softer, richer filling.
- Powdered sugar, sifted (1 1/2 cups, 180 g): Sifting is non negotiable here, as even tiny lumps will show up in the filling and ruin the smooth texture.
- Vanilla extract for filling (1 tsp): The star flavor of the cream center, so use good quality if you have it.
- Salt for filling (pinch): Just a tiny pinch lifts the vanilla and keeps the sweetness from being one note.
Instructions
- Preheat and prepare:
- Set your oven to 350 degrees Fahrenheit (175 degrees Celsius) and line two baking sheets with parchment paper. This is a good moment to clear your counter space because you will need room for rolling and assembling later.
- Sift the dry ingredients:
- In a medium bowl, sift together the flour, cocoa powder, baking soda, and salt. Watch for any small lumps of cocoa and break them up with your fingers as you go.
- Cream butter and sugar:
- In a separate bowl, beat the softened butter and granulated sugar together until the mixture turns pale and looks light and fluffy. Add the egg and vanilla extract, beating until everything is well combined and smooth.
- Bring the dough together:
- Gradually add the sifted dry ingredients to the wet mixture, mixing on low speed or by hand until a stiff, dark dough forms. It will feel firm and slightly crumbly at first, but keep mixing and it will come together into a cohesive ball.
- Shape the cookies:
- Roll the dough into 1 inch (2.5 cm) balls and place them about 2 inches apart on the prepared baking sheets. Flatten each ball slightly with the palm of your hand or the bottom of a glass dipped in cocoa powder to prevent sticking.
- Bake until set:
- Bake for 10 to 12 minutes until the tops look set and feel slightly firm to the touch. Let them cool on the baking sheet for 5 minutes before transferring to a wire rack, as they will be fragile when they first come out.
- Make the cream filling:
- While the cookies cool, beat together the butter, shortening, sifted powdered sugar, vanilla extract, and pinch of salt until the mixture is smooth, fluffy, and pipeable. Taste it, because this is the good part.
- Assemble the sandwiches:
- Pipe or spread about 1 tablespoon of filling onto the flat side of half the cookies, then top with the remaining cookies to create sandwiches. Press gently so the filling spreads evenly toward the edges without squeezing out.
- Let them set:
- Give the assembled cookies 10 to 15 minutes at room temperature for the filling to firm up slightly before serving. This short wait makes them easier to handle and gives the textures time to meld together.
 Save
Save The moment these cookies became more than just a recipe was when a friend texted me a photo of her daughter carefully twisting one apart, eating the filling first, and then dunking the chocolate halves into a glass of milk. Some rituals are universal, and making them from scratch does not change that.
What to Expect Texture Wise
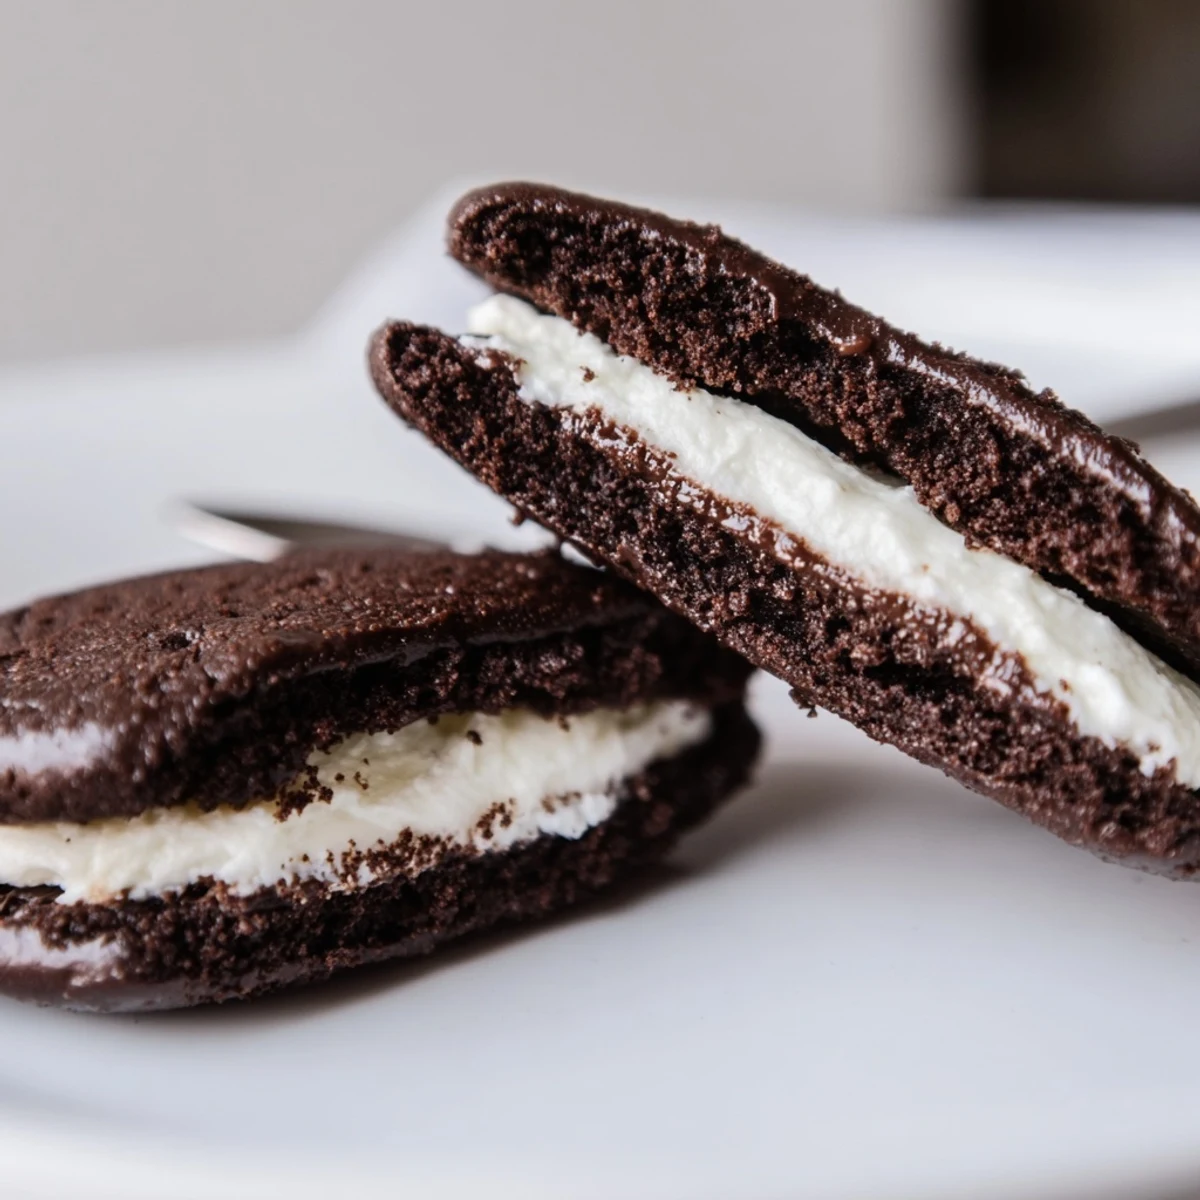
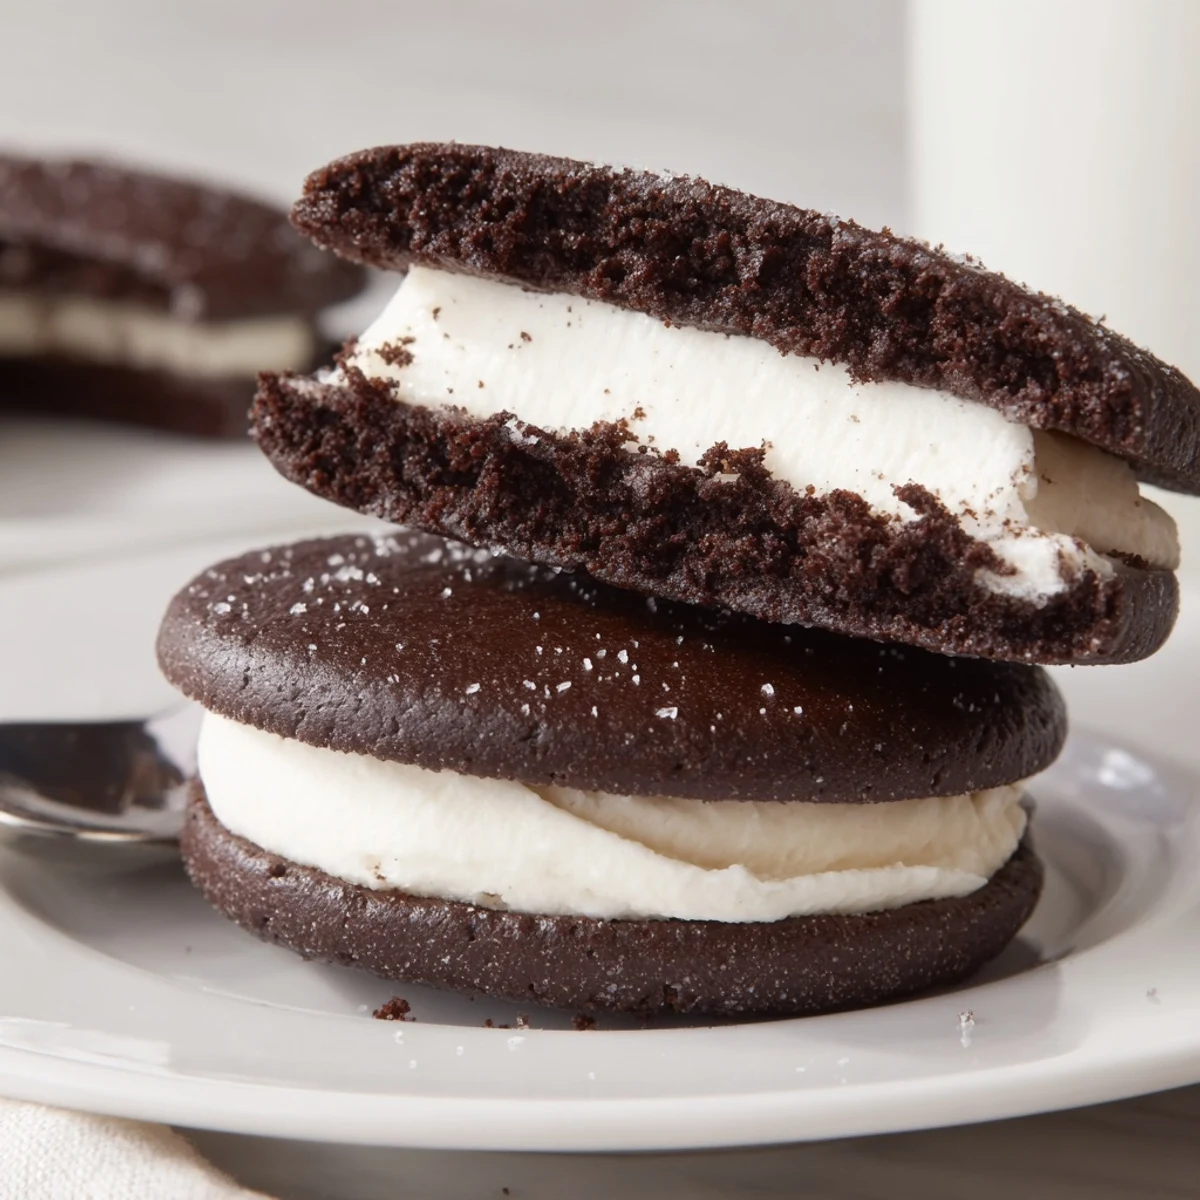
Right out of the oven, the cookies have a crisp edge and a slightly softer center, almost like a thin brownie. After they sit overnight in an airtight container, the filling softens the cookie slightly and everything becomes tender and unified in a way that is honestly better than day one.
Making Them Your Own
Adding a teaspoon of espresso powder to the dough intensifies the chocolate without making the cookies taste like coffee. You can also play with the filling by swapping the vanilla for peppermint extract, or folding in a tiny bit of finely grated orange zest for something unexpected that still feels like a classic.
Storing and Sharing
These cookies keep well in an airtight container at room temperature for up to five days, which makes them great for gifting or packing into lunchboxes. They also freeze beautifully for up to a month if you want to make a double batch.
- Separate layers with parchment paper so the filling does not stick to the cookie above it.
- If freezing, thaw them at room temperature for about 30 minutes before eating for the best texture.
- Always let the cookies cool completely before storing, as any residual warmth will create condensation and make them soggy.
 Save
Save There is something deeply satisfying about making a cookie you grew up buying in a sleeve, and these homemade versions earn their place in any recipe box. Share them with someone who appreciates the classics.
Recipe FAQs
- → How can I intensify the chocolate flavor?
-
Add 1 teaspoon of espresso powder or instant coffee to the dry ingredients to deepen the cocoa notes without adding coffee taste.
- → Can I replace vegetable shortening in the filling?
-
Yes. Substitute the shortening with an equal amount of additional butter for a richer, creamier filling, though the texture may be slightly softer at room temperature.
- → How do I know when the cookies are done?
-
Bake 10–12 minutes until the cookies are set and slightly firm at the edges. They may be soft straight from the oven but will firm as they cool on the sheet for 5 minutes.
- → Can I freeze the dough or finished sandwiches?
-
Freeze shaped, unbaked dough balls on a tray, then transfer to a bag for up to 3 months. Thaw and bake as directed. Assembled sandwiches also freeze well; thaw in the fridge before serving.
- → What's the best technique for even filling?
-
Use a piping bag or a small spoon to deposit about 1 tablespoon of filling onto the flat side of half the cookies, then press gently with a top cookie to spread the cream to the edges evenly.
- → Any tips for perfect dunking texture?
-
Underbake slightly for a tender center and cool completely before sandwiching. A firmer edge with a tender middle creates the ideal dunking balance.