 Save
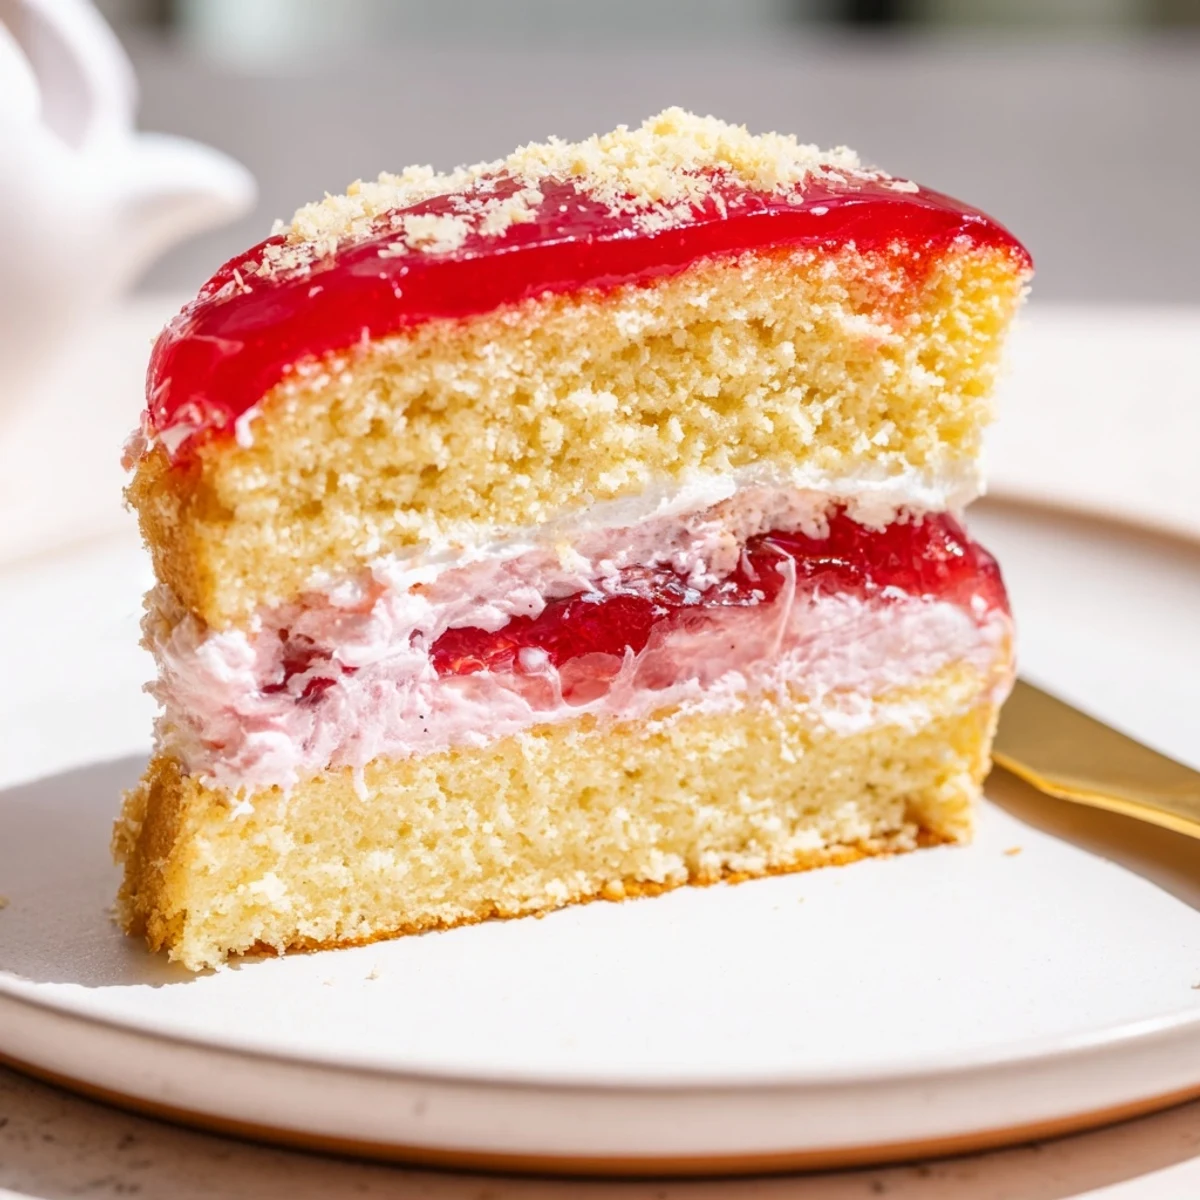
Save This nostalgic treat begins with a light, buttery sponge baked in a sheet pan, cooled and cut into squares. Raspberry jelly is dissolved and chilled until tacky, then used to coat sandwiched squares filled with whipped cream. Roll each piece in desiccated coconut and refrigerate to set. Hands-on time is short but allow time for the jelly to semi-set and for chilling; yields about 12 larger or 24 smaller cakes.
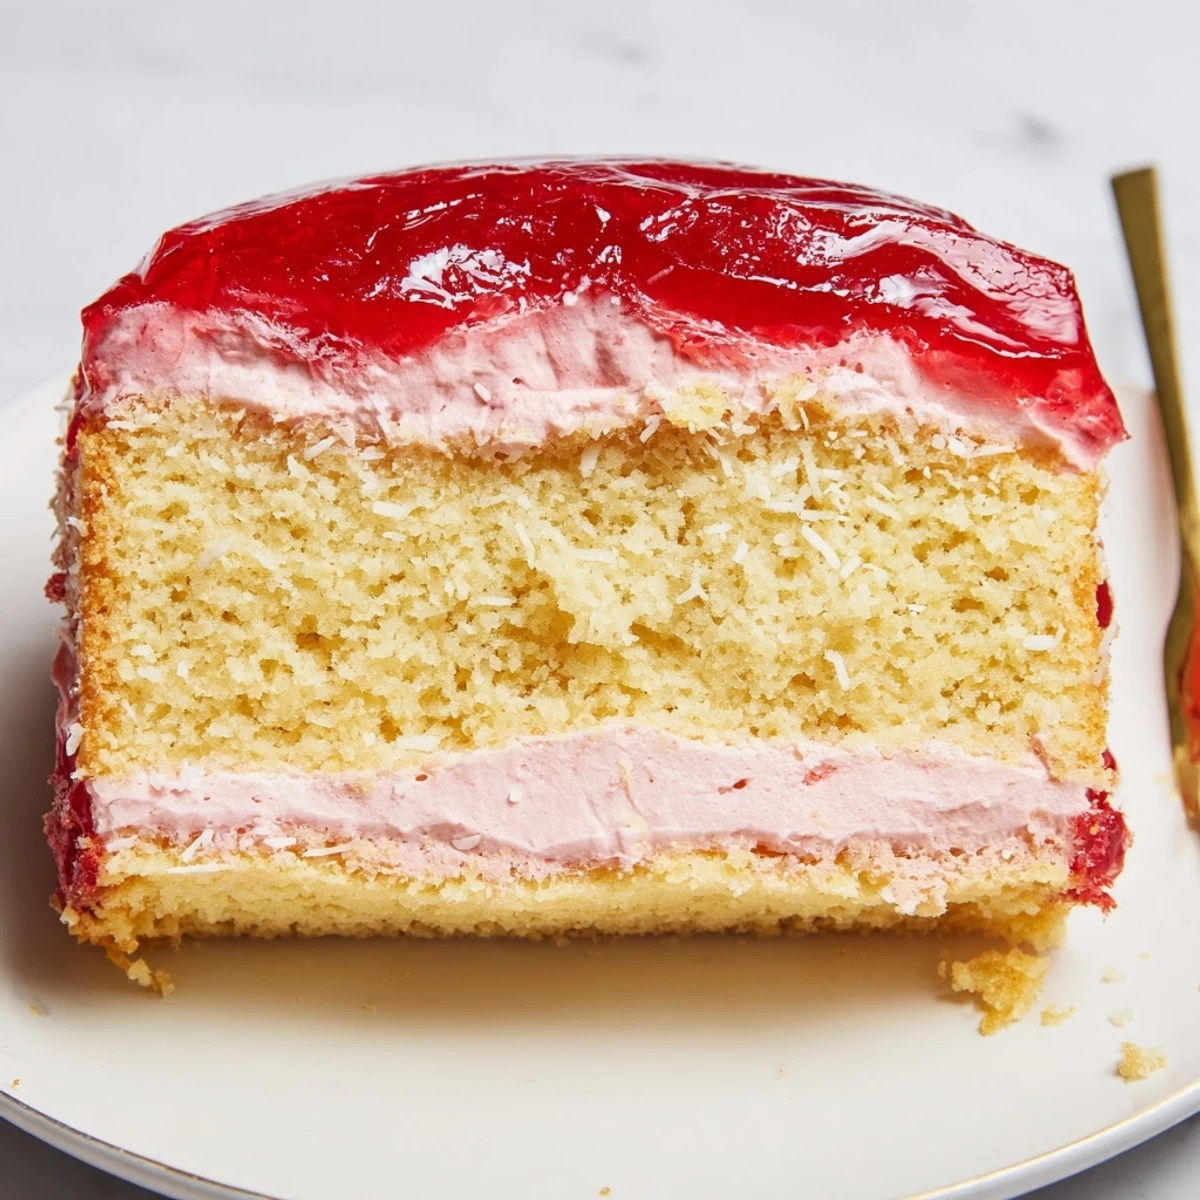
The smell of raspberry jelly hitting warm sponge takes me straight back to a dusty church hall in country Victoria, where ladies with flour-dusted hands plated these pink gems faster than anyone could eat them. My grandmother called them fairy cakes, though I suspect every Australian family has their own name for them. There is something quietly magical about a dessert that refuses to take itself seriously. Pink, sticky, coated in coconut, and unapologetically retro, they are joy on a plate.
I made a batch for my neighbours moving day and ended up standing in her empty kitchen eating three of them off a paper plate while the moving truck idled outside.
Ingredients
- Unsalted butter (125 g, softened): Room temperature butter creams properly and gives the sponge its delicate lift.
- Caster sugar (125 g): Finer grains dissolve faster, preventing a gritty texture in the crumb.
- Large eggs (2): Eggs at room temperature incorporate more air into the batter.
- Vanilla extract (1 tsp): A good quality vanilla anchors the flavour without overpowering the jelly.
- Self-raising flour (180 g, sifted): Sifting is non-negotiable here because this sponge has no patience for lumps.
- Milk (100 ml): Whole milk loosens the batter just enough to keep it silky.
- Raspberry jelly crystals (1 packet, 85 g): Raspberry is traditional but strawberry works beautifully too.
- Boiling water (250 ml) and cold water (150 ml): The ratio matters for getting the jelly to the right semi-set consistency for dipping.
- Thickened cream (200 ml): Heavy cream whipped to firm peaks holds the sandwich together without oozing.
- Icing sugar (1 tbsp): A small amount sweetens the cream without making it cloying.
- Vanilla extract (1/2 tsp for cream): A whisper more vanilla in the filling ties everything together.
- Desiccated coconut (100 g): Fine desiccated coconut sticks better than the larger shredded kind.
Instructions
- Get the oven ready:
- Preheat to 180 degrees Celsius (350 degrees Fahrenheit), grease your tin, and line it with baking paper so nothing sticks.
- Beat the butter and sugar:
- Cream them together until the mixture turns pale and looks almost fluffy, about three minutes with an electric mixer. Scrape down the sides once or twice so everything mixes evenly.
- Add eggs and vanilla:
- Drop in one egg at a time, beating well after each addition, then pour in the vanilla. The batter should look smooth and slightly glossy.
- Fold in flour and milk:
- Alternate small additions of sifted flour and milk, folding gently with a large spoon or spatula. Stop as soon as no dry flour is visible.
- Bake the sponge:
- Spread the batter evenly in the prepared tin and bake for 12 to 15 minutes until the top springs back lightly and a skewer comes out clean. Cool in the tin for 10 minutes, then flip onto a wire rack to cool completely.
- Prepare the jelly:
- Dissolve the jelly crystals in boiling water, stir in the cold water, then pour into a shallow dish. Refrigerate for 45 to 60 minutes until it reaches a soft, wobbly, semi-set stage.
- Cut and sandwich:
- Cut the cooled sponge into 24 even squares. Whip the cream with icing sugar and vanilla to firm peaks, then sandwich pairs of sponge together with a generous spoonful.
- Dip and roll:
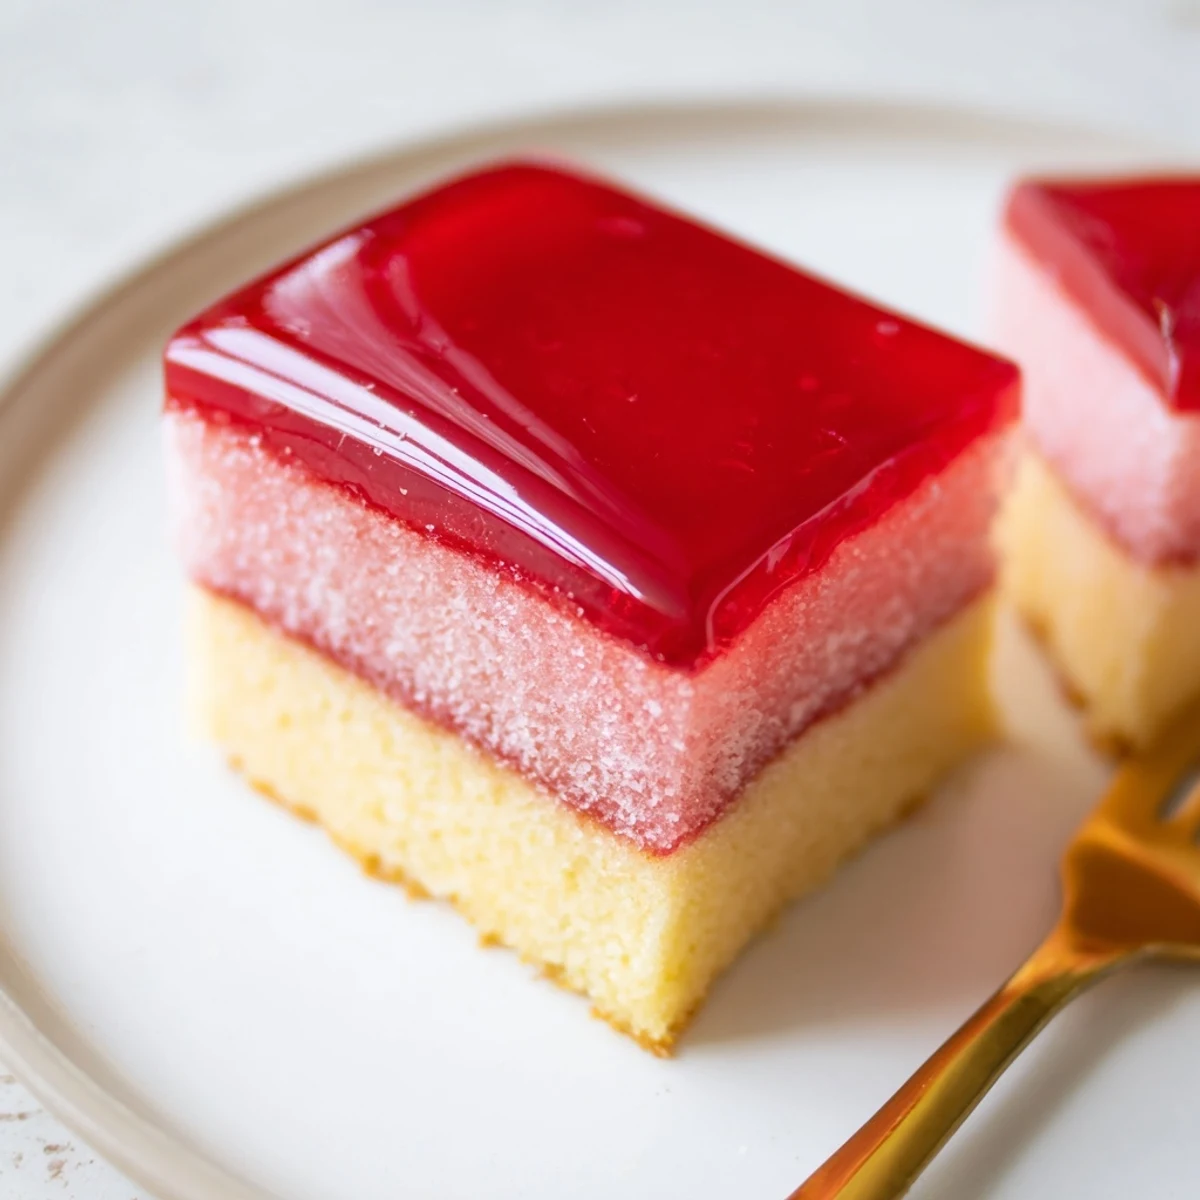
- Quickly dip each sandwiched cake into the semi-set jelly, coating all sides, and let the excess drip off for a second or two. Roll immediately in desiccated coconut and place on a wire rack.
- Chill and serve:
- Refrigerate for at least 30 minutes so the jelly sets firmly and everything holds together. Serve them cold, ideally on a nice plate with a pot of tea nearby.
 Save
Save I once drove forty minutes with a tray of these balanced on my passenger seat, convinced they would slide everywhere, but the jelly held firm like a quiet little hero.
A Note on Sponge Texture
The sponge for jelly cakes is intentionally thinner than a standard cake, more like a sheet cake really. This is important because thick sponge layers will fight you when you try to sandwich and dip them. Treat the batter gently, fold rather than stir, and never skip the sifting step.
Getting the Jelly Stage Right
This is the part where patience genuinely matters more than skill. Too liquid and the jelly runs off without coating. Too firm and it clumps in uneven patches. Check it at 45 minutes by tilting the dish. It should move slowly and have a skin-like wobble on top.
Making Them Your Own
Once you have the basic technique sorted, these little cakes are wonderfully adaptable to whatever you have on hand or whatever mood strikes.
- Passionfruit jelly crystals give a tart tropical twist that works beautifully in summer.
- Swap the cream filling for lemon curd if you want something sharper and more grown up.
- Always let the coated cakes set in the fridge for the full 30 minutes before serving.
 Save
Save Some recipes demand precision and performance, but these pink jelly cakes only ask for a bit of patience and a willingness to get your hands sticky. That is the kind of baking I keep coming back to.
Recipe FAQs
- → How do I know when the jelly is ready for coating?
-
Chill the dissolved jelly in a shallow dish until it becomes syrupy and tacky—usually 45–60 minutes. It should hold a light film on the surface but still drip slowly so it coats evenly.
- → What gives the sponge a tender crumb?
-
Cream the butter and caster sugar until pale and fluffy, then fold in flour and milk alternately to avoid overmixing. Bake just until a skewer comes out clean to keep the sponge soft.
- → Can I use different jelly flavors?
-
Yes—passionfruit, orange or strawberry jelly all work well. Choose a flavor that complements the whipped cream and coconut; tart fruit gelatin balances the sweetness.
- → How can I make a dairy-free version?
-
Replace butter with a vegan block and use whipped coconut cream for the filling. Ensure the jelly mix is free from dairy-derived ingredients before use.
- → What’s the best way to store these cakes?
-
Keep them refrigerated in a single layer on a rack or tray covered loosely with cling film for up to 24 hours. They are best eaten the same day for optimal texture.
- → Can I prepare components ahead of time?
-
Yes—bake the sponge a day ahead and store wrapped in the fridge. Prepare and chill the jelly until tacky on the day of assembly to ensure a good coating.