 Save
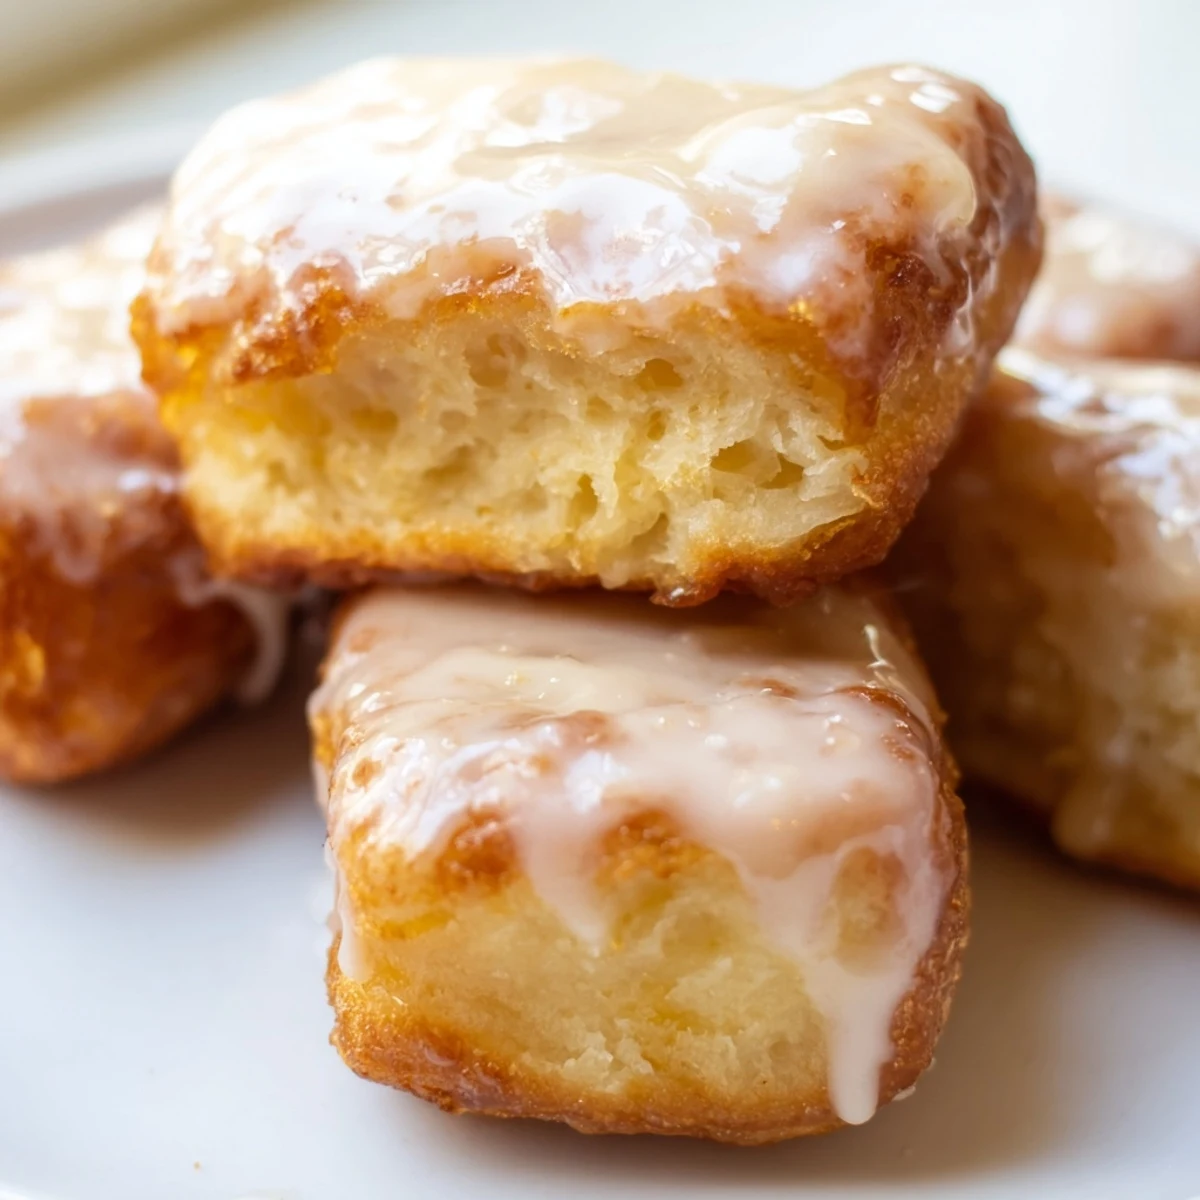
Save These maple donut bars offer the perfect balance of soft, pillowy texture and rich maple sweetness. The dough rises beautifully to create light, airy bars that fry to golden perfection. Topped with a smooth, glossy maple glaze, they deliver that classic bakery taste in homemade form. Ideal for weekend breakfasts or afternoon treats, these bars combine traditional donut making techniques with the irresistible flavor of pure maple syrup.
My apartment smelled like autumn on a Tuesday morning, all thanks to a too ambitious batch of these maple donut bars I'd started at 9pm the night before. The yeast proofed so aggressively on my radiator that I nearly woke up to dough crawling out of the bowl. Sometimes the best kitchen experiments happen when you are tired enough to take ridiculous risks.
My roommate walked in, took one look at the parchment paper lined counter, and cancelled her coffee shop run immediately. We ate three each standing up, right over the wire rack, burning our fingers in the most wonderful way possible. Some breakfasts do not need plates or ceremony.
Ingredients
- All purpose flour: This creates structure while keeping the crumb tender, so do not swap it for whole wheat or you will lose that signature lightness
- Active dry yeast: Make sure it bubbles and foams during that first 5 minutes or your dough will never rise properly
- Whole milk: The fat content here makes all the difference for richness, so avoid using skim milk
- Unsalted butter: Melt it completely before adding so it incorporates evenly into the dough
- Eggs: Room temperature eggs emulsify better and help the dough develop proper structure
- Vegetable oil: Choose something neutral like canola or grapeseed for frying
- Powdered sugar: Sifting it first prevents lumps in your glaze that would ruin that silky finish
- Pure maple syrup: Real maple syrup matters here, imitation pancake syrup will not give you that complex caramelized flavor
Instructions
- Wake up the yeast:
- Combine the warm milk, water, and yeast in your bowl, then walk away for exactly 5 minutes until you see a foamy layer forming on top
- Build the dough base:
- Add the sugar, melted butter, eggs, and salt to the yeast mixture and mix until everything is fully incorporated
- Bring it together:
- Gradually add the flour while mixing, then knead for 5 to 7 minutes until the dough feels smooth and bounces back when you poke it
- Let it rise:
- Place your dough in a greased bowl, cover it, and find the warmest spot in your kitchen for 1 to 1.5 hours until it has doubled in size
- Shape the bars:
- Punch down the risen dough, roll it to a half inch thickness, and cut into rectangles about 4 by 1.5 inches
- Second rise:
- Arrange the bars on parchment paper, cover them, and wait another 30 to 40 minutes until they look puffy and feel light
- Heat the oil:
- Pour 2 inches of oil into a heavy pot and bring it to 350°F, which usually takes about 10 minutes over medium heat
- Fry until golden:
- Cook the bars in batches for 1 to 2 minutes per side, watching for that deep golden color that signals perfection inside and out
- Make the glaze:
- Whisk together the powdered sugar, maple syrup, milk, vanilla, and salt until completely smooth with no lumps remaining
- Glaze immediately:
- Dip the tops of the still warm bars into the glaze and let them set on a wire rack while you try not to eat them all at once
 Save
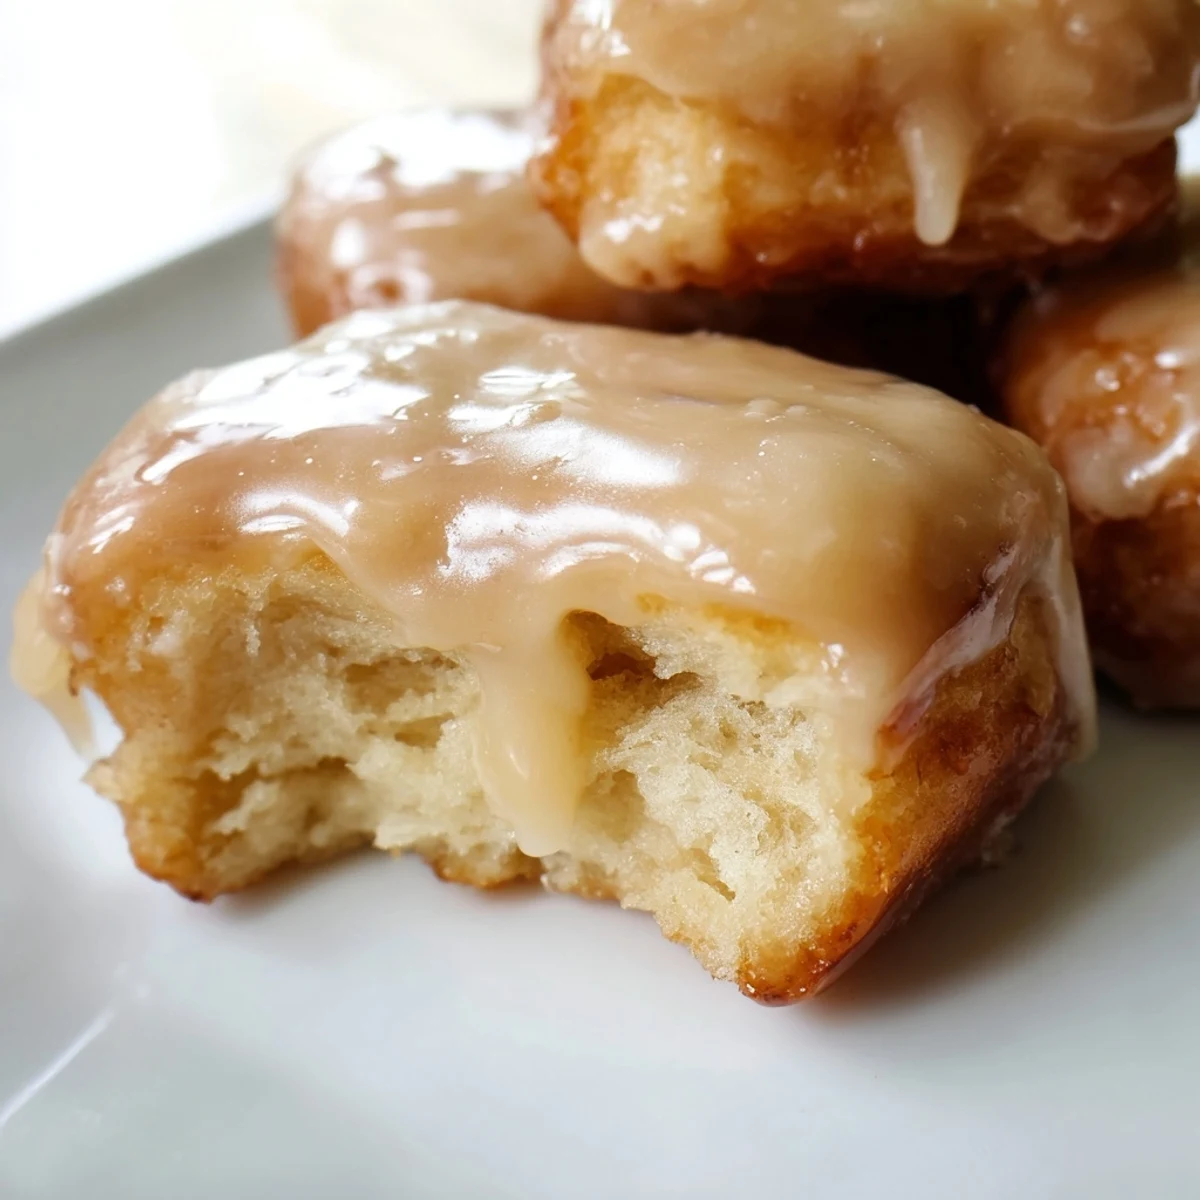
Save These became my go to for sleepy weekends and housewarming gifts alike. There is something about bringing someone a box of warm maple glazed anything that makes you instantly beloved.
The Frying Temperature Matters
I learned the hard way that 350°F is not a suggestion, it is basically law. Too cold and you get greasy sad bars, too hot and they are raw inside with burnt exteriors.
Making Them Ahead
You can actually cut and freeze the raw bars after the first rise, then let them thaw and do the second rise whenever you want fresh donuts. It changed my weekend brunch game completely.
Glaze Variations
Sometimes I add a pinch of cinnamon to the glaze for warmth, or swap half the milk for heavy cream for extra richness. The base recipe is forgiving enough to play with.
- Try adding maple extract if you really want that breakfast restaurant flavor punch
- A tiny pinch of salt in the glaze cuts through all that sugar beautifully
- Work quickly once you start dipping or the glaze will thicken and get streaky
 Save
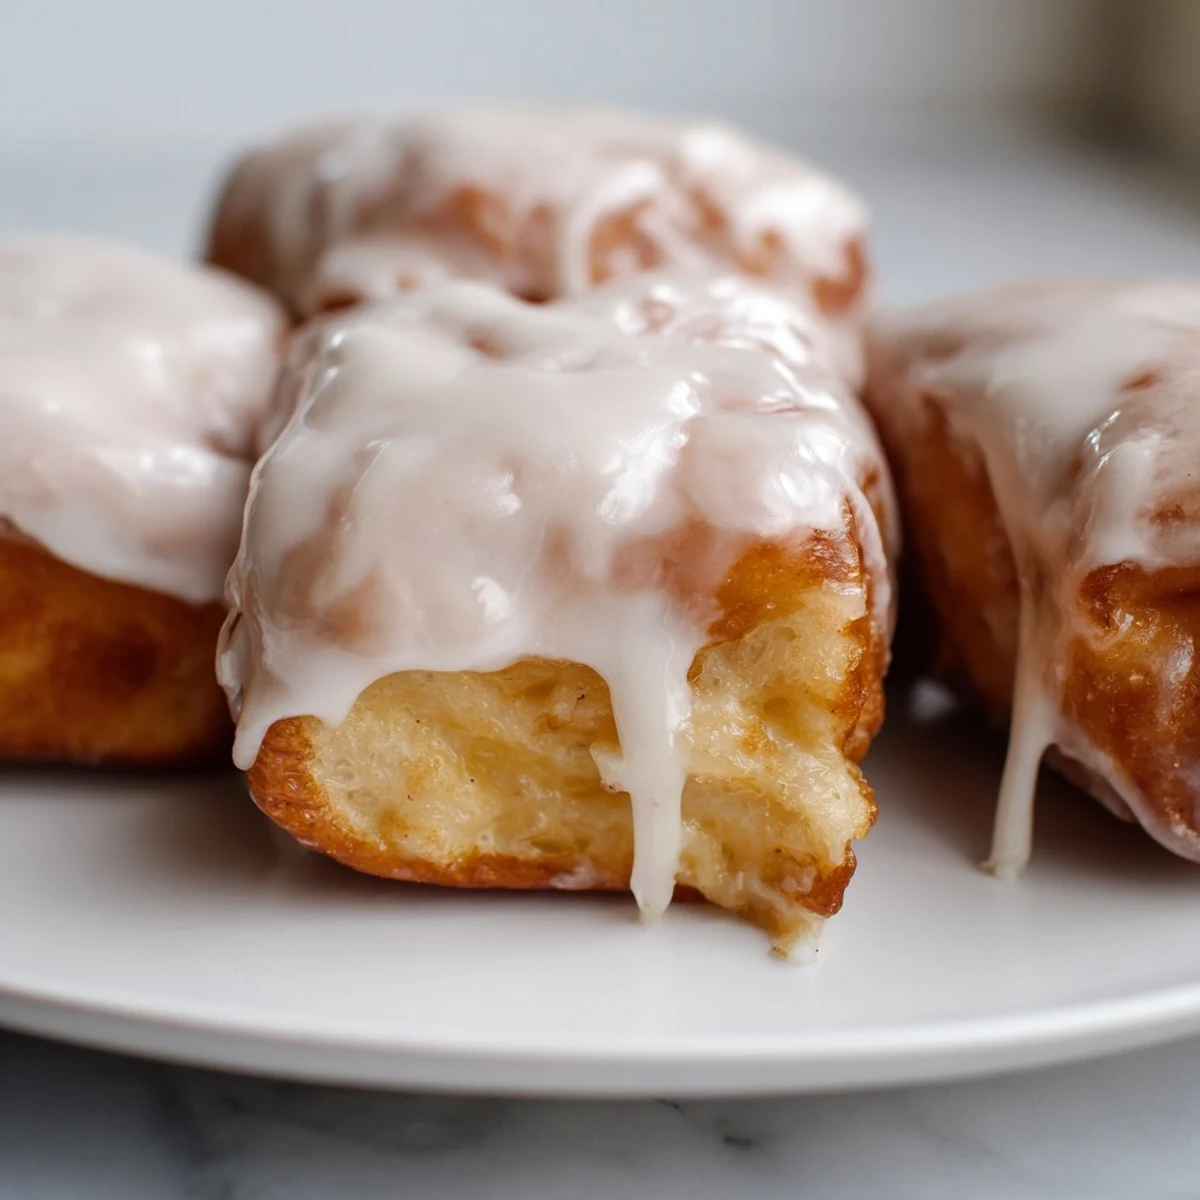
Save Hope these bring as much cozy joy to your kitchen as they have to mine over the years.
Recipe FAQs
- → Can I bake these instead of frying?
-
Yes, for a baked version, place the risen bars on a parchment-lined baking sheet and bake at 375°F (190°C) for 12-15 minutes until golden brown. The texture will be slightly different but still delicious with the maple glaze.
- → How do I achieve the best rise in the dough?
-
Make sure your milk and water are warm (not hot) when activating the yeast. Let the dough rise in a warm, draft-free area until doubled in size, which typically takes 1-1.5 hours. Punching down and allowing a second rise of 30-40 minutes helps develop the light, airy texture.
- → What's the best oil for frying these bars?
-
Vegetable oil works perfectly for frying these donut bars. It has a high smoke point and neutral flavor that won't interfere with the maple taste. Ensure the oil reaches 350°F (175°C) before adding the bars for optimal frying.
- → How can I enhance the maple flavor?
-
For a stronger maple taste, add 1/2 teaspoon of maple extract to the glaze. You can also brush a bit of extra maple syrup on the warm bars before applying the glaze for an intensified flavor profile.
- → How should I store these maple donut bars?
-
Store in an airtight container at room temperature for up to 2 days. For best texture and flavor, enjoy them the same day they're made. The glaze may soften slightly overnight but will set again.