 Save
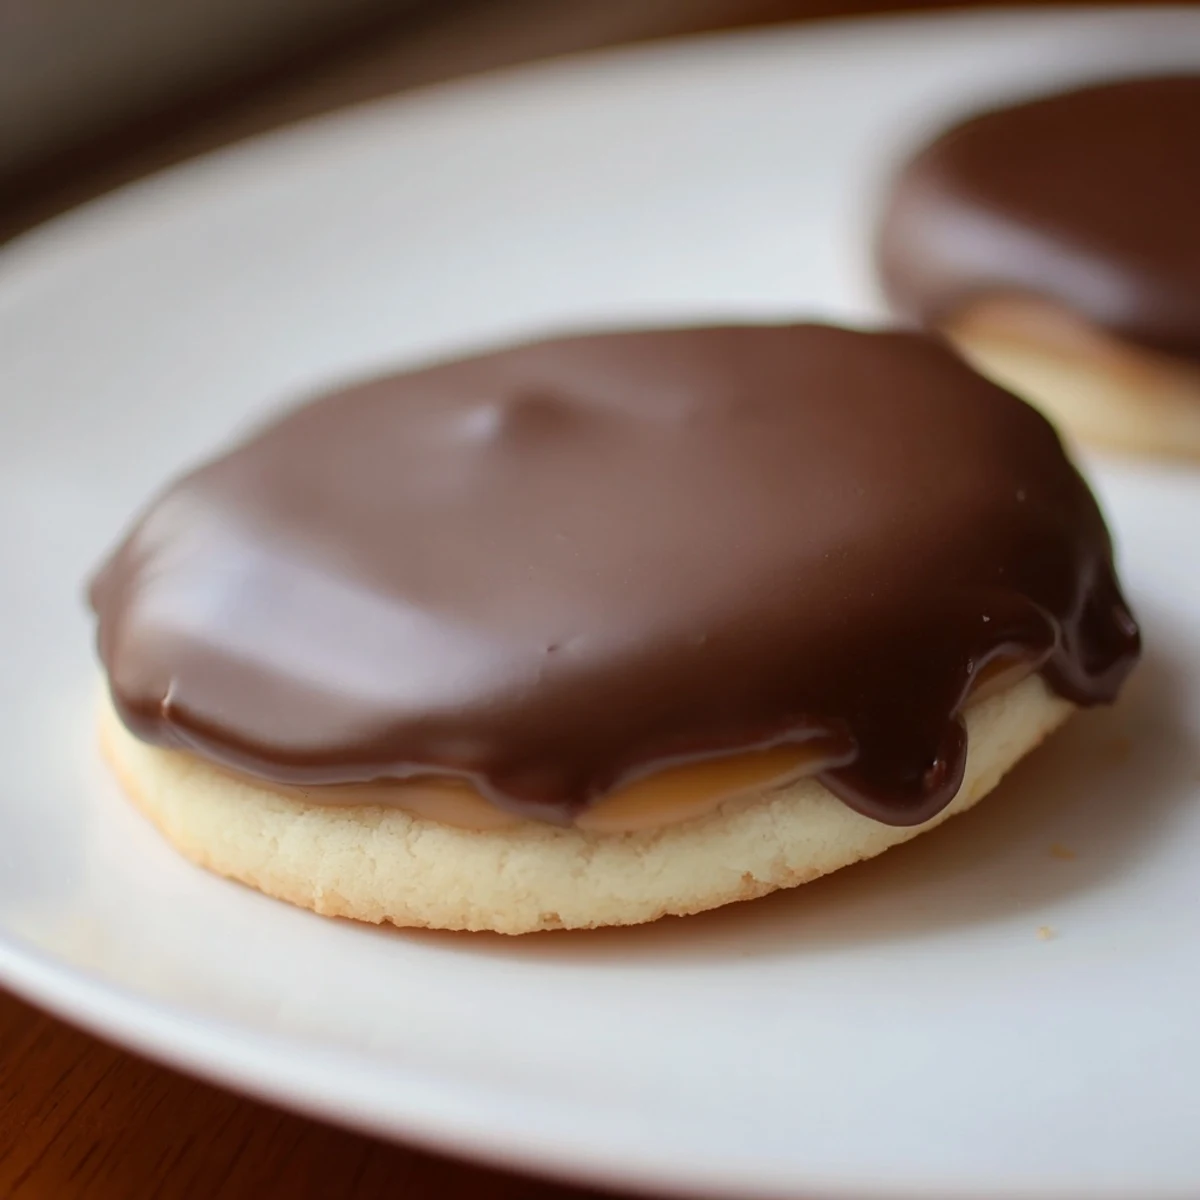
Save Experience a decadent combination of buttery shortbread cookies topped with a luscious layer of creamy caramel and finished with smooth milk chocolate. The base is made from softened unsalted butter, sugar, flour, and vanilla, baked to golden perfection. After cooling, a rich caramel layer is spread on top, chilled to set its luscious texture. Finally, a glossy milk chocolate and butter mixture coats the caramel, chilled again for a firm finish. Enjoy these indulgent treats perfect for festive moments or whenever a sweet craving strikes.
The smell of butter and vanilla hitting the hot oven air still takes me back to my tiny first apartment kitchen. I'd attempted these Twix cookies on a rainy Sunday, completely underestimating how much patience caramel demands. My roommate wandered in midway through, sampling a failed batch where the chocolate had seized into a sad, grainy mess. We ate them anyway, standing over the counter with milk glasses, laughing at how something so imperfect could still taste like happiness.
Last Christmas, I made triple batches for our annual cookie exchange party. My friend Sarah, who claims she doesn't even like Twix bars, hovered near the platter the entire evening. I caught her sneaking a fourth one and we just exchanged this knowing look across the room. Now she texts me every November asking if it's cookie week yet.
Ingredients
- Unsalted butter: Room temperature is non negotiable here, cold butter creates stubborn dough that fights back
- Granulated sugar: Creates that crisp snap in the shortbread base that holds up under all that topping weight
- All-purpose flour: Spoon and level it gently, packing flour down makes heavy cookies that spread too much
- Salt: Just enough to wake up the butter and keep things from tasting flat or overly sweet
- Vanilla extract: Pure extract makes a difference you can actually taste in the final cookie
- Caramel sauce or dulce de leche: Thicker is better, runny caramel will slide right off your cooled cookies
- Sea salt: Optional but highly recommended for that salted caramel magic moment
- Milk chocolate: Chopped into small pieces melts faster and more evenly than large chunks
- Extra butter for chocolate: This tablespoon makes the chocolate set with gorgeous shine and proper snap
Instructions
- Get everything ready:
- Preheat your oven to 350°F and line two baking sheets with parchment paper before you start mixing anything
- Cream the butter and sugar:
- Beat them together until they look pale and fluffy, usually about 3 minutes of serious mixing
- Bring in the vanilla:
- Pour it in while the mixer runs so it gets evenly distributed throughout the butter mixture
- Add the dry ingredients:
- Mix in flour and salt just until a soft dough comes together, don't overwork it or cookies get tough
- Shape the cookies:
- Roll dough into 1-inch balls and place them 2 inches apart on your prepared baking sheets
- Flatten them gently:
- Press each ball with your palm or the bottom of a glass until they're about 1/2 inch thick
- Bake until golden:
- Put them in for 12 to 15 minutes until edges are barely golden, they should still look pale on top
- Cool completely:
- Let them rest on wire racks until they reach room temperature, warm cookies melt caramel right off
- Spread the caramel:
- Spoon about 1 to 2 teaspoons onto each cooled cookie and pop them in the fridge for 30 minutes
- Melt the chocolate:
- Combine chocolate and butter in a heatproof bowl over simmering water, stir until silky smooth
- Add the chocolate layer:
- Spread or spoon melted chocolate over each caramel topped cookie
- Final chill:
- Refrigerate for 15 more minutes until the chocolate sets completely
 Save
Save These cookies became my signature item after I brought them to my office potluck and people kept asking when I'd make them again. The following week, three different coworkers mentioned them in casual conversation. I realized then that food isn't just about eating, it's about creating these little moments of joy people carry with them.
Working with Caramel
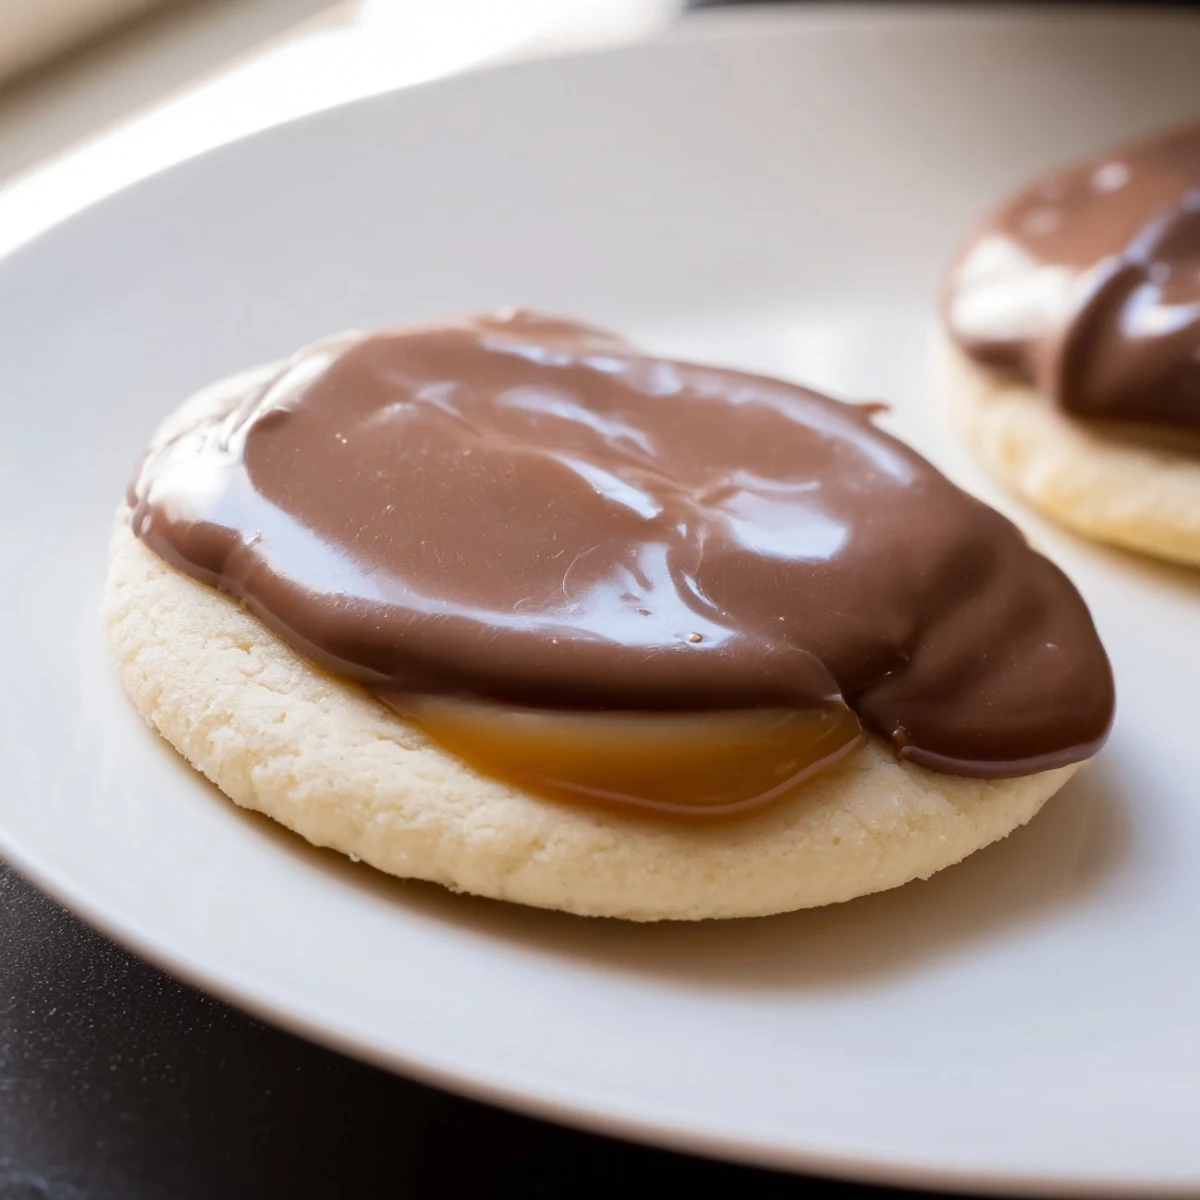
Store-bought caramel works beautifully, but if you want to make your own, just remember that sugar goes from perfect to burned in seconds. I've learned to pull it off the heat when it looks slightly lighter than my target color. Residual heat continues cooking it anyway. That tiny window of judgment only comes from making a few batches and paying attention.
Getting the Chocolate Right
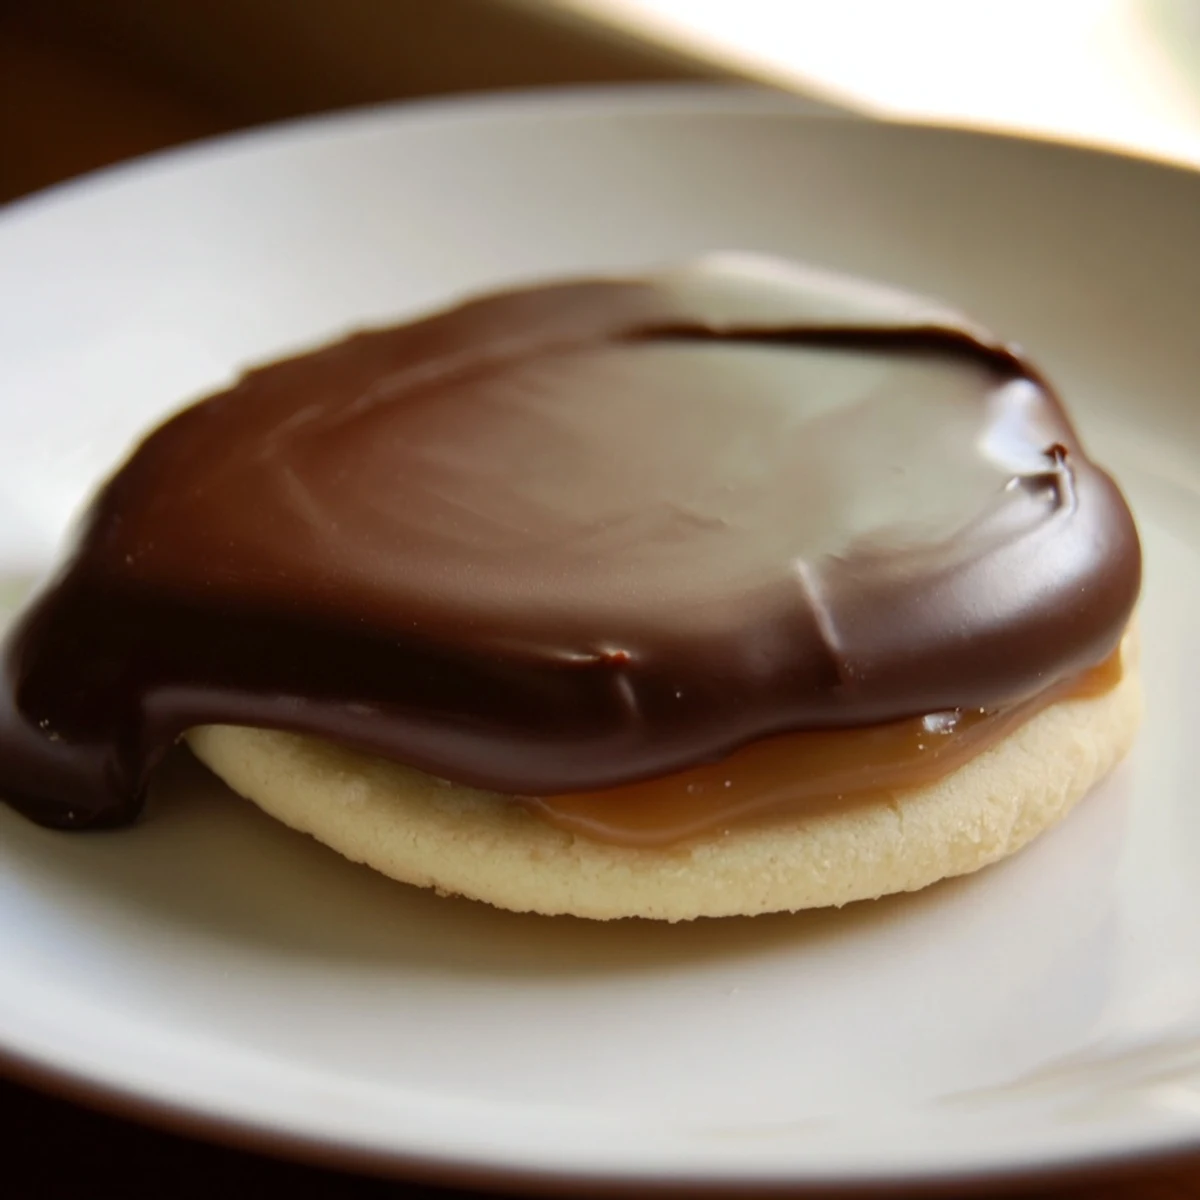
Tempering chocolate sounds intimidating but honestly, that tablespoon of butter does most of the heavy lifting. I've skipped it before and the difference is obvious. The butter keeps the chocolate glossy and gives it that satisfying snap when you bite down. It's such a small thing that makes these feel professional instead of homemade.
Storage and Make-Ahead Tips
These actually improve slightly after a day in the container, as the flavors meld together. I've made them three days ahead for parties and they were perfect. The key is keeping them somewhere cool but not the refrigerator, where the chocolate can sweat and get those weird white streaks. Room temperature is ideal.
- Place wax paper between layers if you stack them in containers
- Bring them to room temp before serving for the best texture experience
- They freeze beautifully for up to a month if you need to get ahead
 Save
Save There's something deeply satisfying about recreating a candy store favorite in your own kitchen. Every time I pull a fresh batch from the fridge, I remember that rainy afternoon in my first apartment, and how the simplest recipes often become the ones we return to year after year.
Recipe FAQs
- → How should the shortbread dough be prepared?
-
Cream softened unsalted butter with sugar until light and fluffy, then mix in vanilla. Gradually add flour and salt, blending until a soft dough forms ready for shaping.
- → What is the best way to achieve a smooth caramel layer?
-
Use thick caramel sauce or dulce de leche and spread about 1–2 teaspoons on each cooled shortbread; chilling helps it set with a creamy texture.
- → How do I melt the chocolate topping properly?
-
Melt milk chocolate and unsalted butter together over simmering water in a double boiler, stirring gently until smooth and fully combined.
- → Can I customize the chocolate layer for different flavors?
-
Yes, substituting milk chocolate with dark or semi-sweet varieties enhances richness and caters to varied taste preferences.
- → How long do these treats stay fresh?
-
Store them in an airtight container at cool room temperature and consume within five days to maintain freshness and texture.